I’ve spent over RM25,000, which is over USD 5,000, to equip my whole YouTube Studio, from magnetic track lights, spotlights, and roof lights to smart switches with a built-in display and more.
So, was it all worth it? Well, you tell me after I show you our entire Studio Tour here on Adam Lobo TV’s YouTube studio.
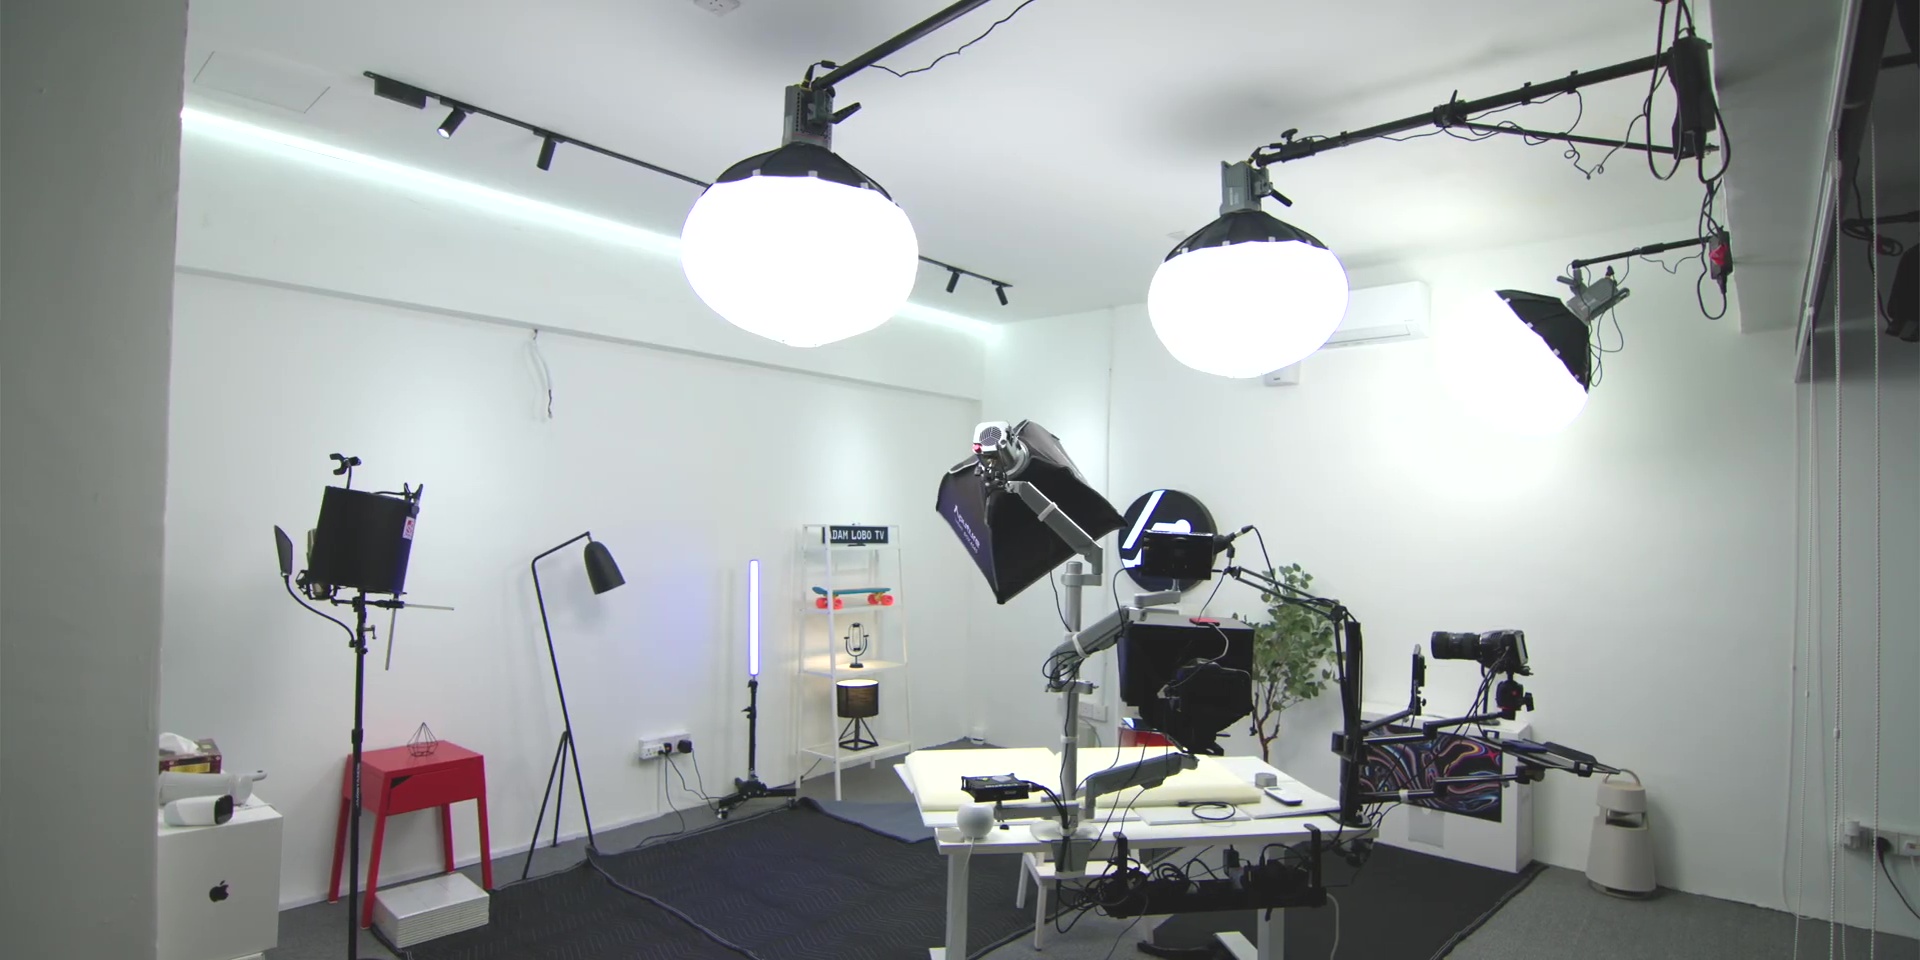
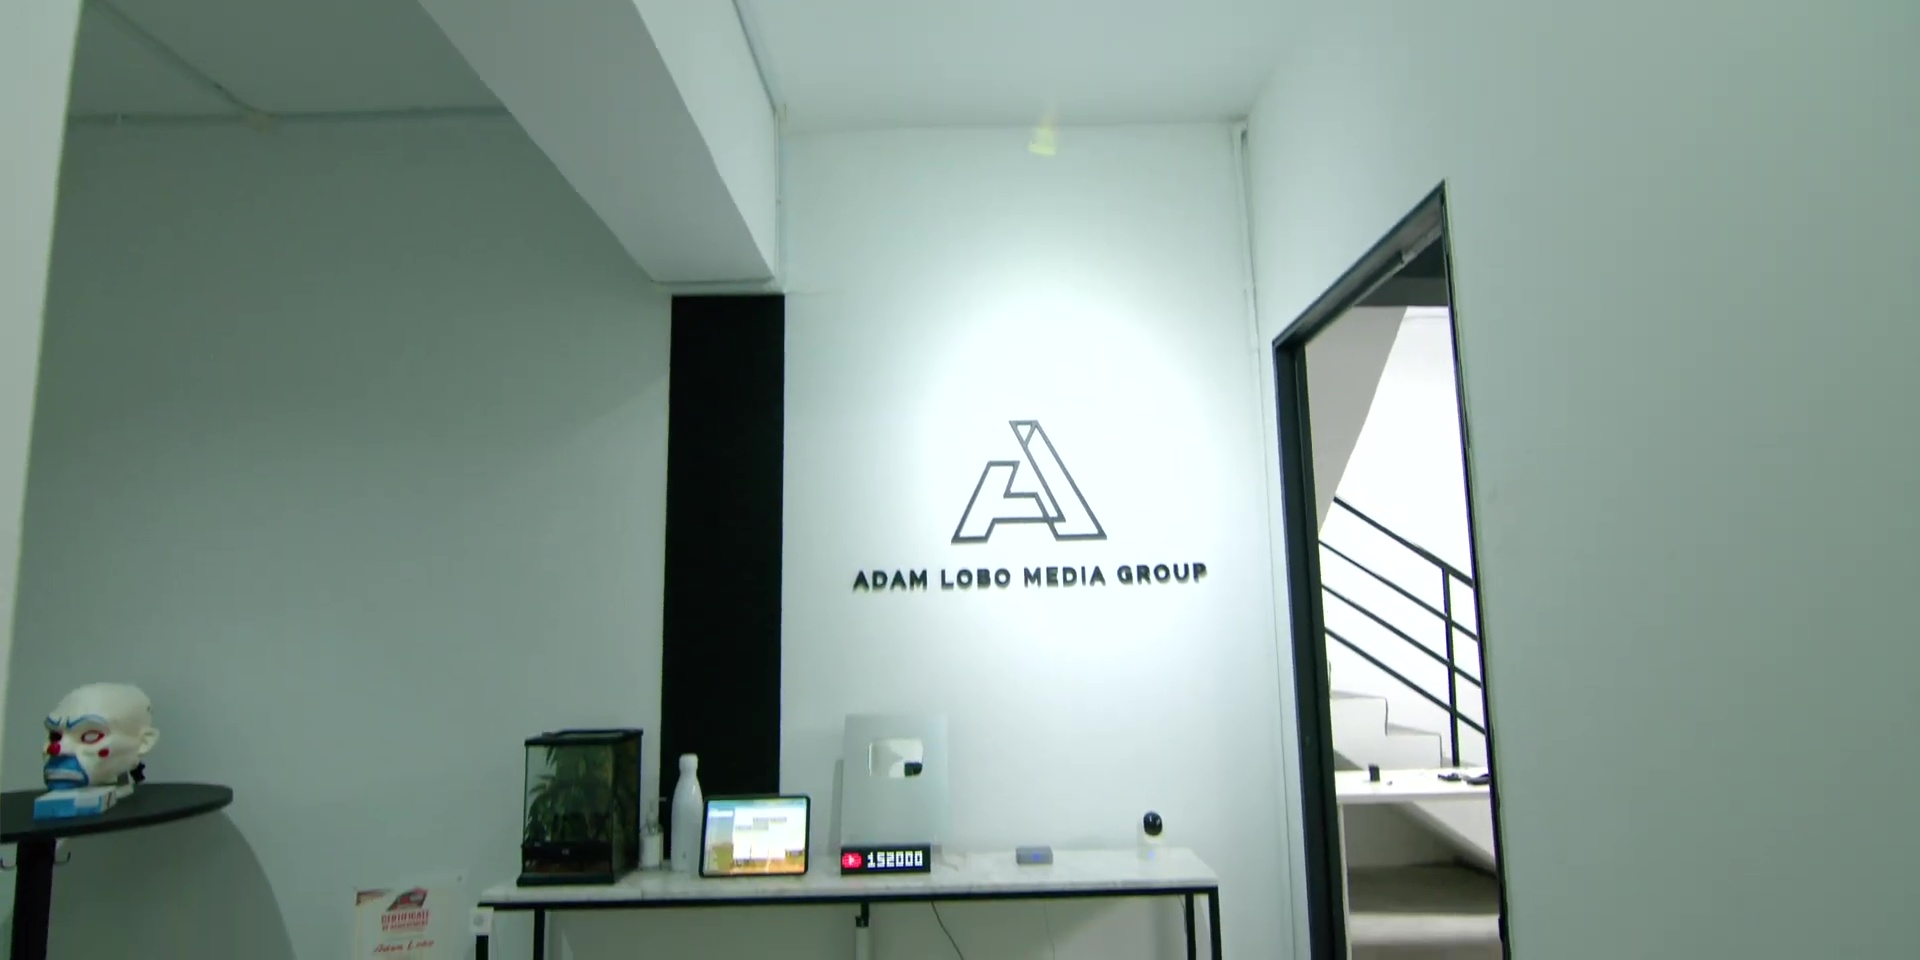
Now, just for context, this is a brand new studio that we just moved into close to 2 months ago, so it’s not as aesthetically pleasing as it should be, as the whole studio is still a work in progress.
So, why Yeelight Pro? Well, that answer is very simple.
First of all, reliability. As shown in my smart home tour video, I’ve also equipped my whole home ONLY with Yeelight lighting, and not even once I had any issues with that, compared to some of the other minor annoyances that I get from brands like Aqara and even Meross as well.
Then, other than reliability, it is also compatible with other smart home ecosystems. So, other than Apple’s HomeKit, which is what I’m using not only at home but here in the studio as well, Yeelight Pro is also part of the Matter ecosystem, Google Home, Amazon Alexa, Samsung SmartThings, and also is a certified partner with Sonos too.
Next is variety because compared to other smart home lighting options, the Yeelight Pro series is unique to the point that you would never guess that those are smart lights.
Finally, there’s also the price. While RM25,000 or USD 5,000 is definitely a lot, keep in mind that the whole studio consists of an entrance walkway area, the office, a living room, or a B-roll setup, then there’s also even another floor above for my A-roll and a potential work-in-progress Podcast or Live Stream setup as well, totaling a space over 3,000 sq ft.
Yes, overall, when it comes to the price, it is also way more affordable than brands such as LIFX and, of course, Philips Hue as well.
Entrance
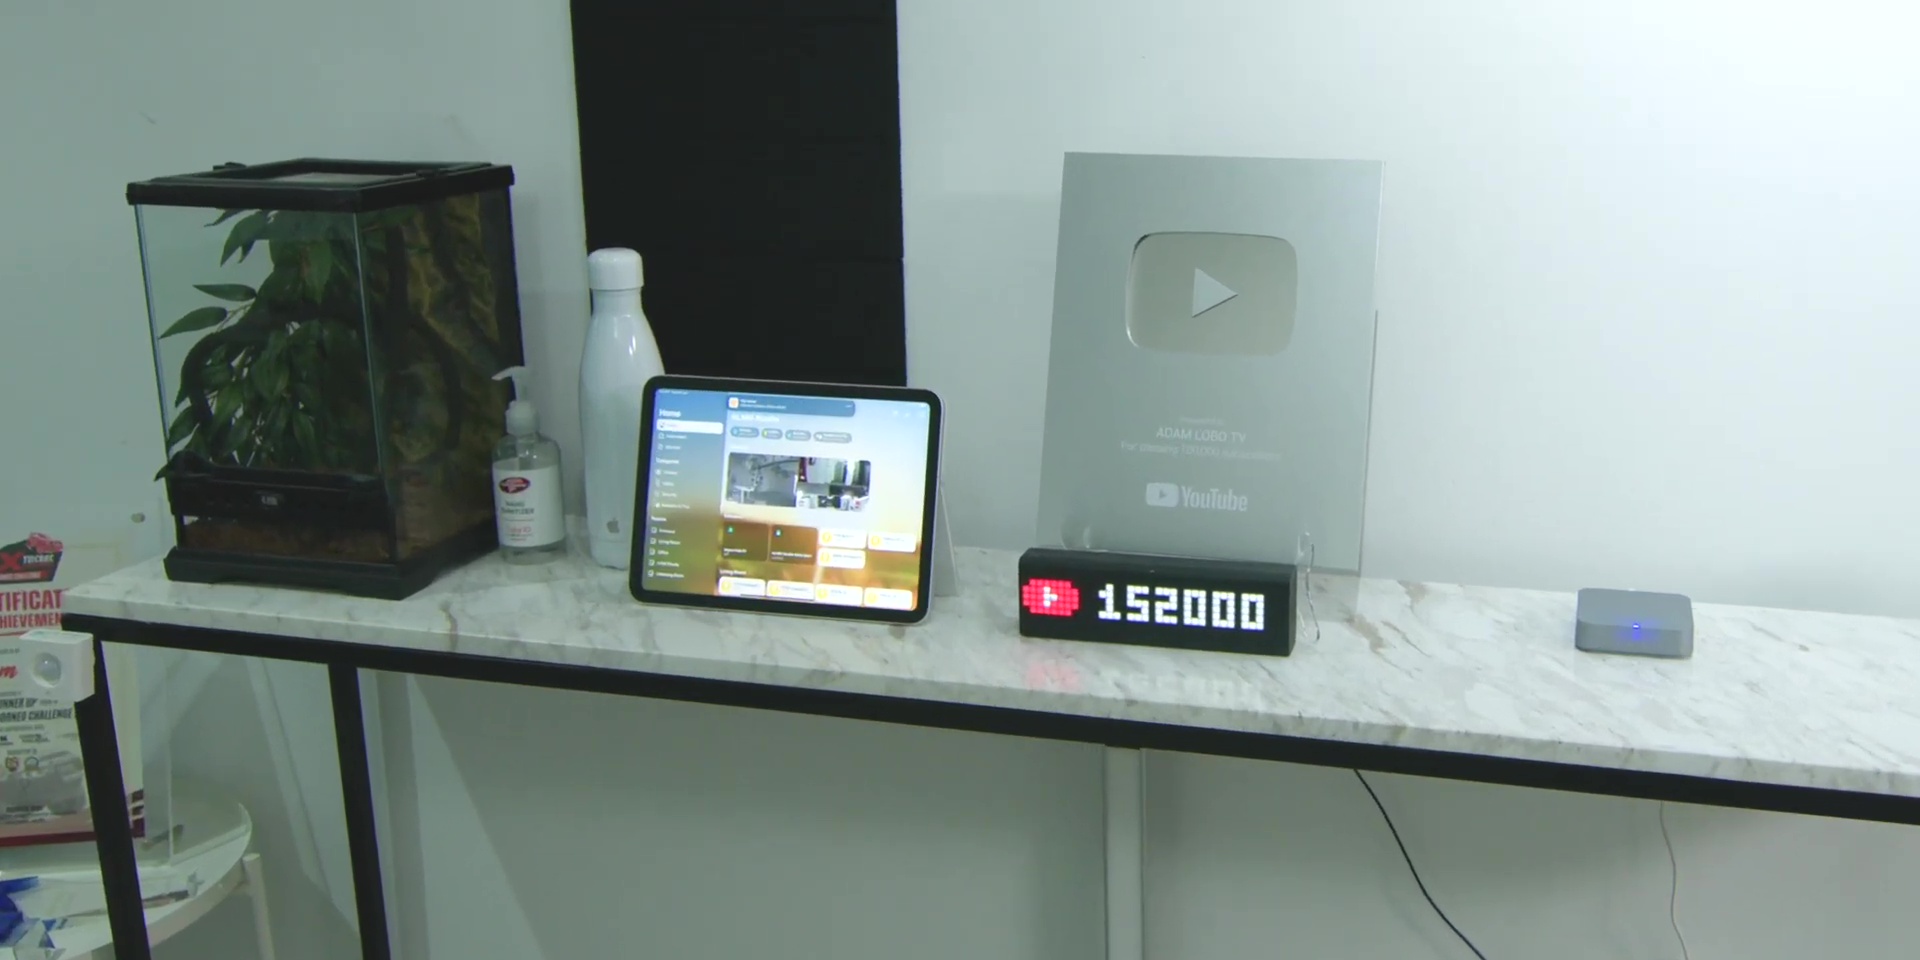
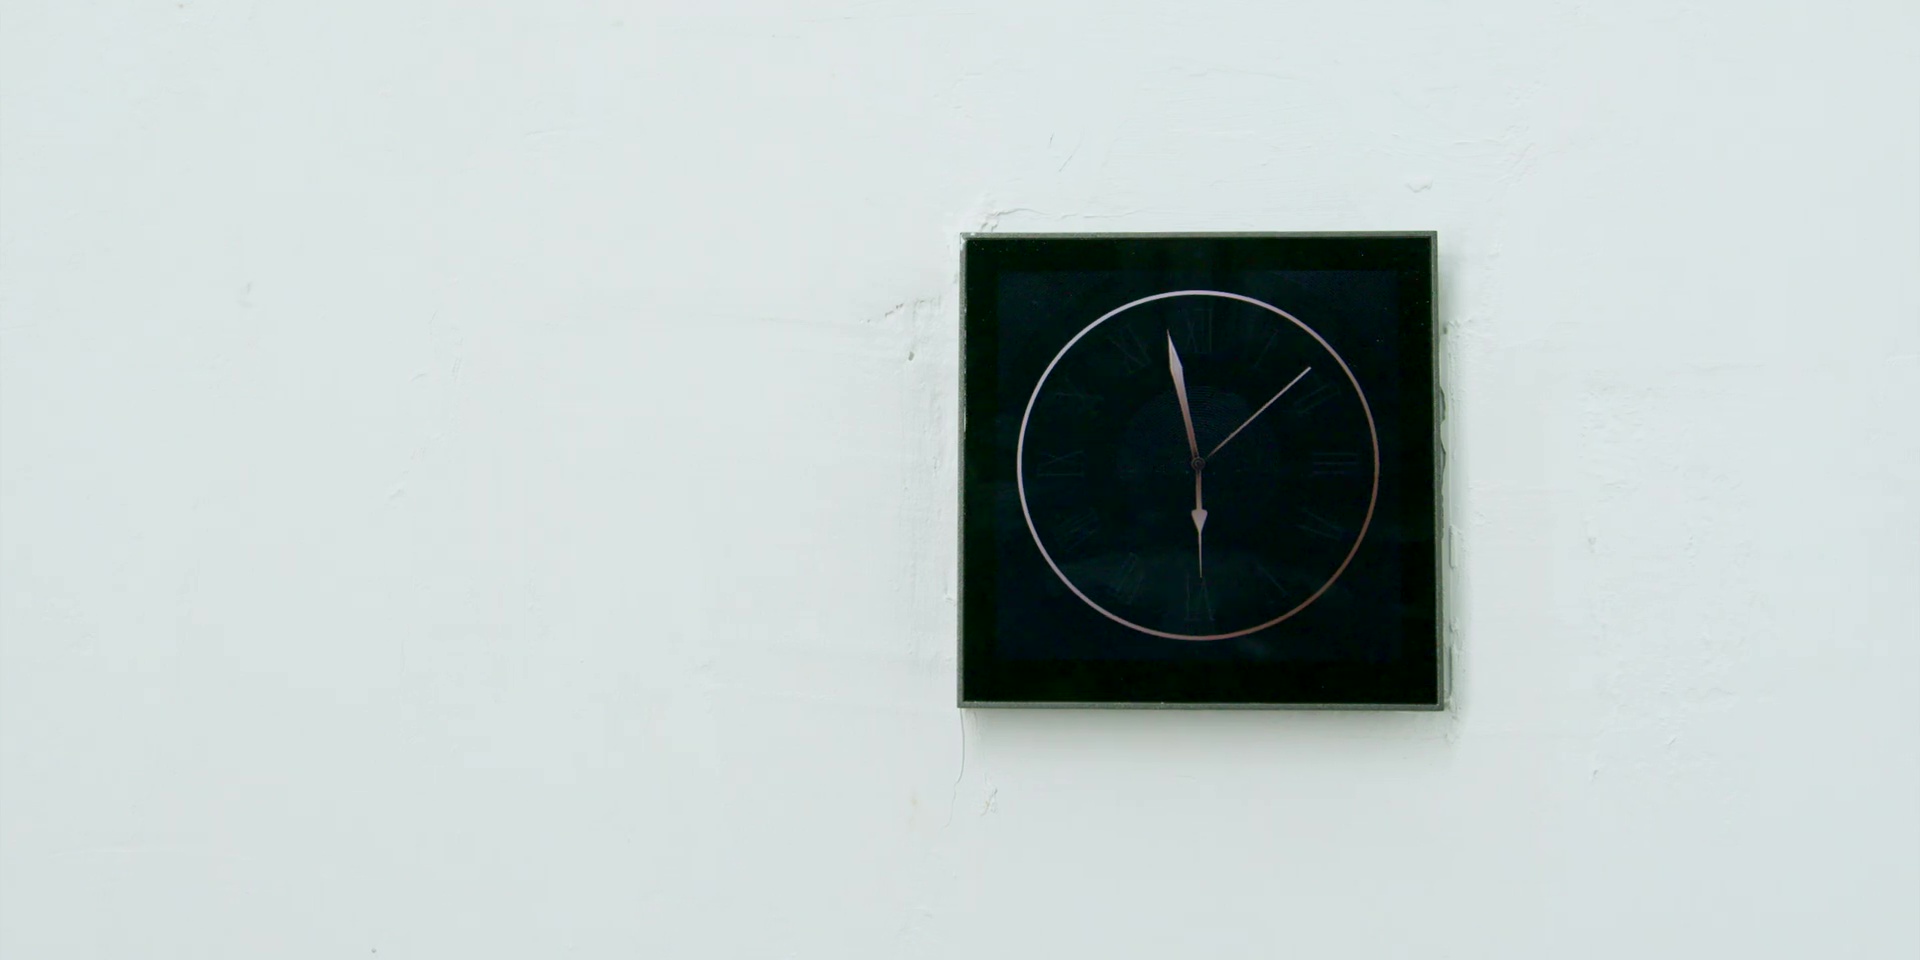
Okay, let’s first start with the entrance. The first cool thing that I’ve got over here is the Yeelight Pro S21 Smart Scene Panel. Besides the super cool screen that not only tells the time and the temperature of the area, both indoor and outdoor depending on your location, it also has the date and the weather forecast as well.
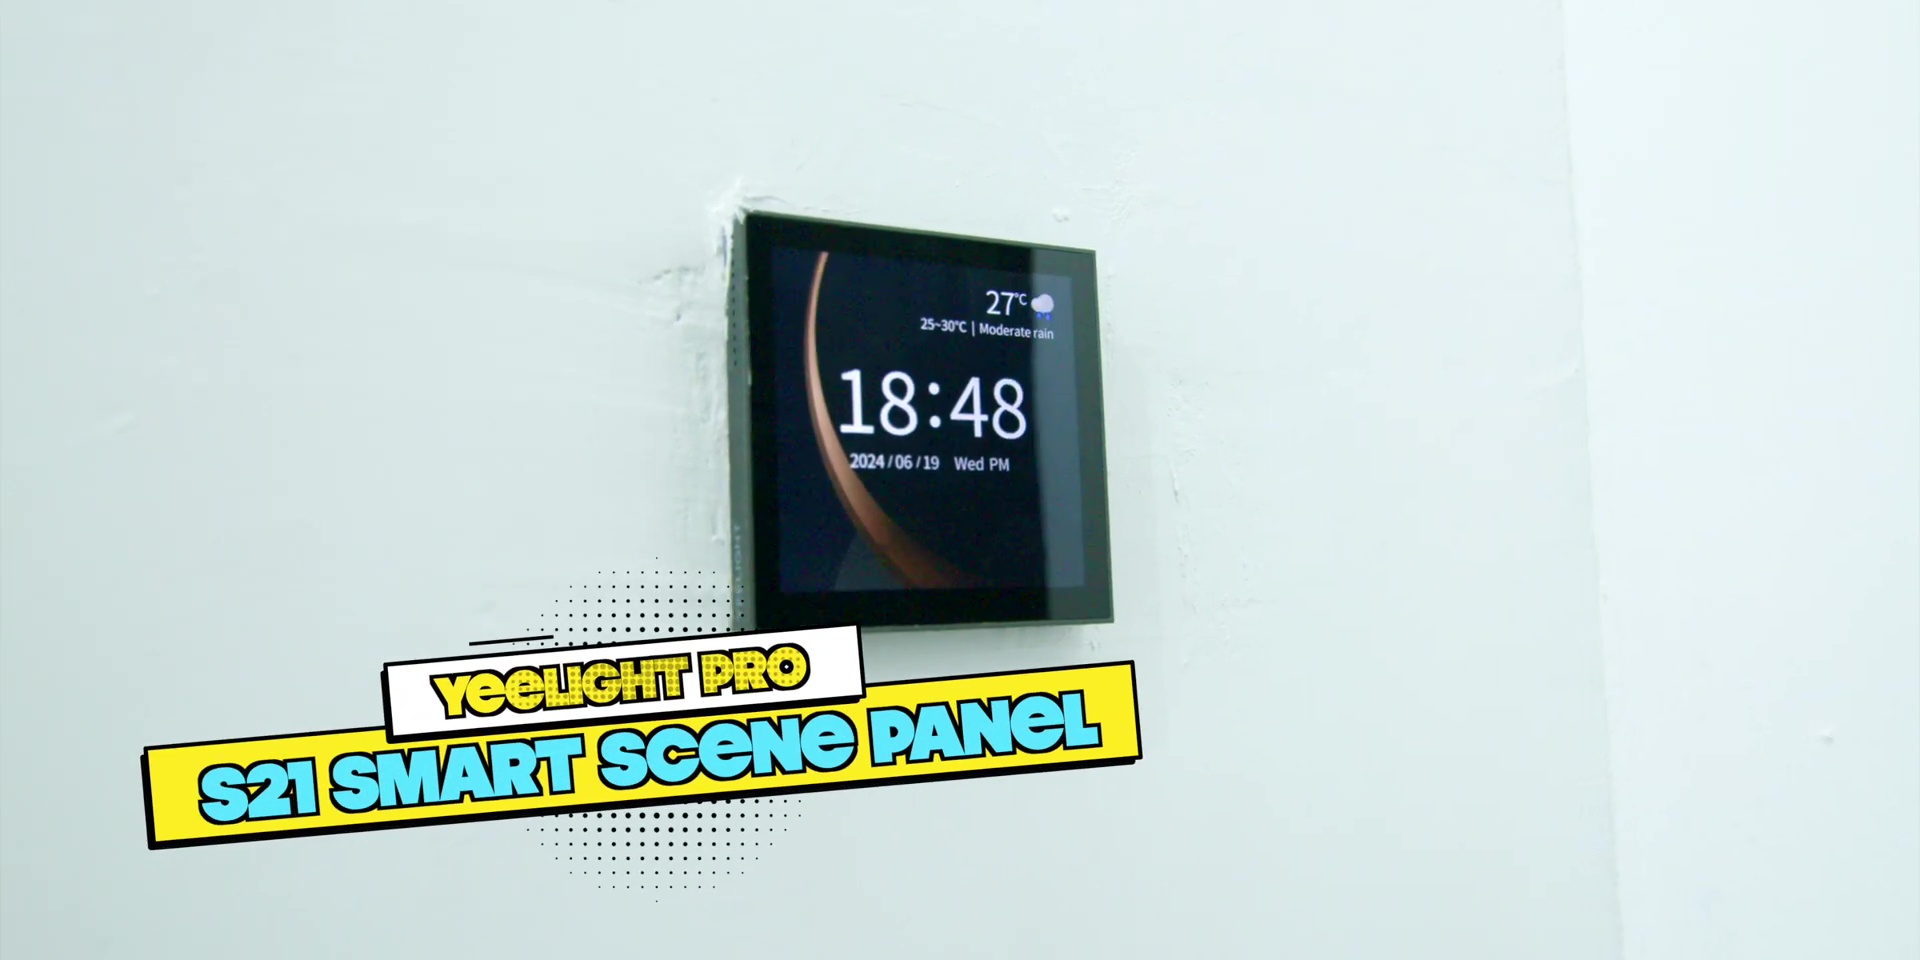
Swiping left on the panel allows you to control each of the power sources connected to the switch, and once the panel is idle, it will go into “Clock Mode” as the standby screen, which also looks really cool.
Then, swiping again goes to the menu of a total of 8 scenes which I have configured to scenes such as turning off everything when anyone is the last person to leave the studio.
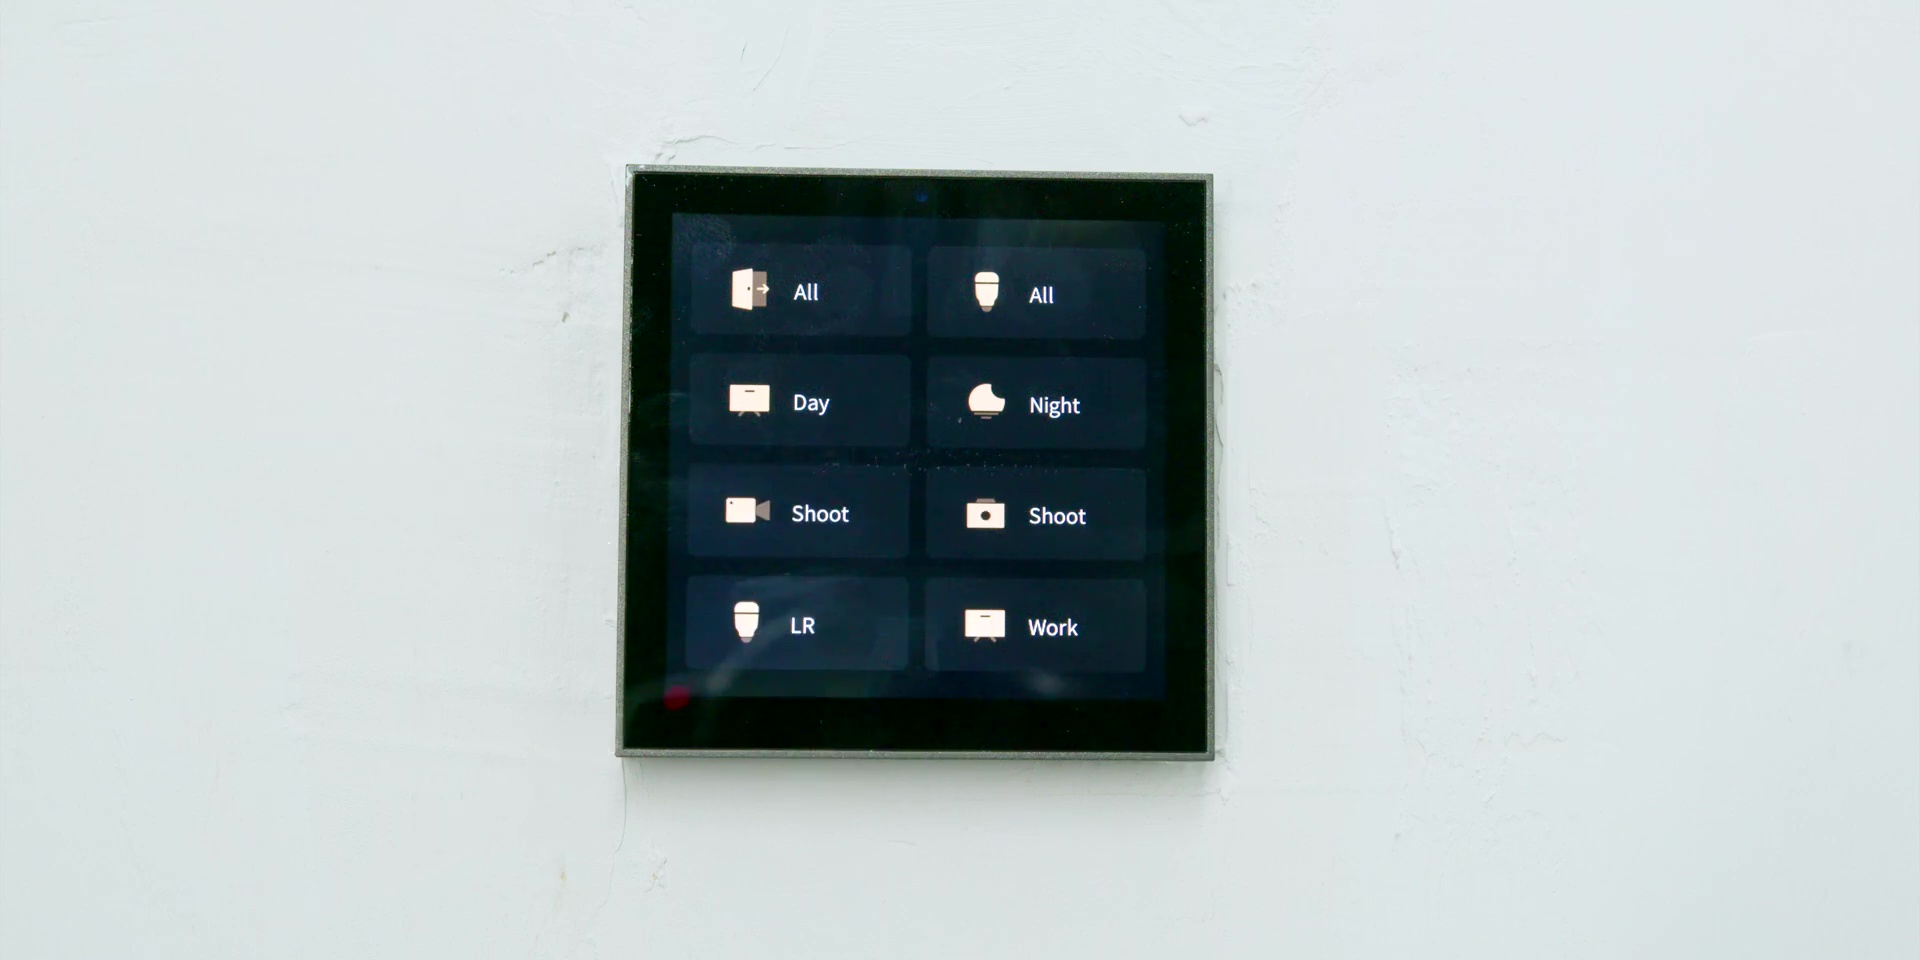
There are also other presets that have been set up specifically for turning on all the lights in the studio, and switching the color temperature of the light from daylight white color lighting. There’s also a scene for a night warm white color temperature, the shooting scenes for both the A-roll and the B-roll living studios, and more on that later.
There are also scenes for turning on the living room and the office area as well for work. Of course, all of these scenes can be configured however you like in the Yeelight Pro app.
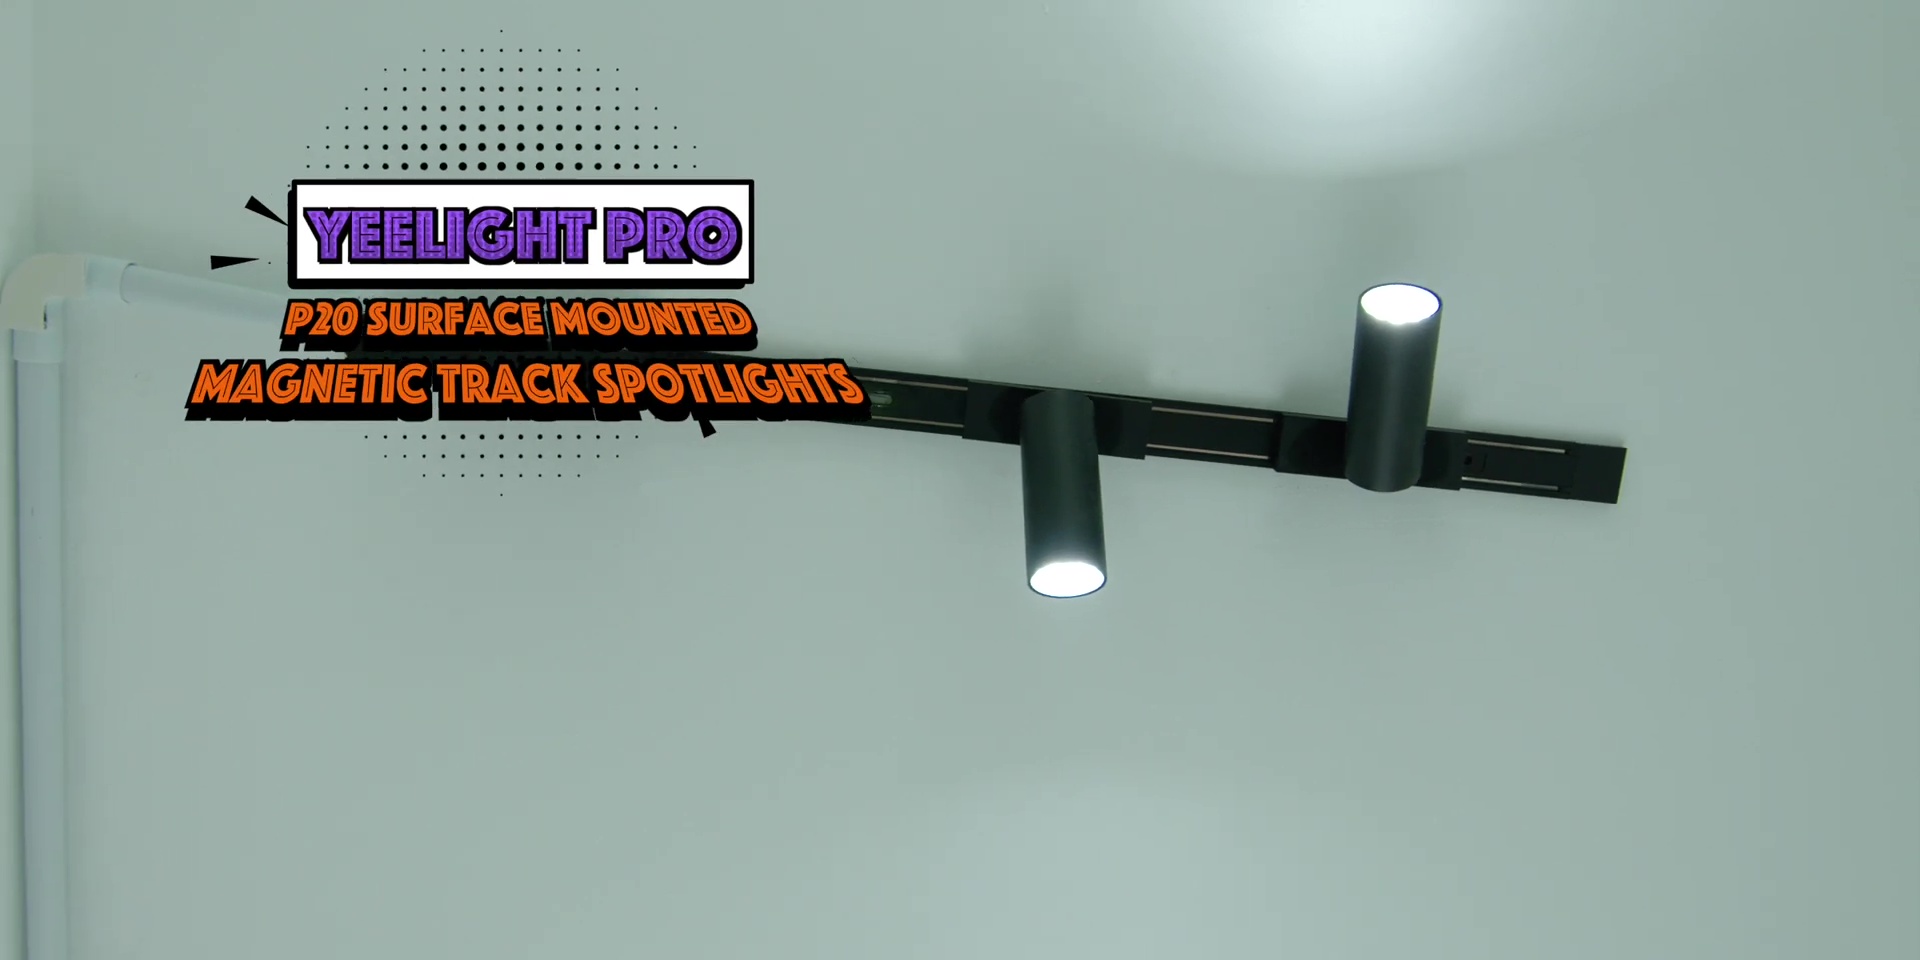
Then, looking on top, there is the Yeelight Pro P20 Surface Mounted Magnetic Track. This has two Yeelight Pro P20 Surface Mounted Magnetic Track Spotlights: one is shining directly on our company logo, and the other is pointed right to the entrance. The Eufy camera is faced towards there for us to know who exactly is entering the studio at all times.
![]()
What’s lovely is that this Yeelight Pro P20 Surface Mounted Magnetic Track Spotlights attached over here can be positioned however you like and moved manually as well, as it’s not only connected magnetically but also wirelessly connected as well.
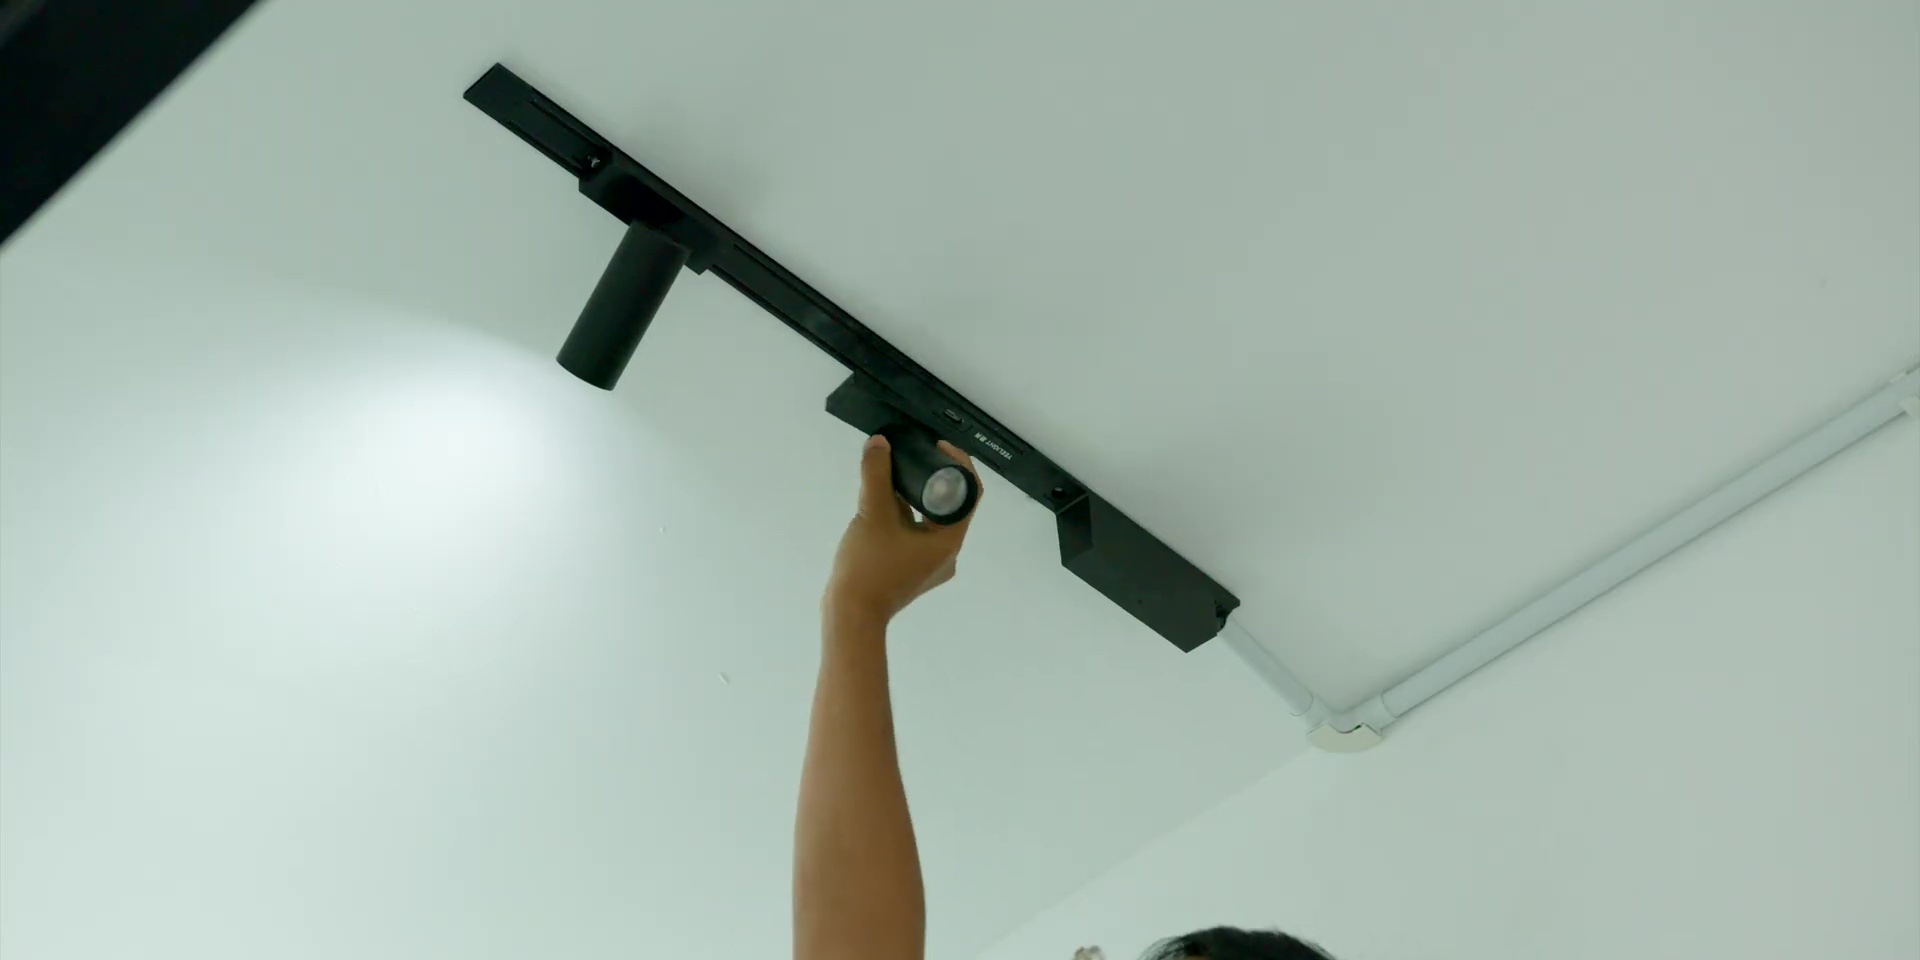
Other than that, I also love how it has a 0.01 dimming precision, compared to other smart lighting where the steps of the dimming either go up too much or go down too much. This precise dimming is applicable for all of the Yeelight Pro lighting systems that I’ll mention throughout this article.
Then, on top of this marble console, there is the Yeelight Pro S20 Bluetooth Mesh Gateway. It brings all the Yeelight Pro lights together and works directly with the smart home ecosystem as mentioned earlier. It is placed here to be more of a central position, and what’s great is that you can connect it via Ethernet and also wirelessly as well.
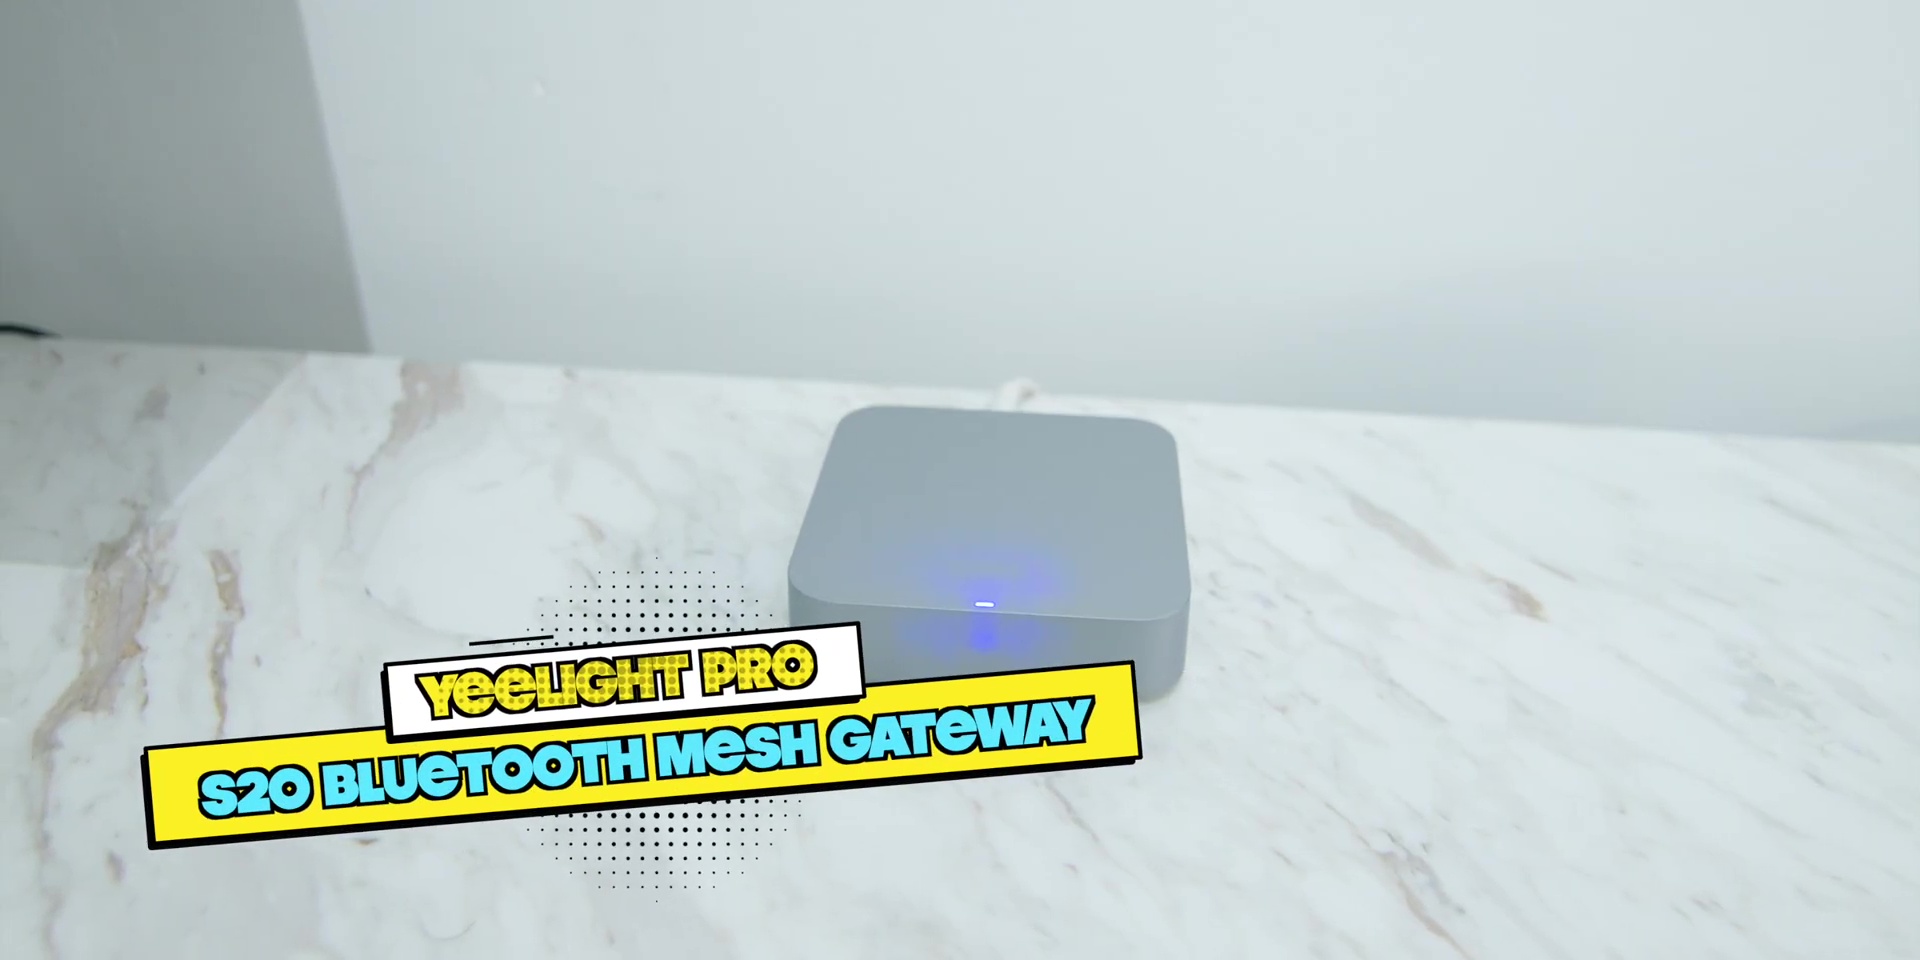
Speaking of connectivity, through the LAN control, you can even have smart control because of this hub, even without the internet, which is very sweet.
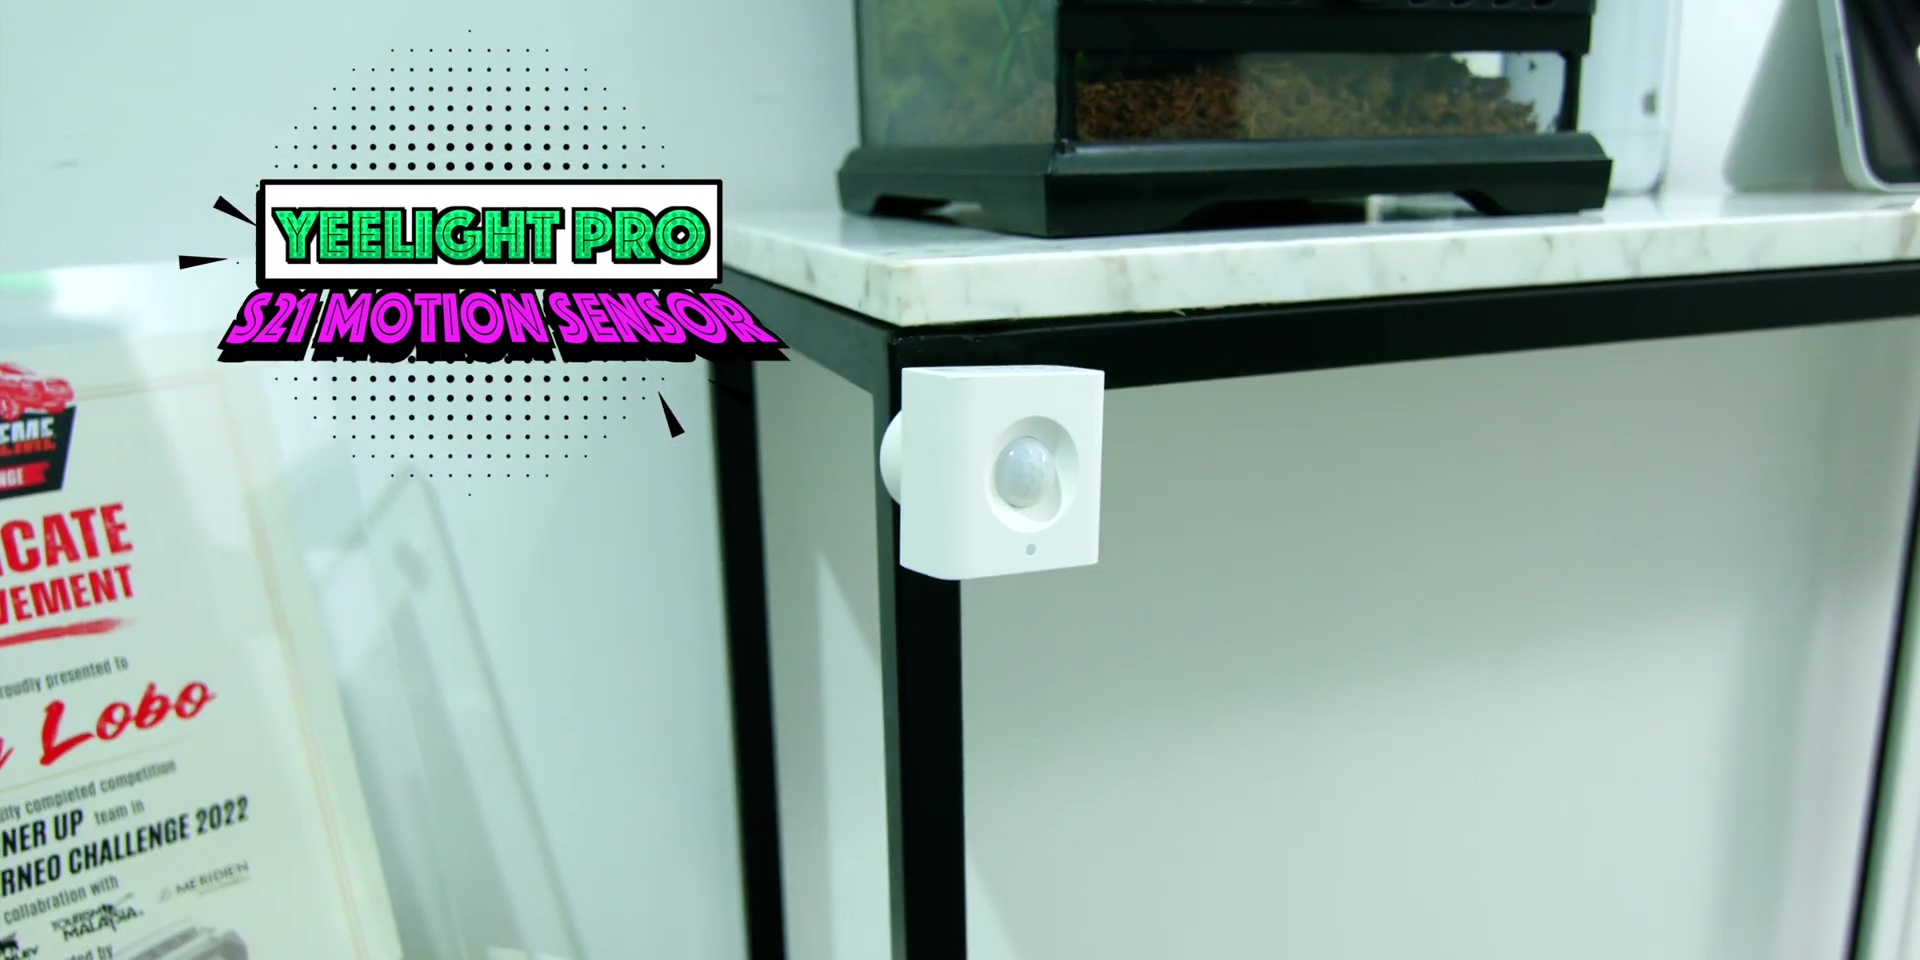
Attached magnetically is the Yeelight Pro S21 Motion Sensor. I’ve set up an automation that every time there’s motion at the entrance, only the lights over here will turn on, and after 2 minutes of no motion, it will turn off.
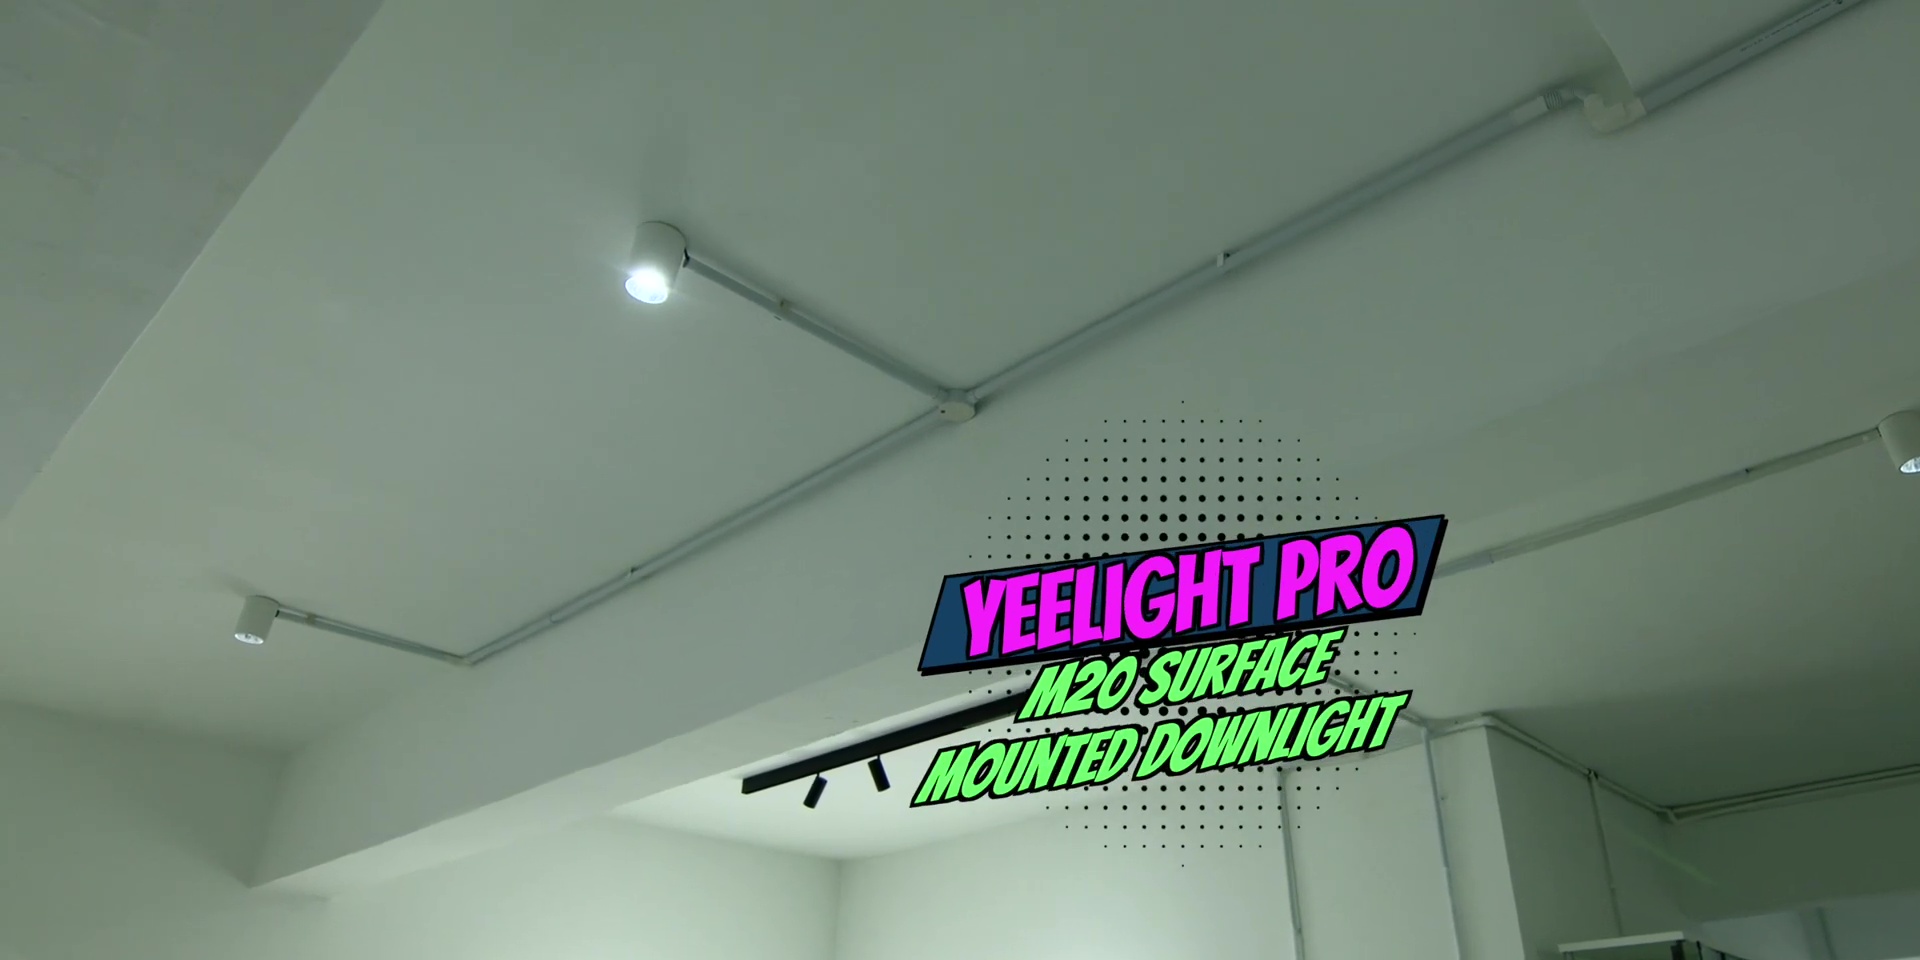
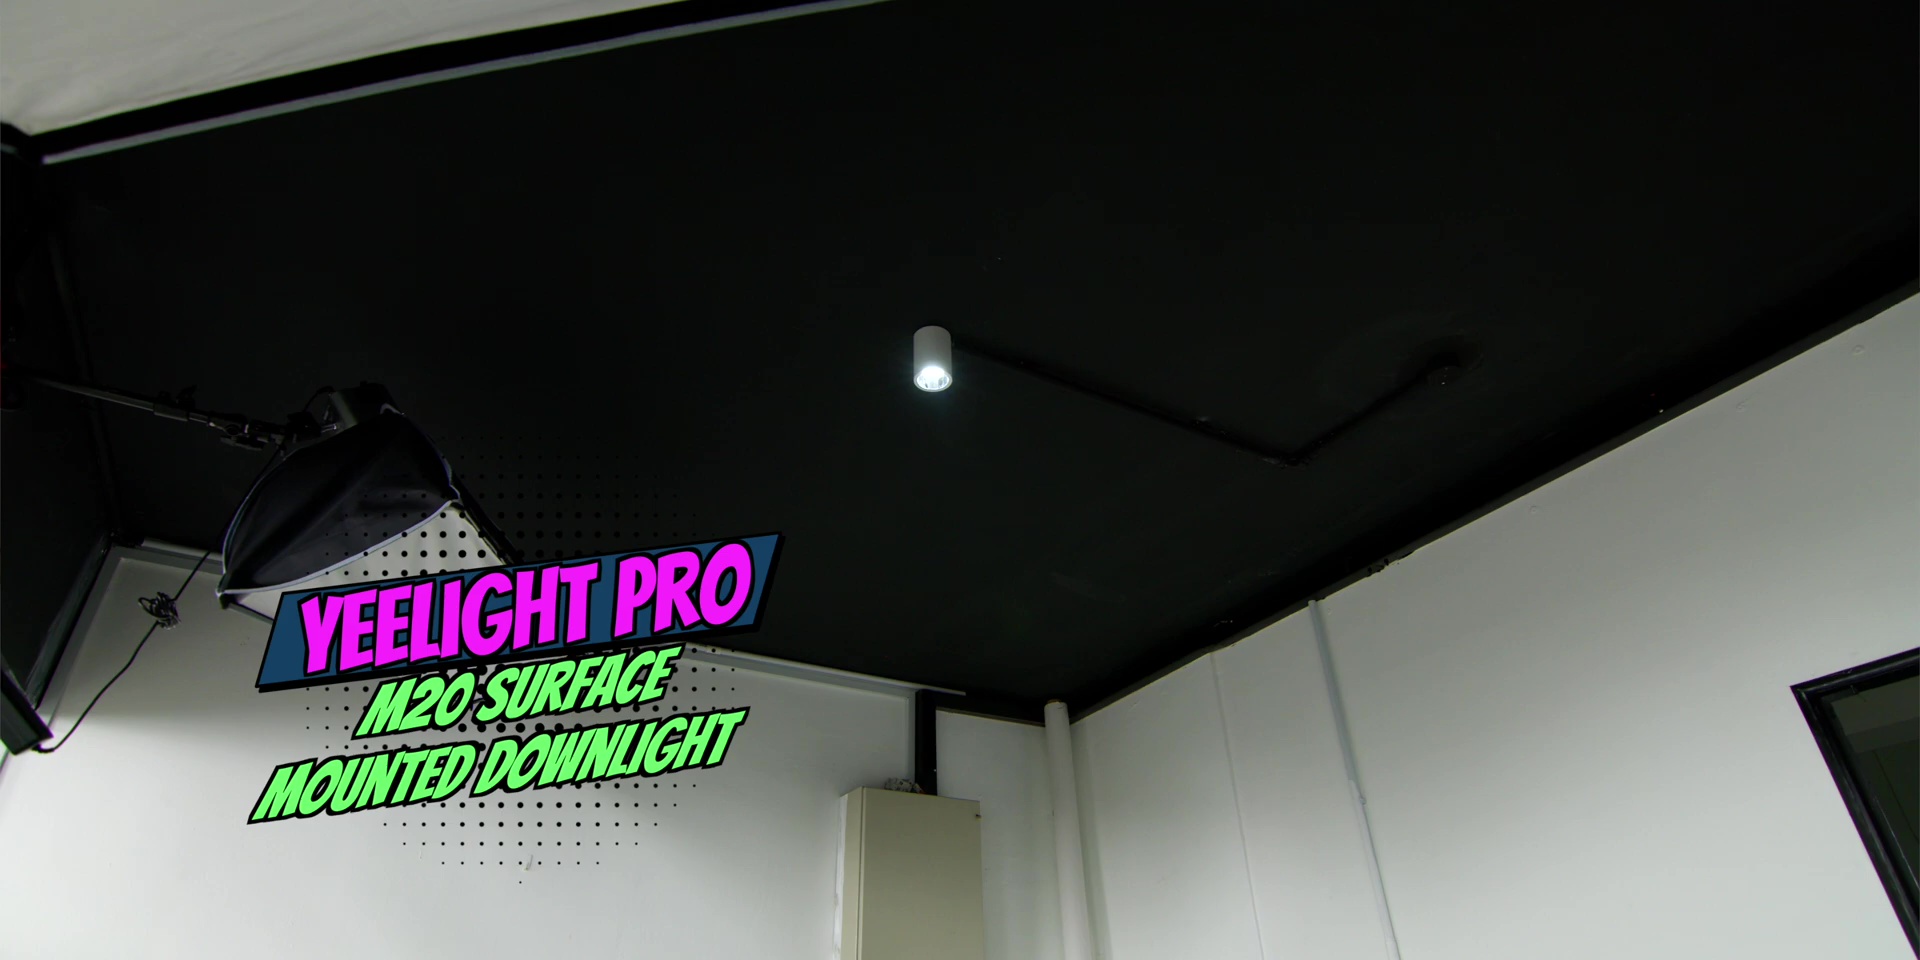
Moving forward, here’s the new Yeelight Pro M20 Surface Mounted Downlight. I love how it has a nice white color finish around the lights, which blends in very well with our concrete ceiling.
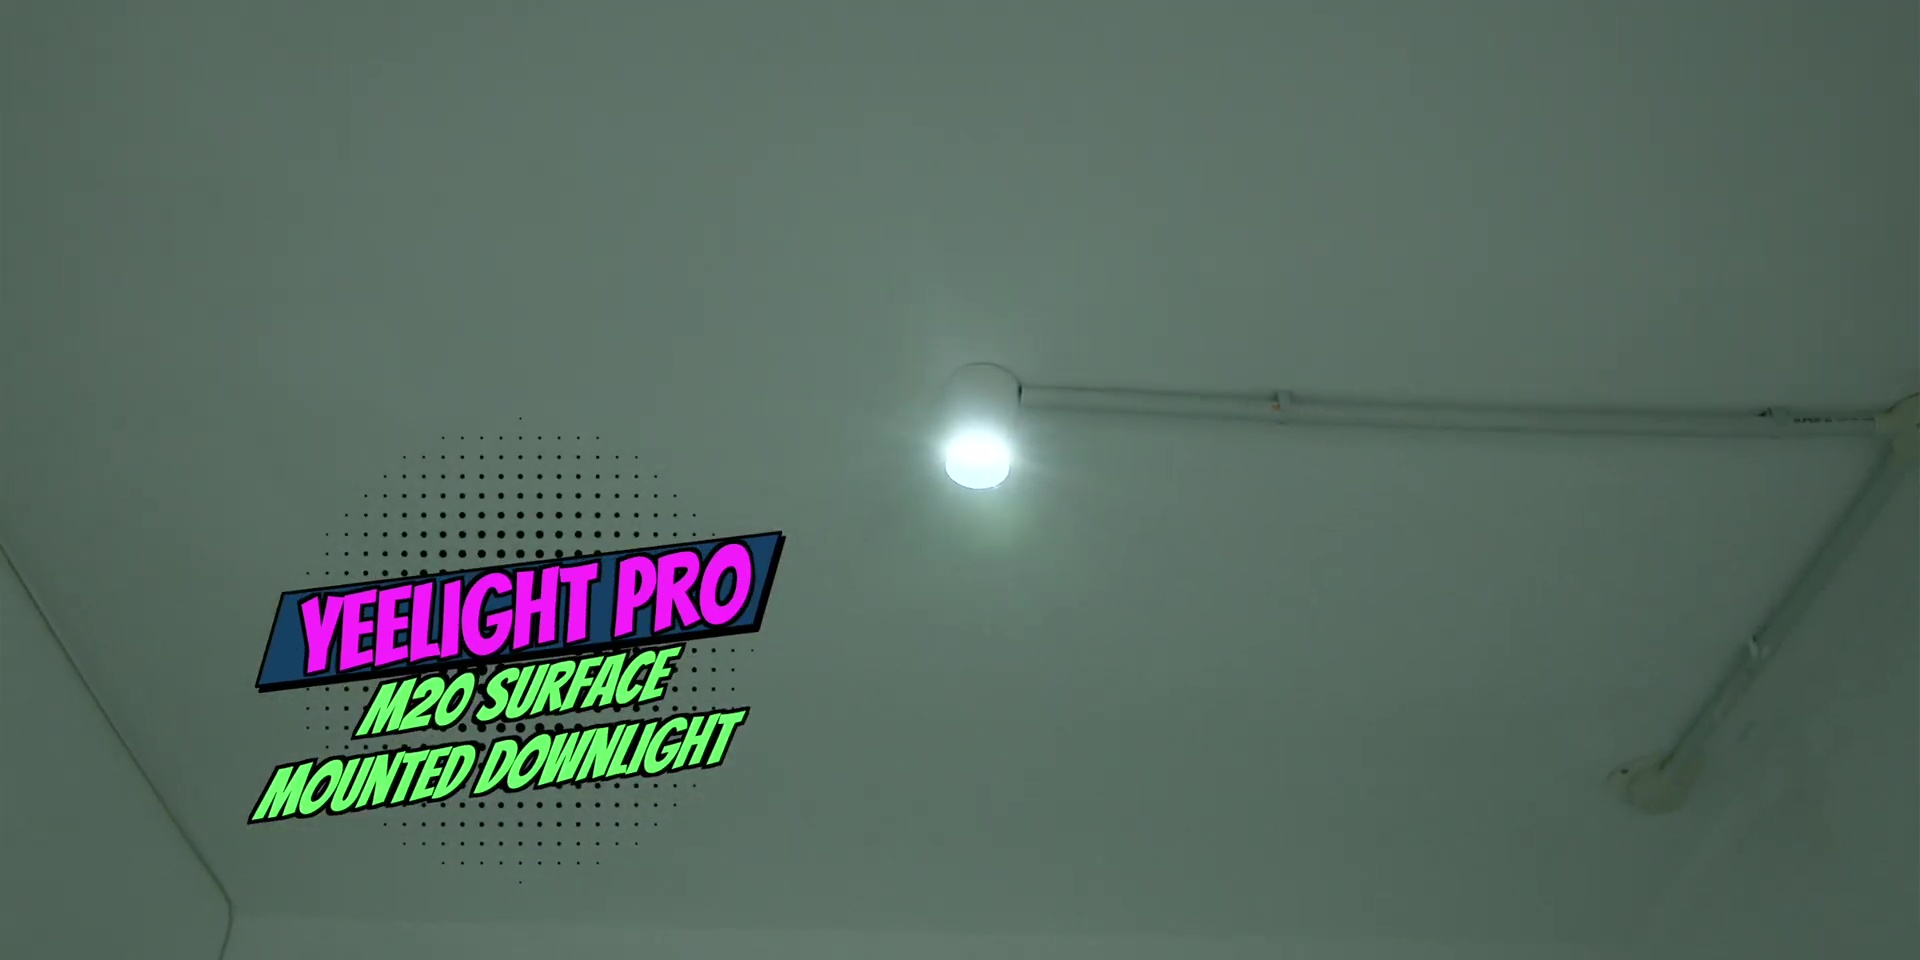
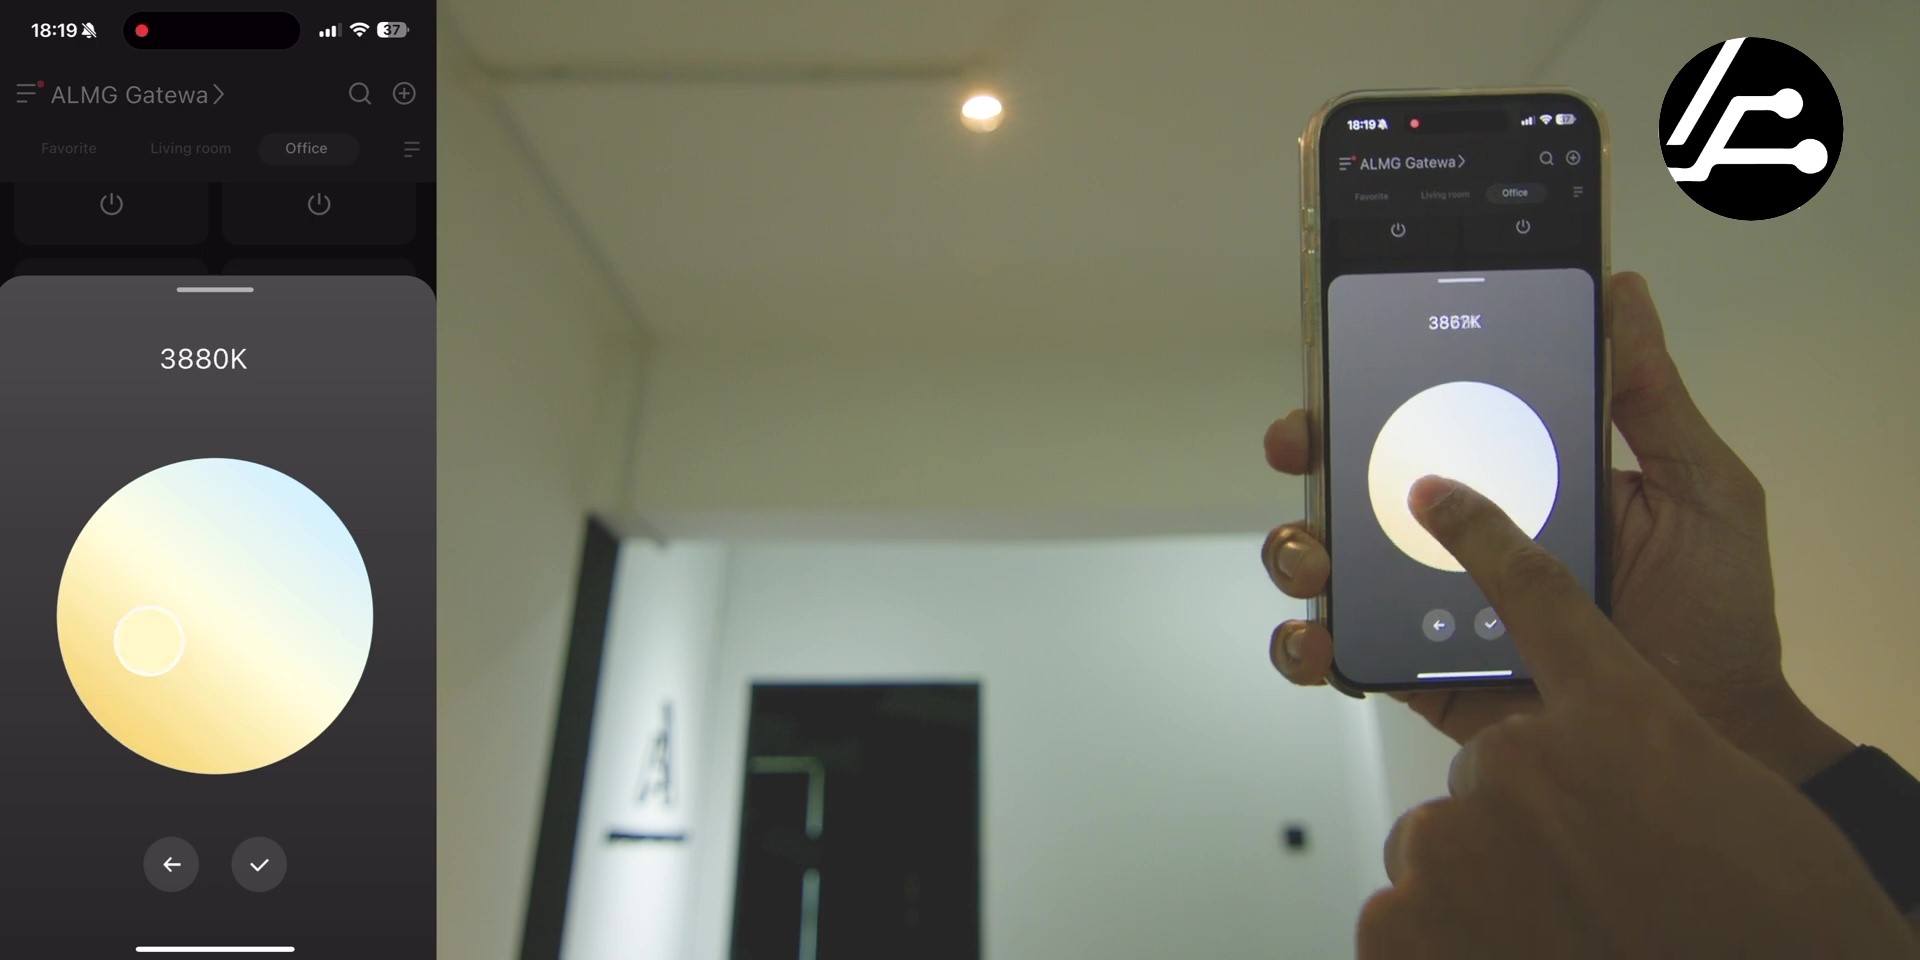
As shown earlier, you can switch the color temperature according to the scene created. On top of that, I also love how you can dial the exact Kelvin value of the color temperature in numbers in the app, which makes it easier for me to match together with all of the videos, combined with the studio lights in the living room, and more on that later.
Office
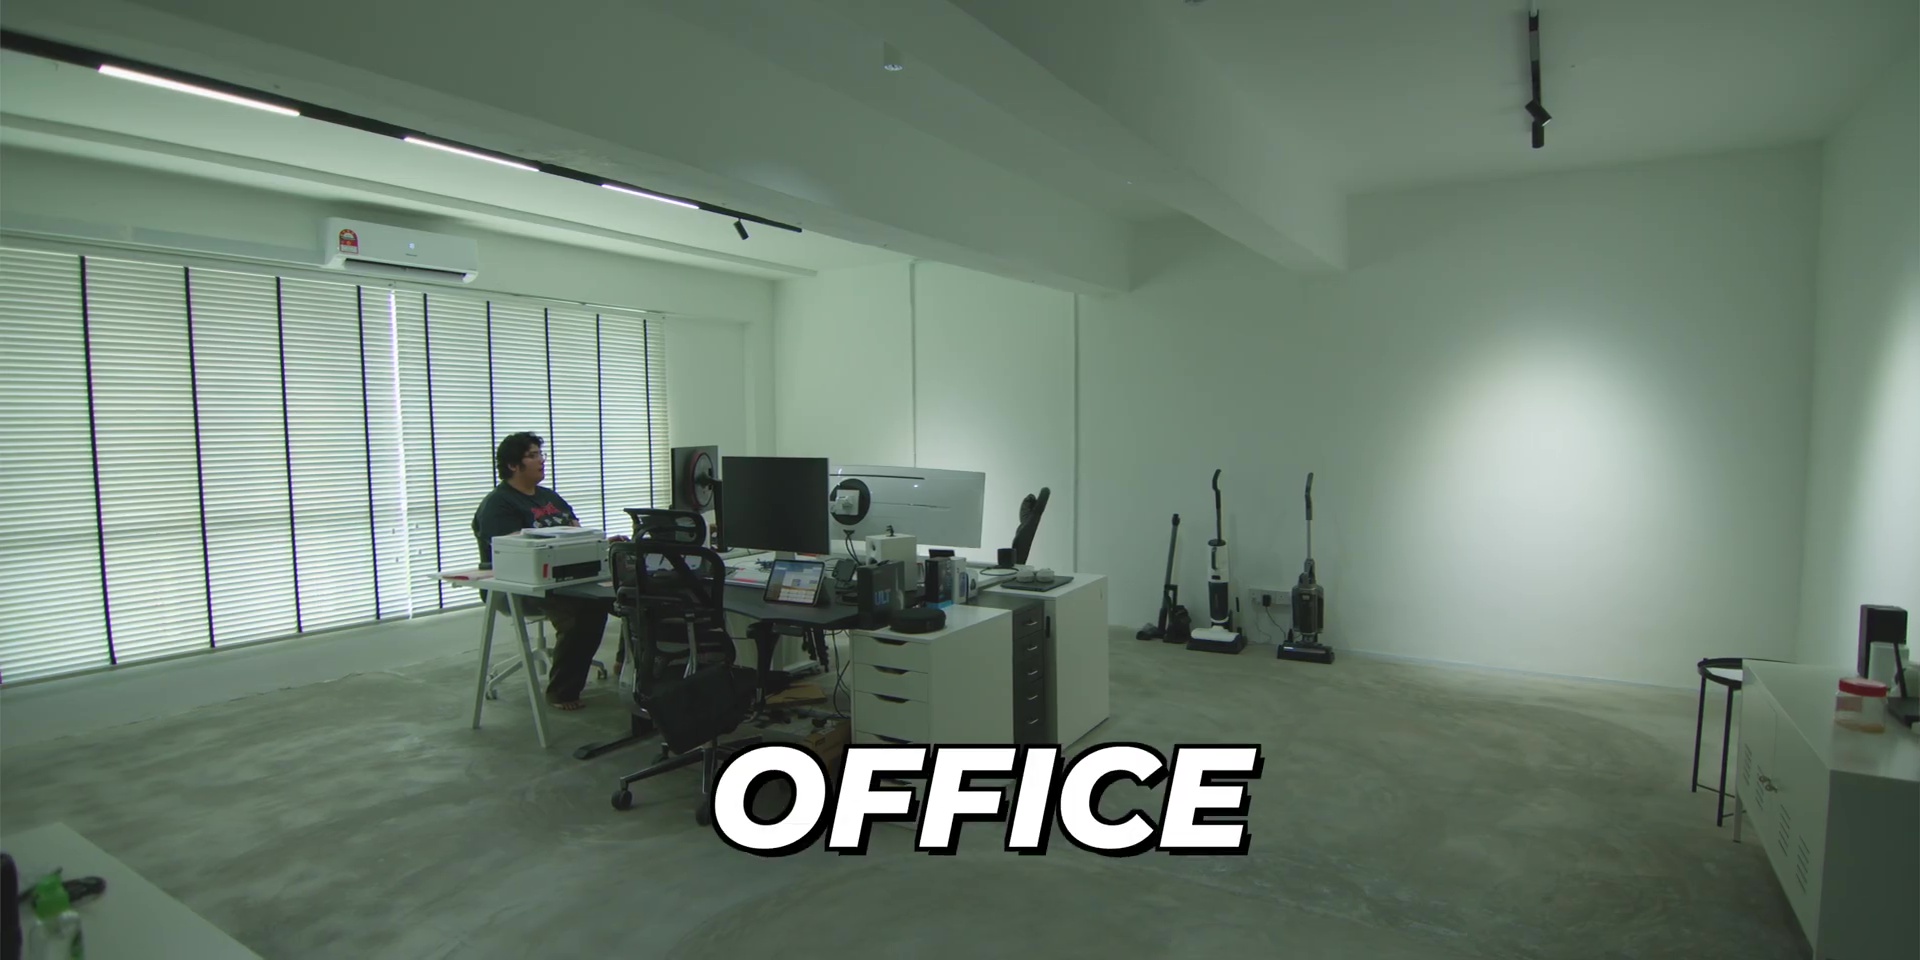
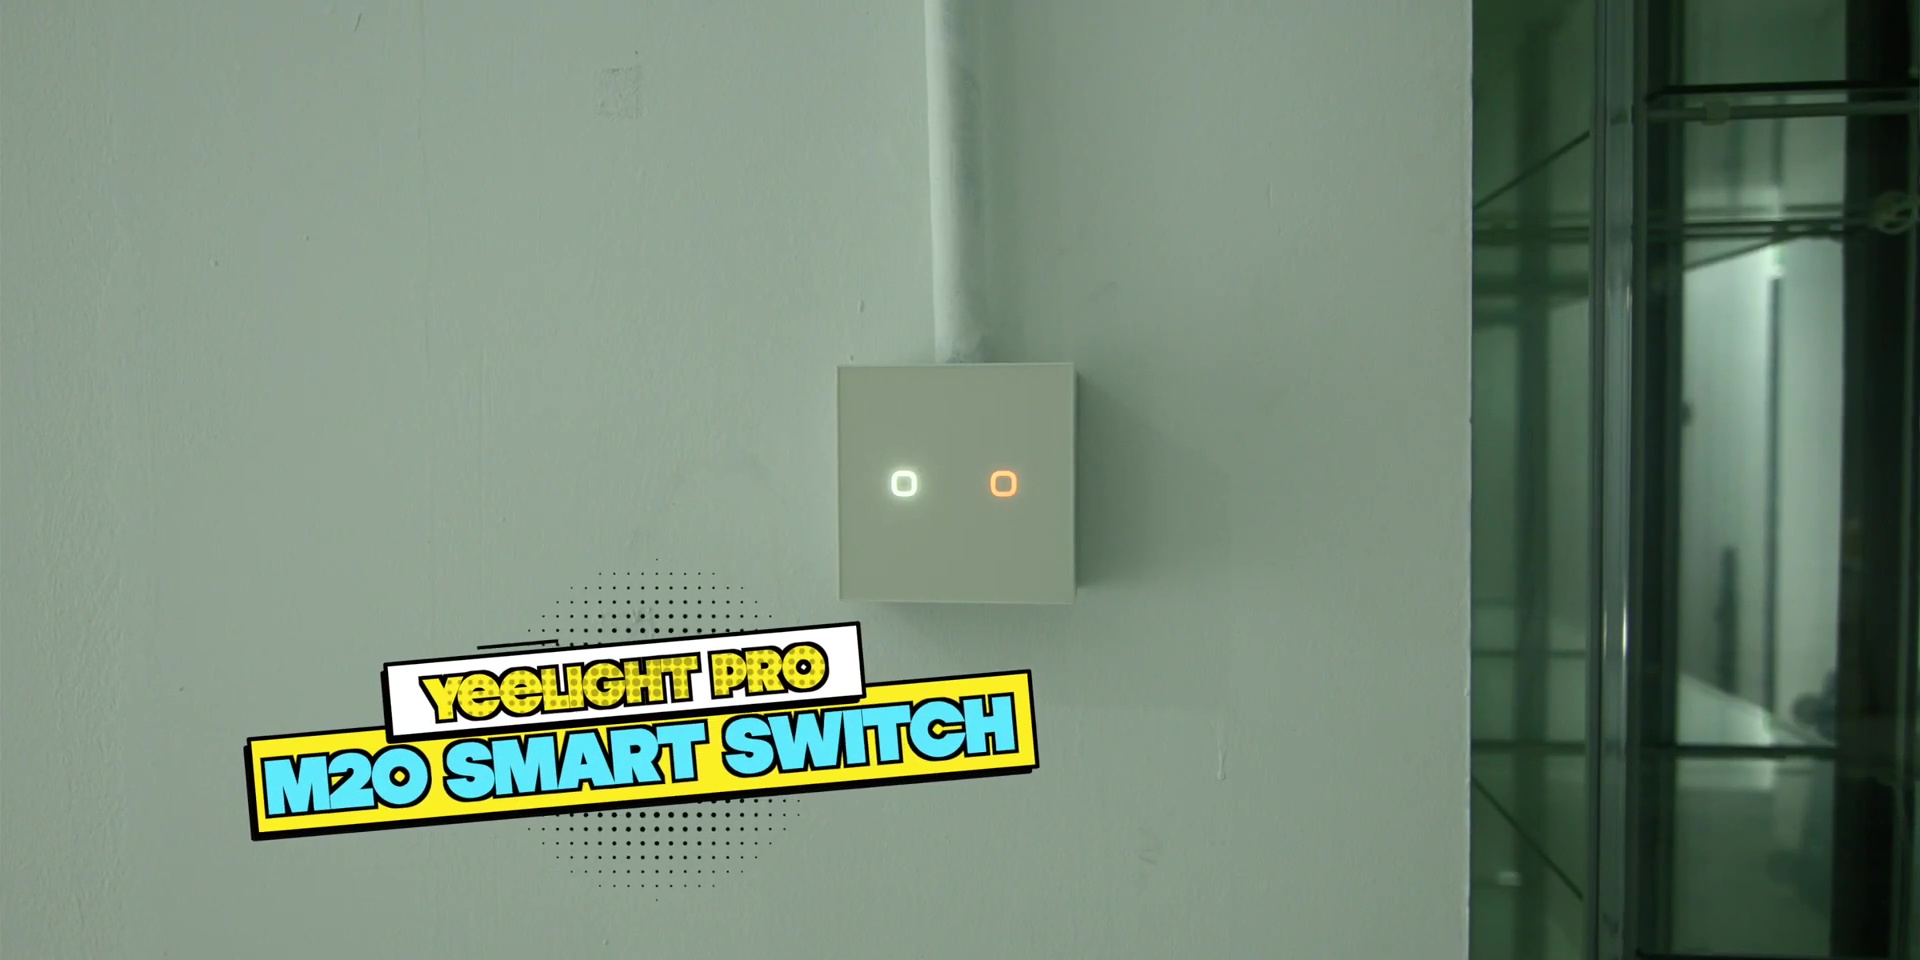
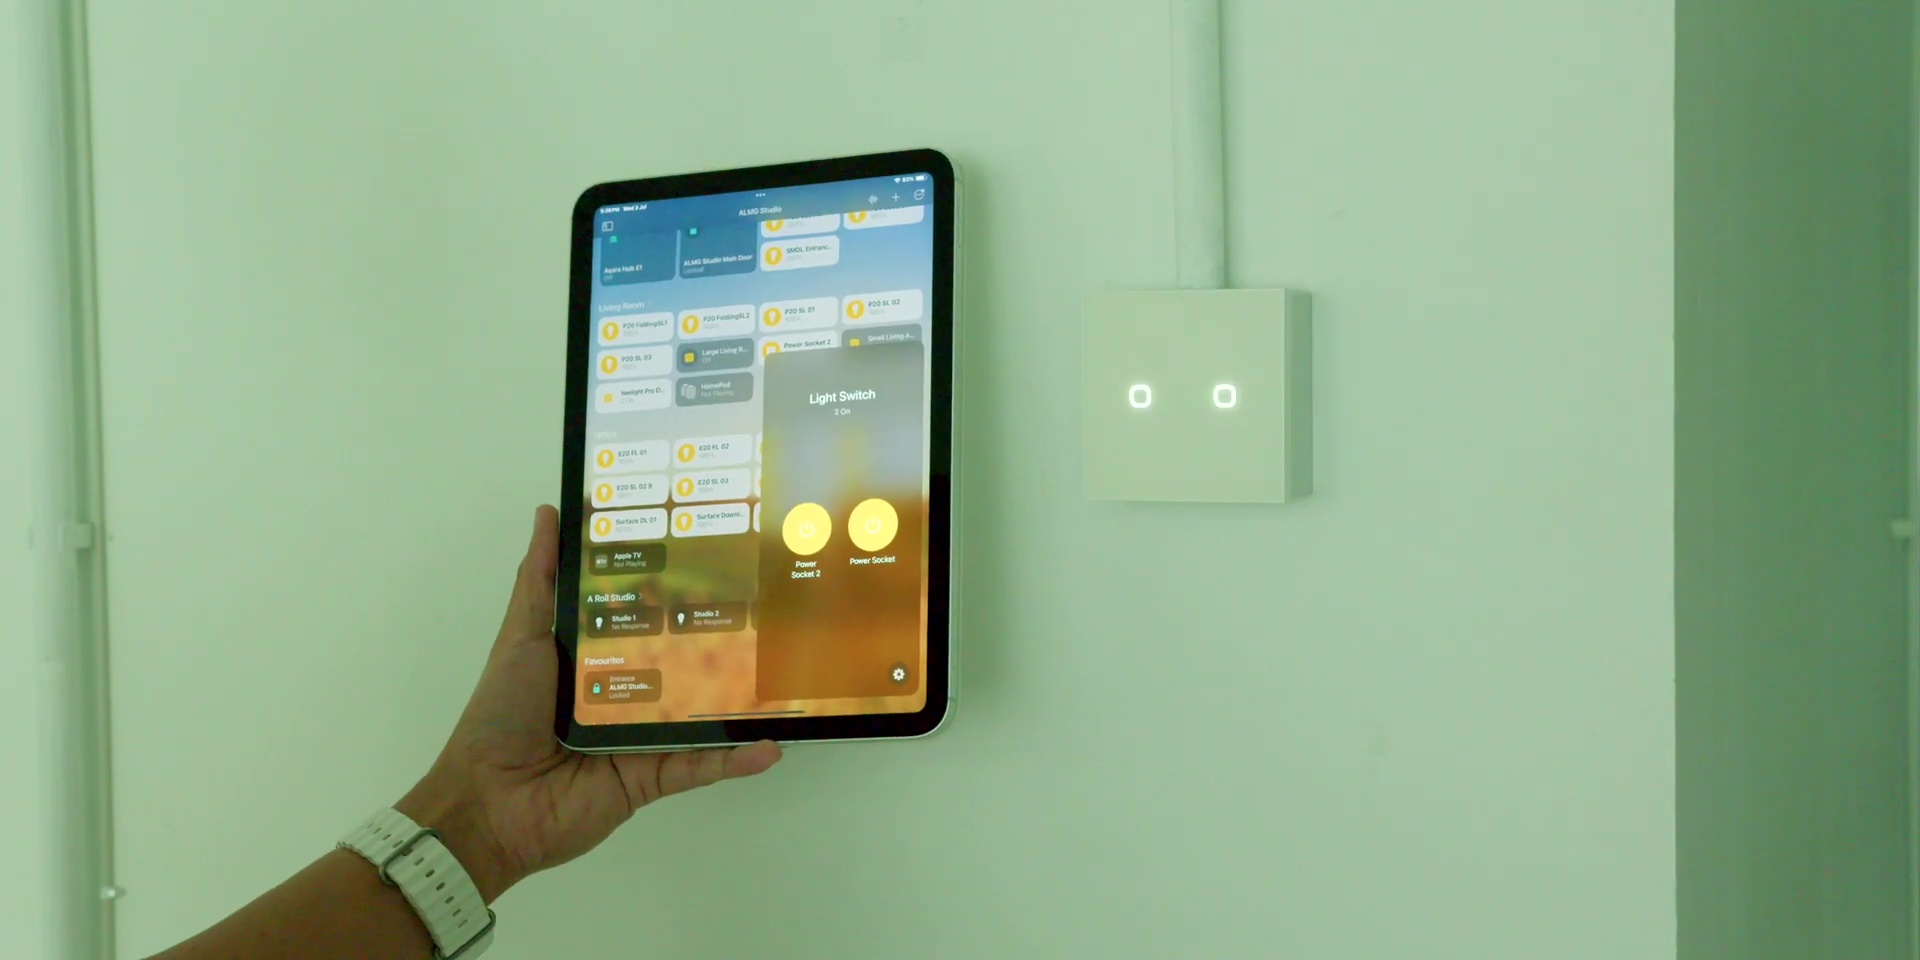
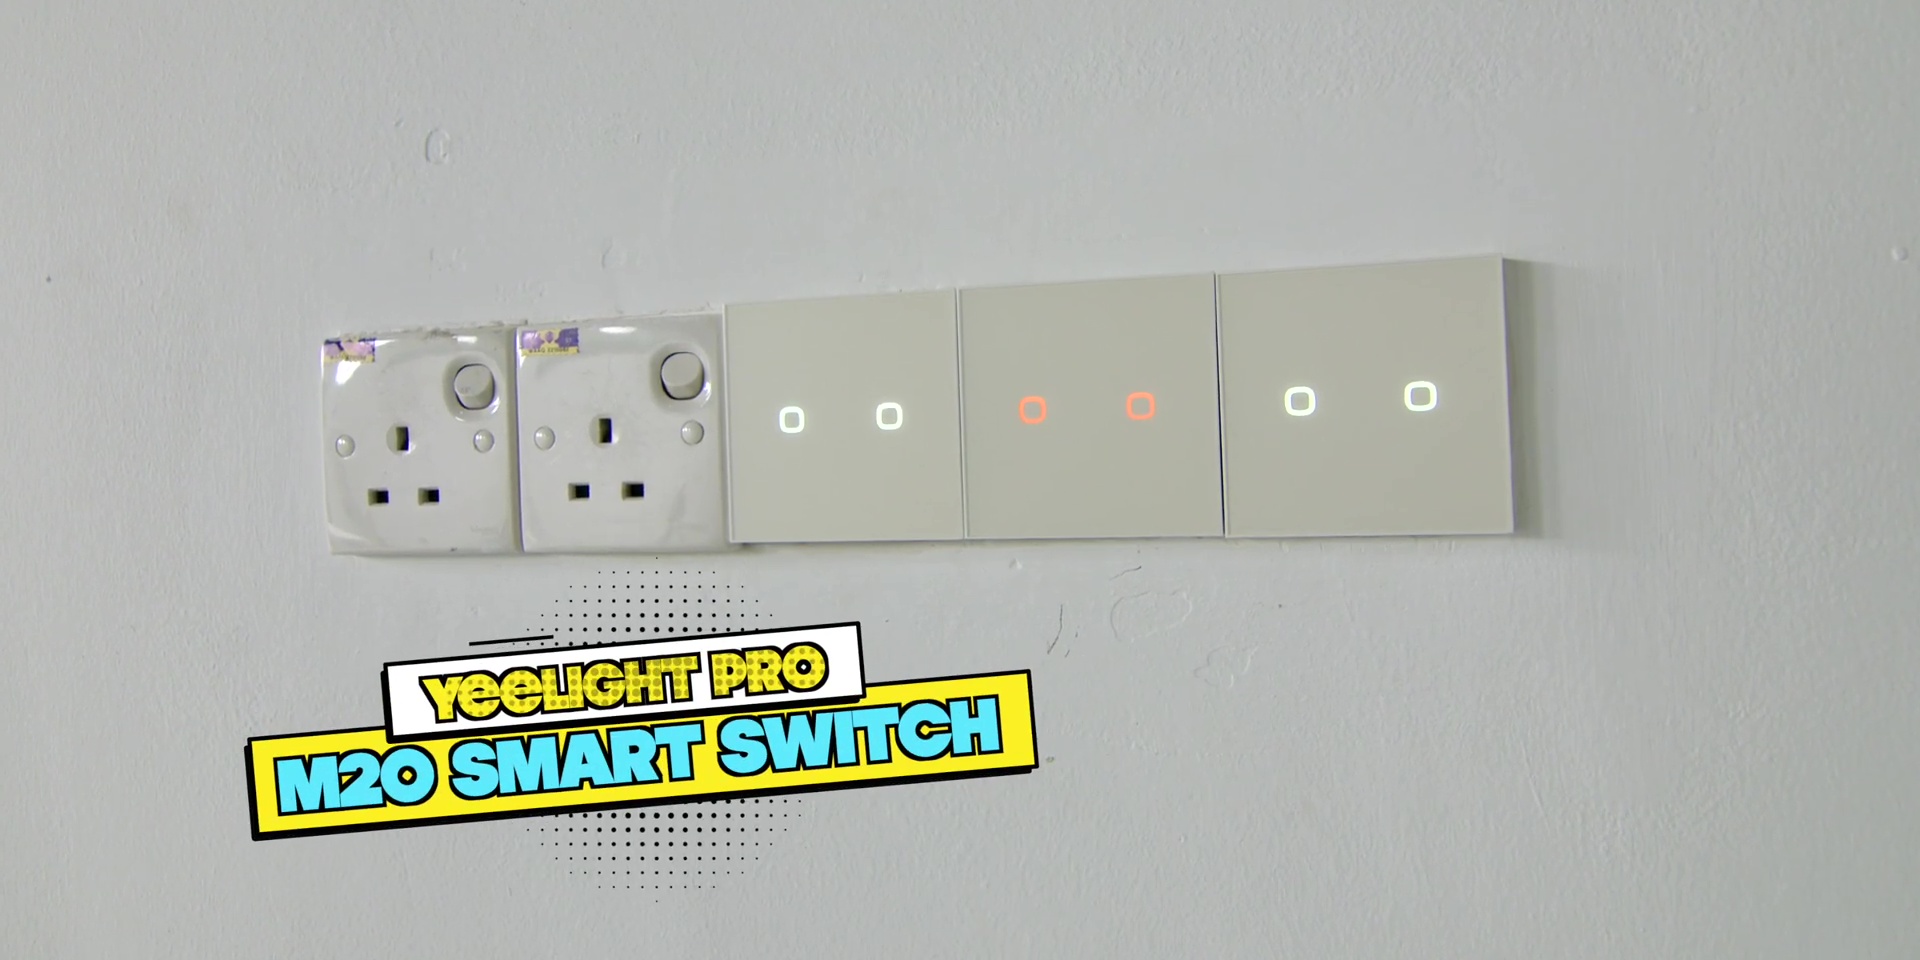
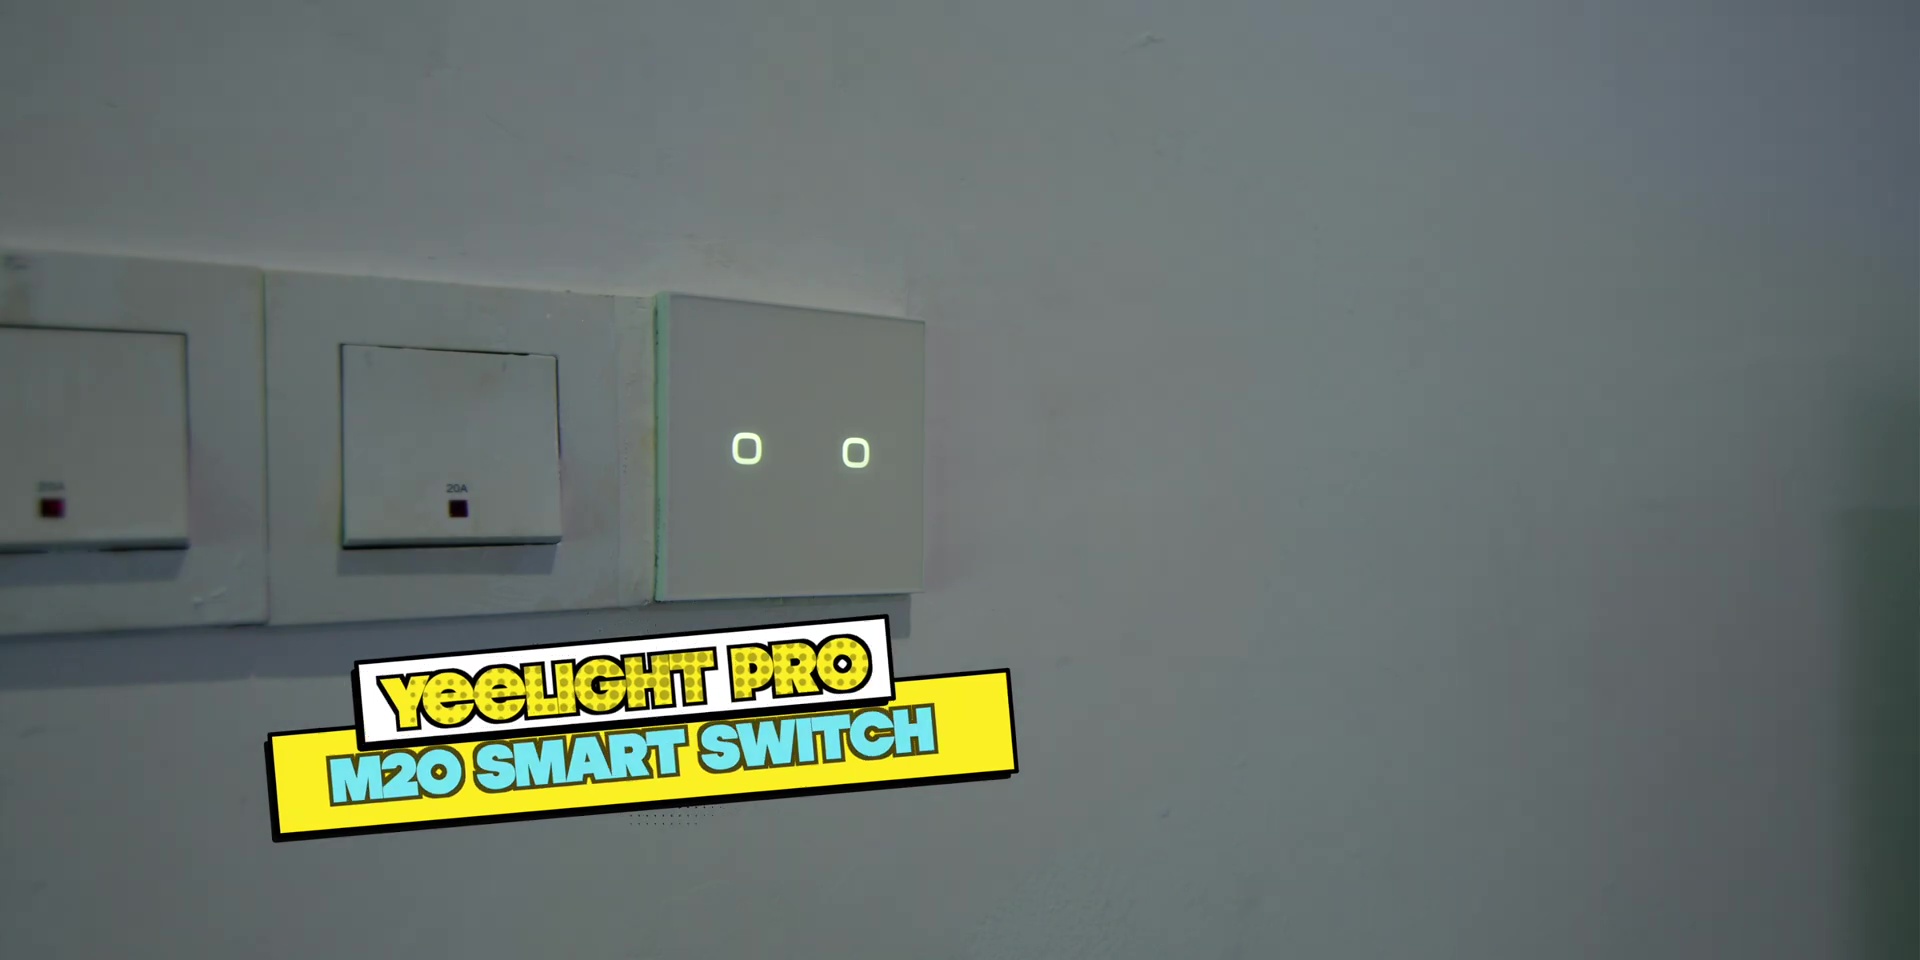
Then, coming over to the office studio, first, there is this: the Yeelight Pro M20 Smart Switch. This is the 2 gang variant, as this controls the power source of the lights, and you can toggle it on and off also on the Yeelight Pro app and, of course, on HomeKit as well.
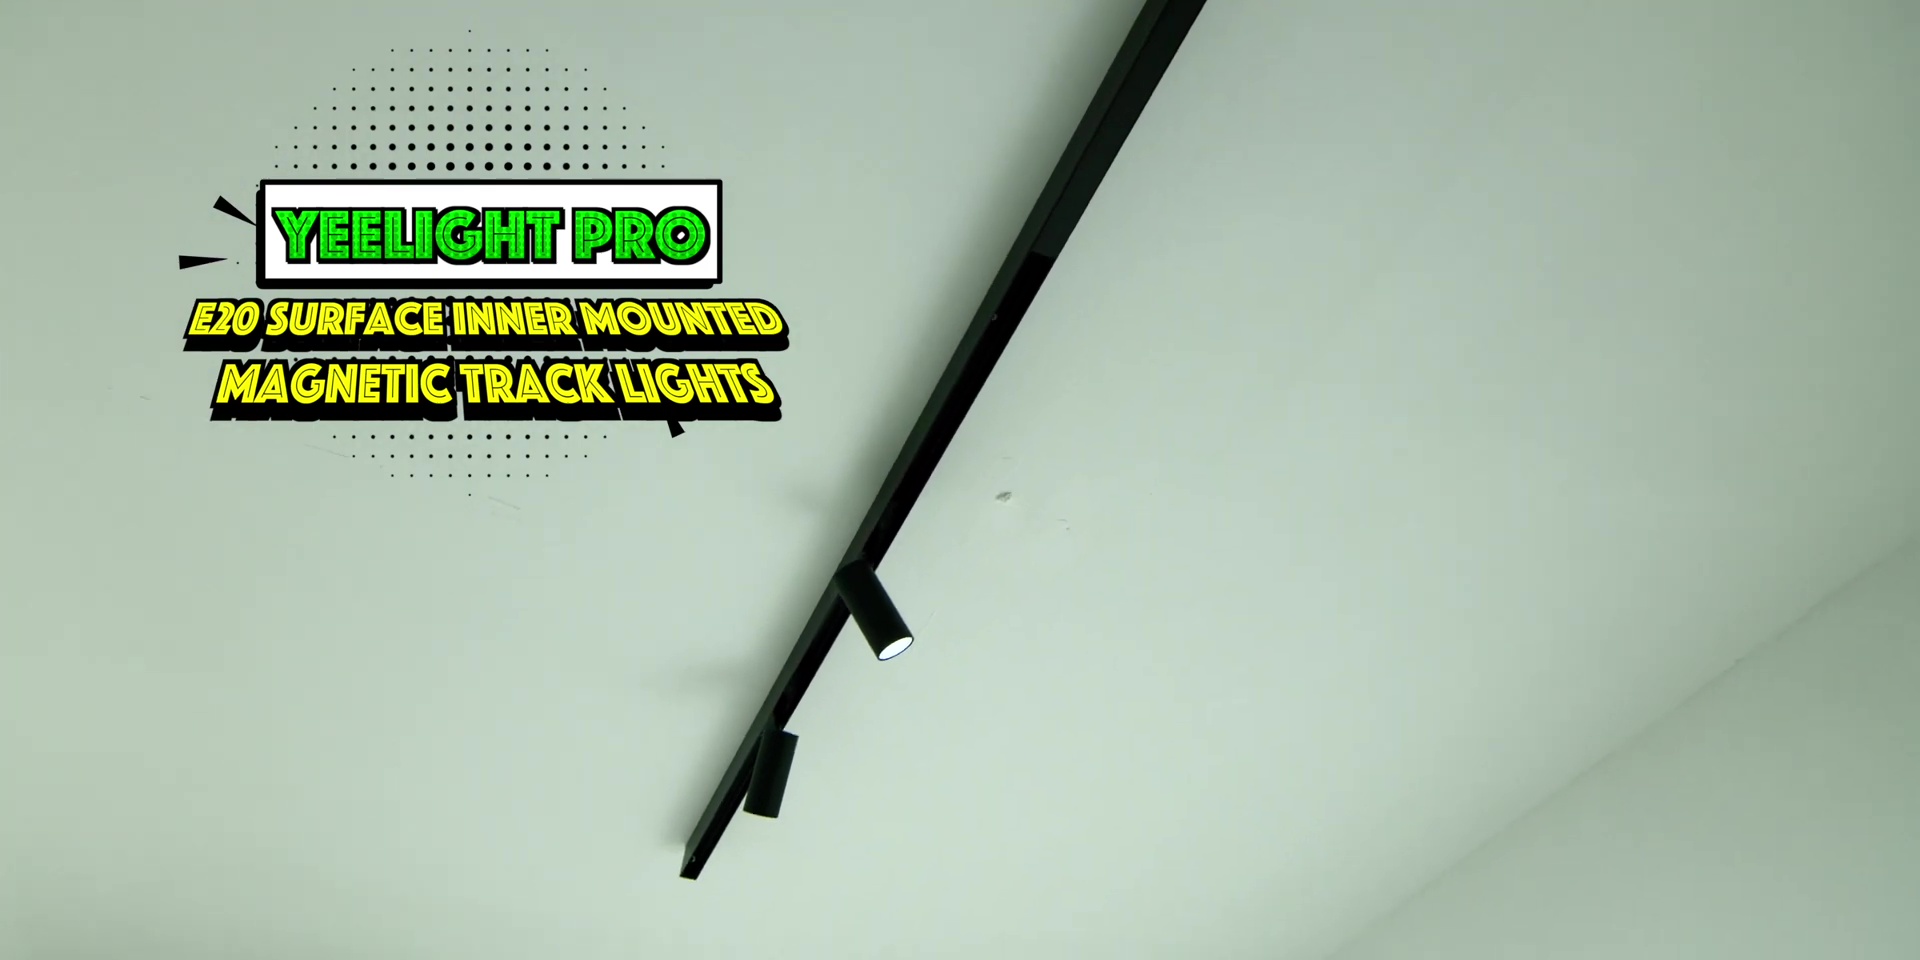
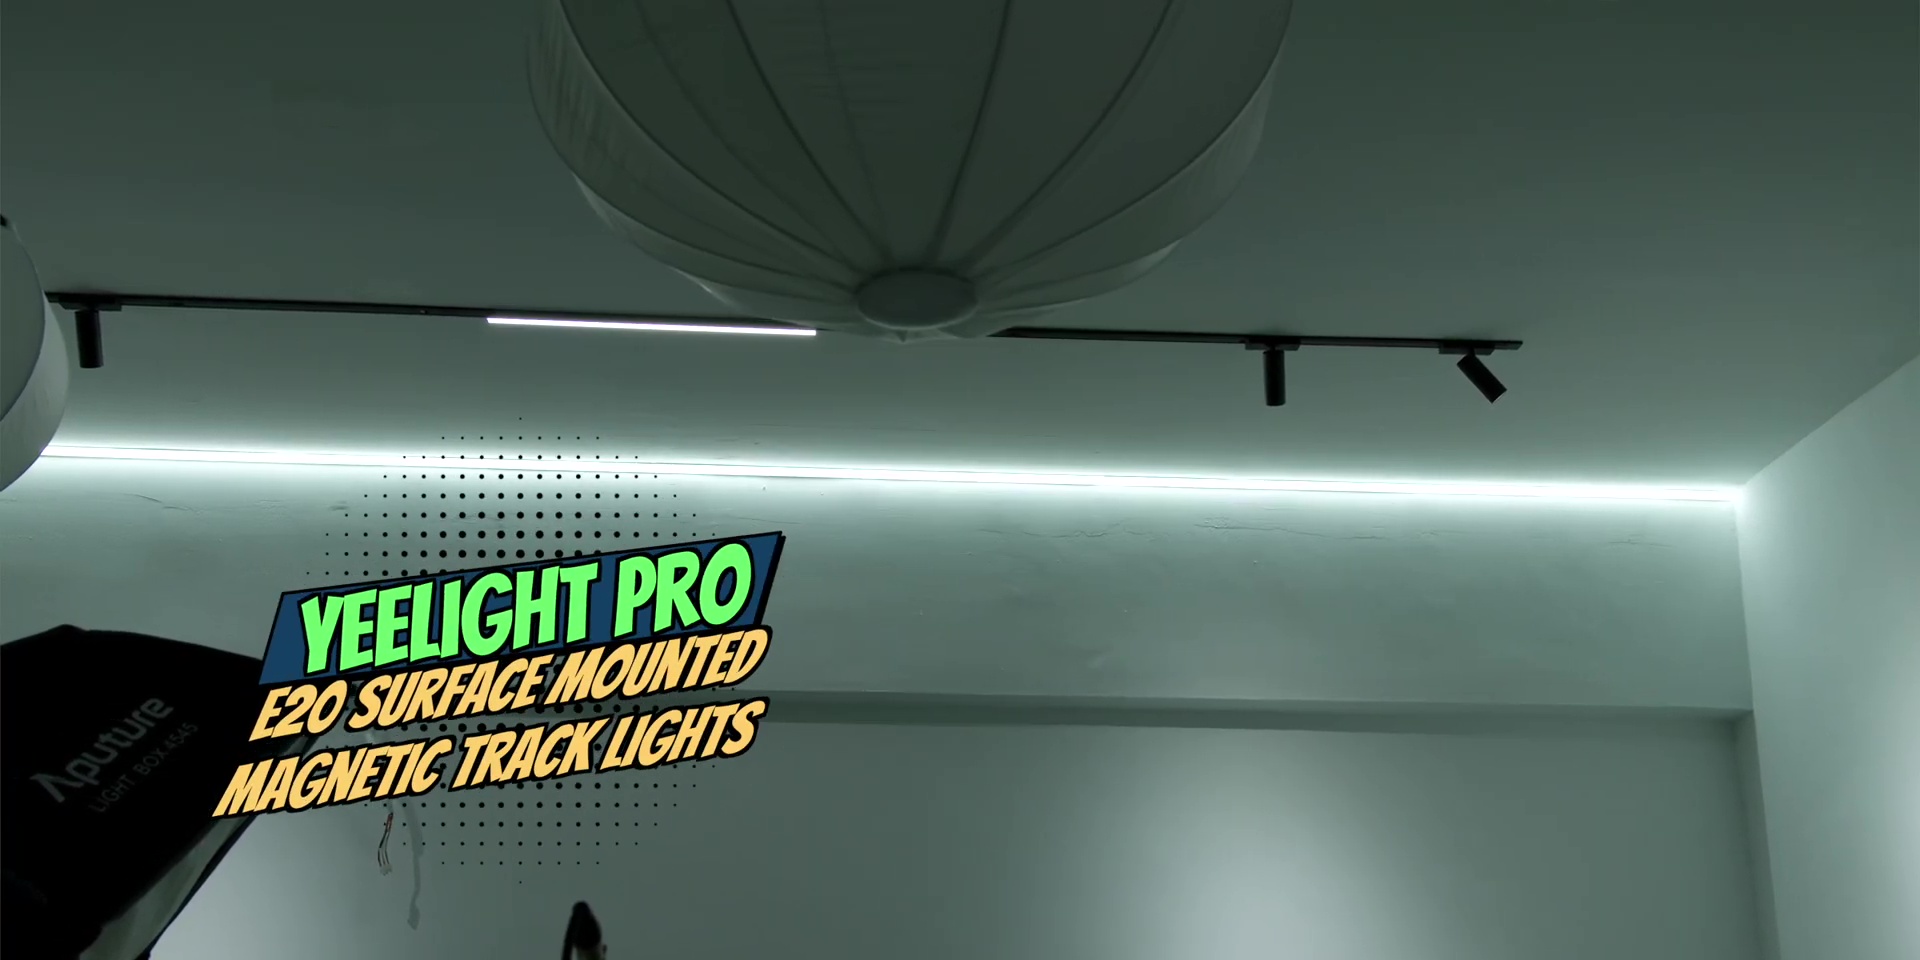
Then, over here, there are the Yeelight Pro E20 Surface Inner Mounted Magnetic Track Lights. This has a similar magnetic wireless capability to the ones at the entrance, and currently, there’s nothing being set up below over here, so we are looking to have an area over here where, you know, the boys can have their meal.
Between this area, there are two similar Yeelight Pro M20 Surface Mounted Downlights.
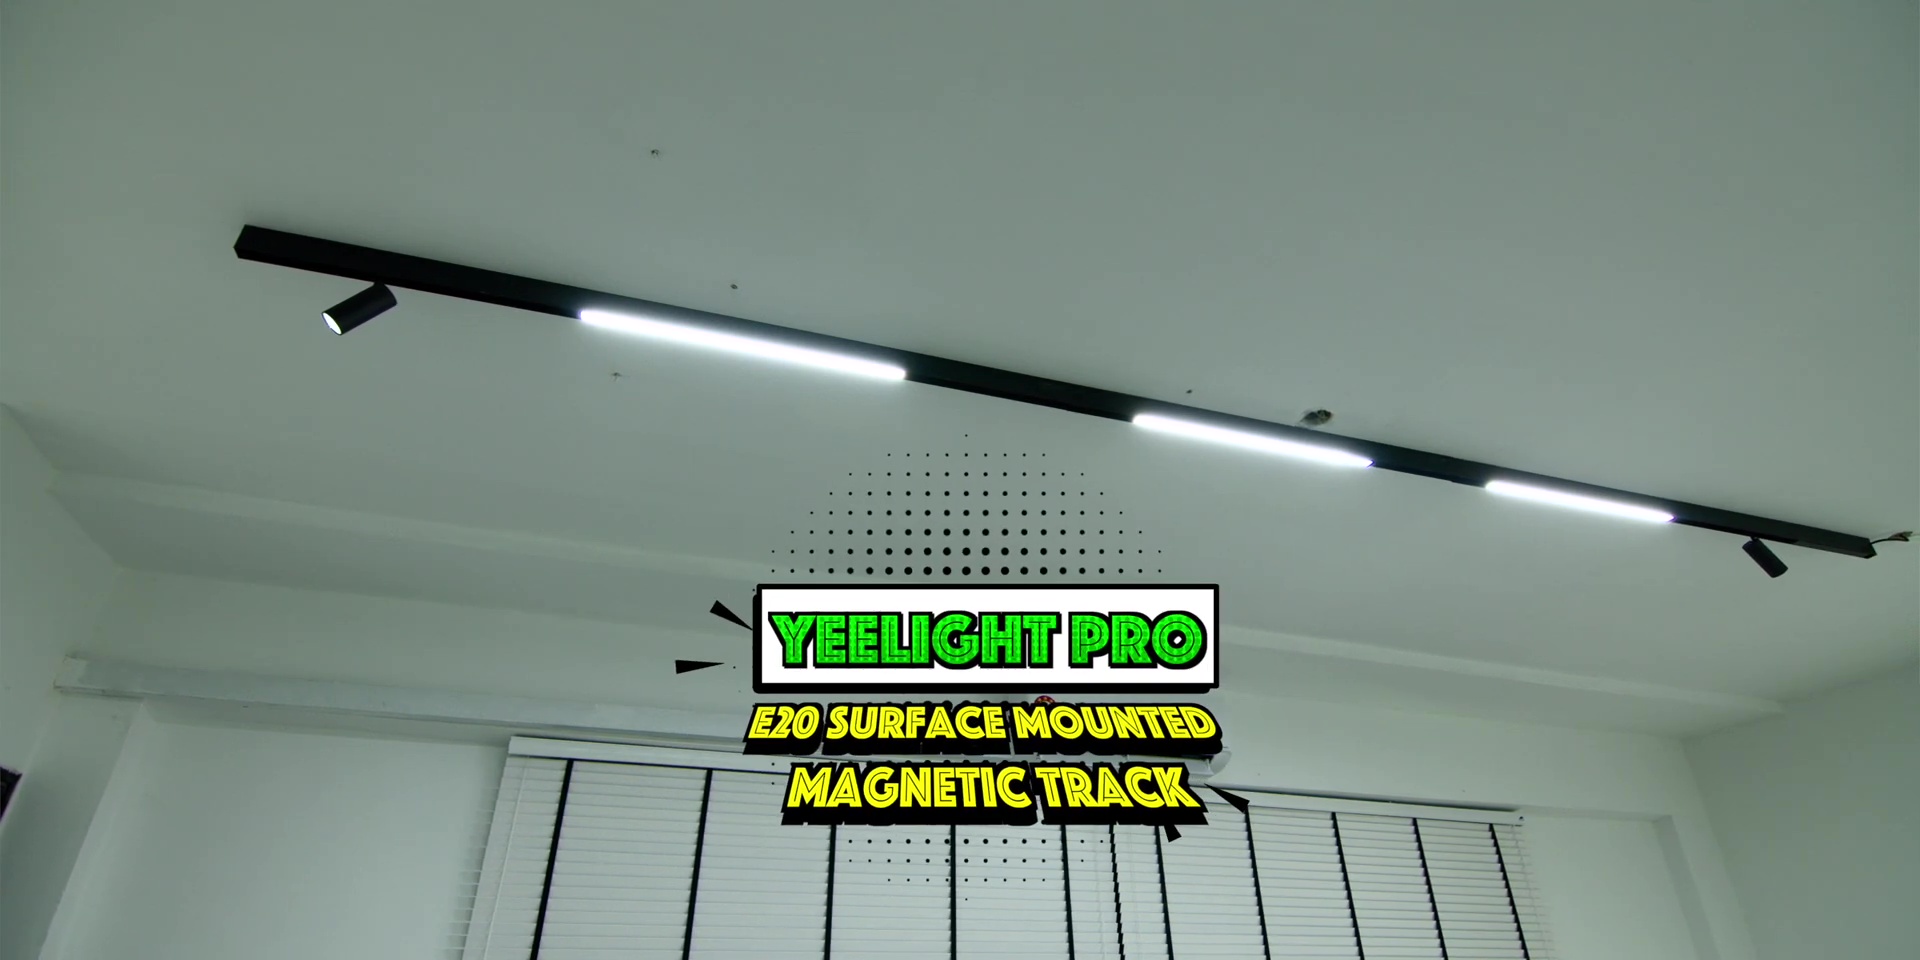
Then, over at this whole area on top, there’s another Yeelight Pro E20 Surface Mounted Magnetic Track, and this time around, it’s the longer variant going across the table.
Other than the Yeelight Pro E20 Magnetic Track Spotlights, it also includes these cool Yeelight Pro E20 Surface Mounted Magnetic Flood Lights, which illuminate the whole office area, especially at night. There’s also one of the spotlights illuminating my desk over in this area and also on the other side too.
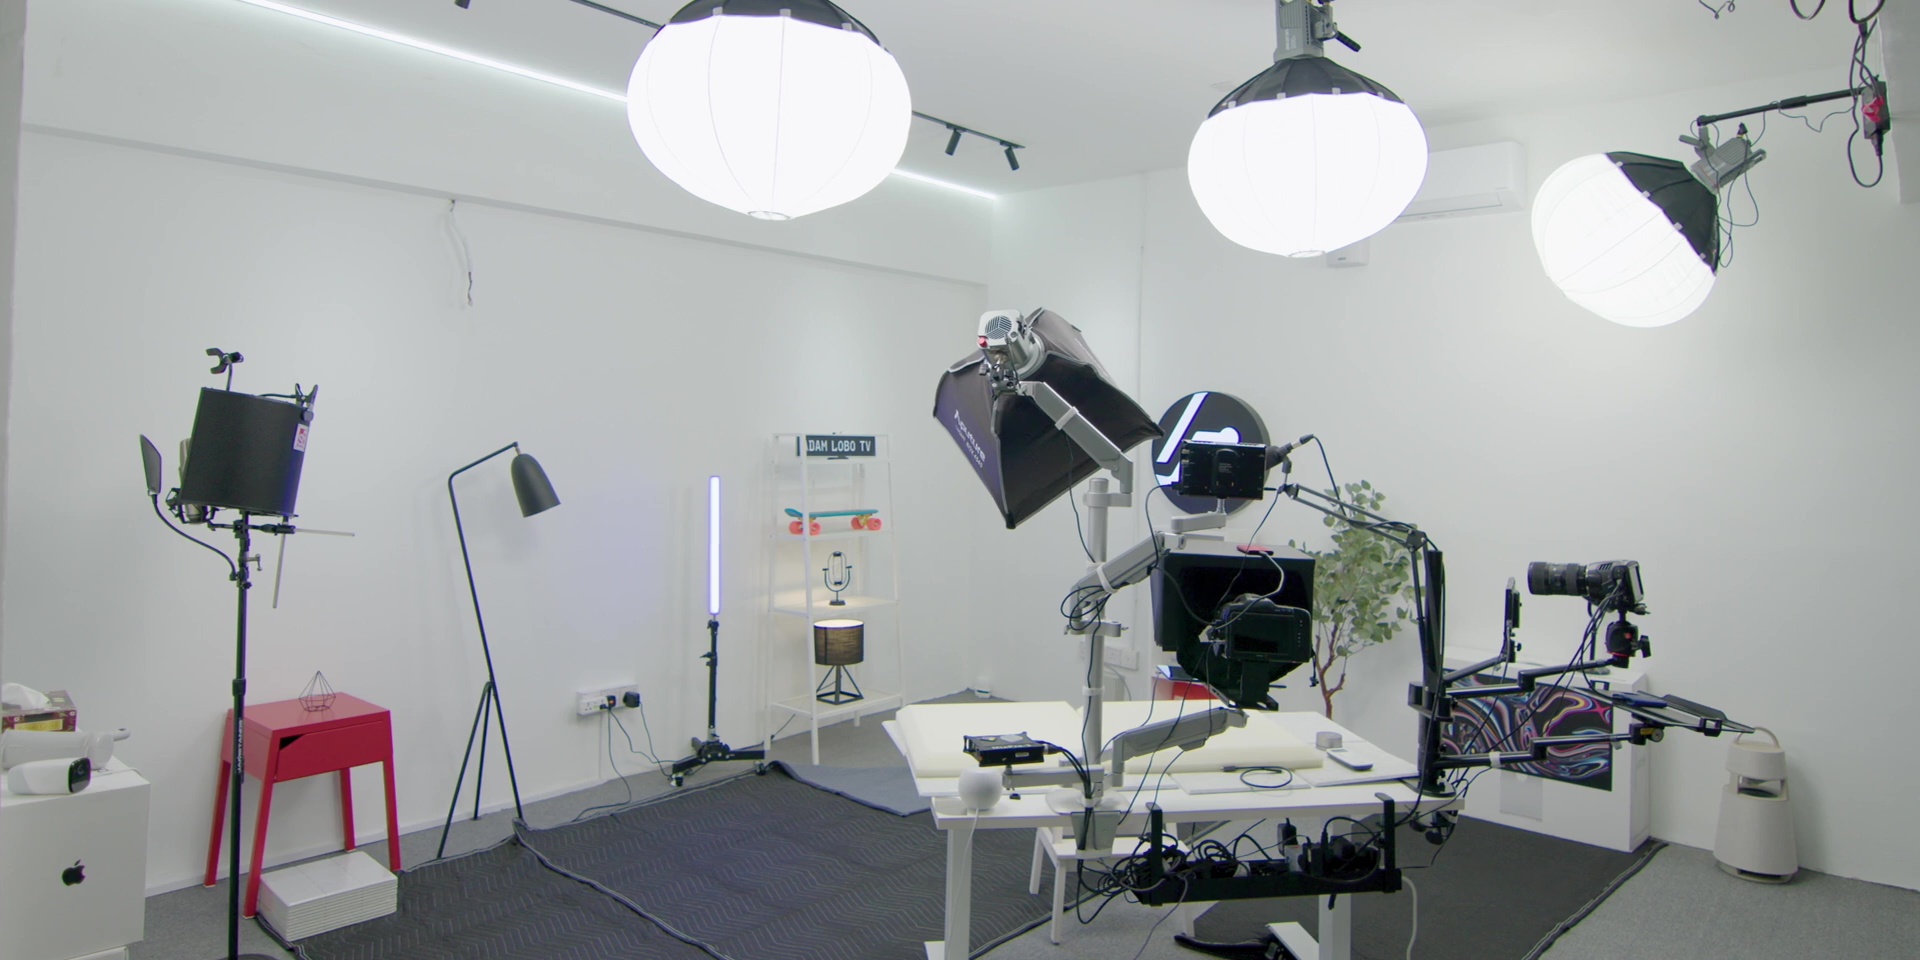
Living Room
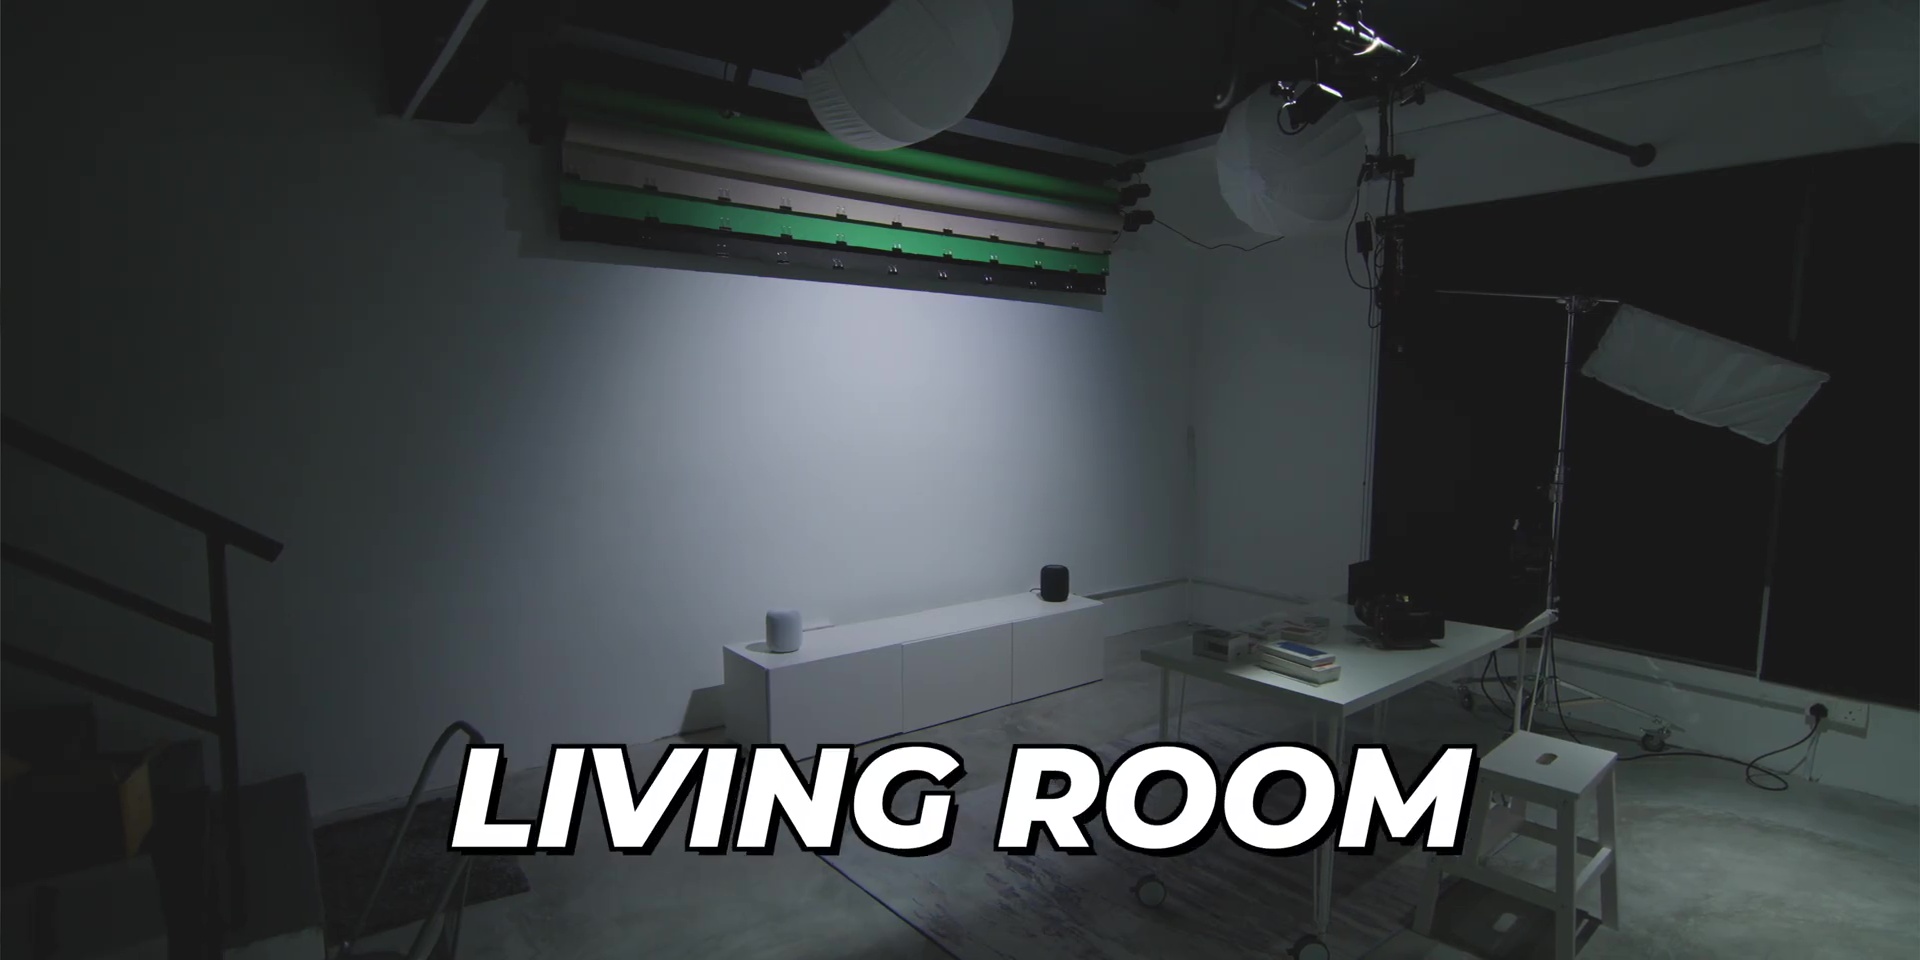
Alright, now let’s go into the living area or the B-roll setup area. As you enter this area, there’s a physical wireless scene switch, which is the Yeelight Pro E20 Scene Switch.
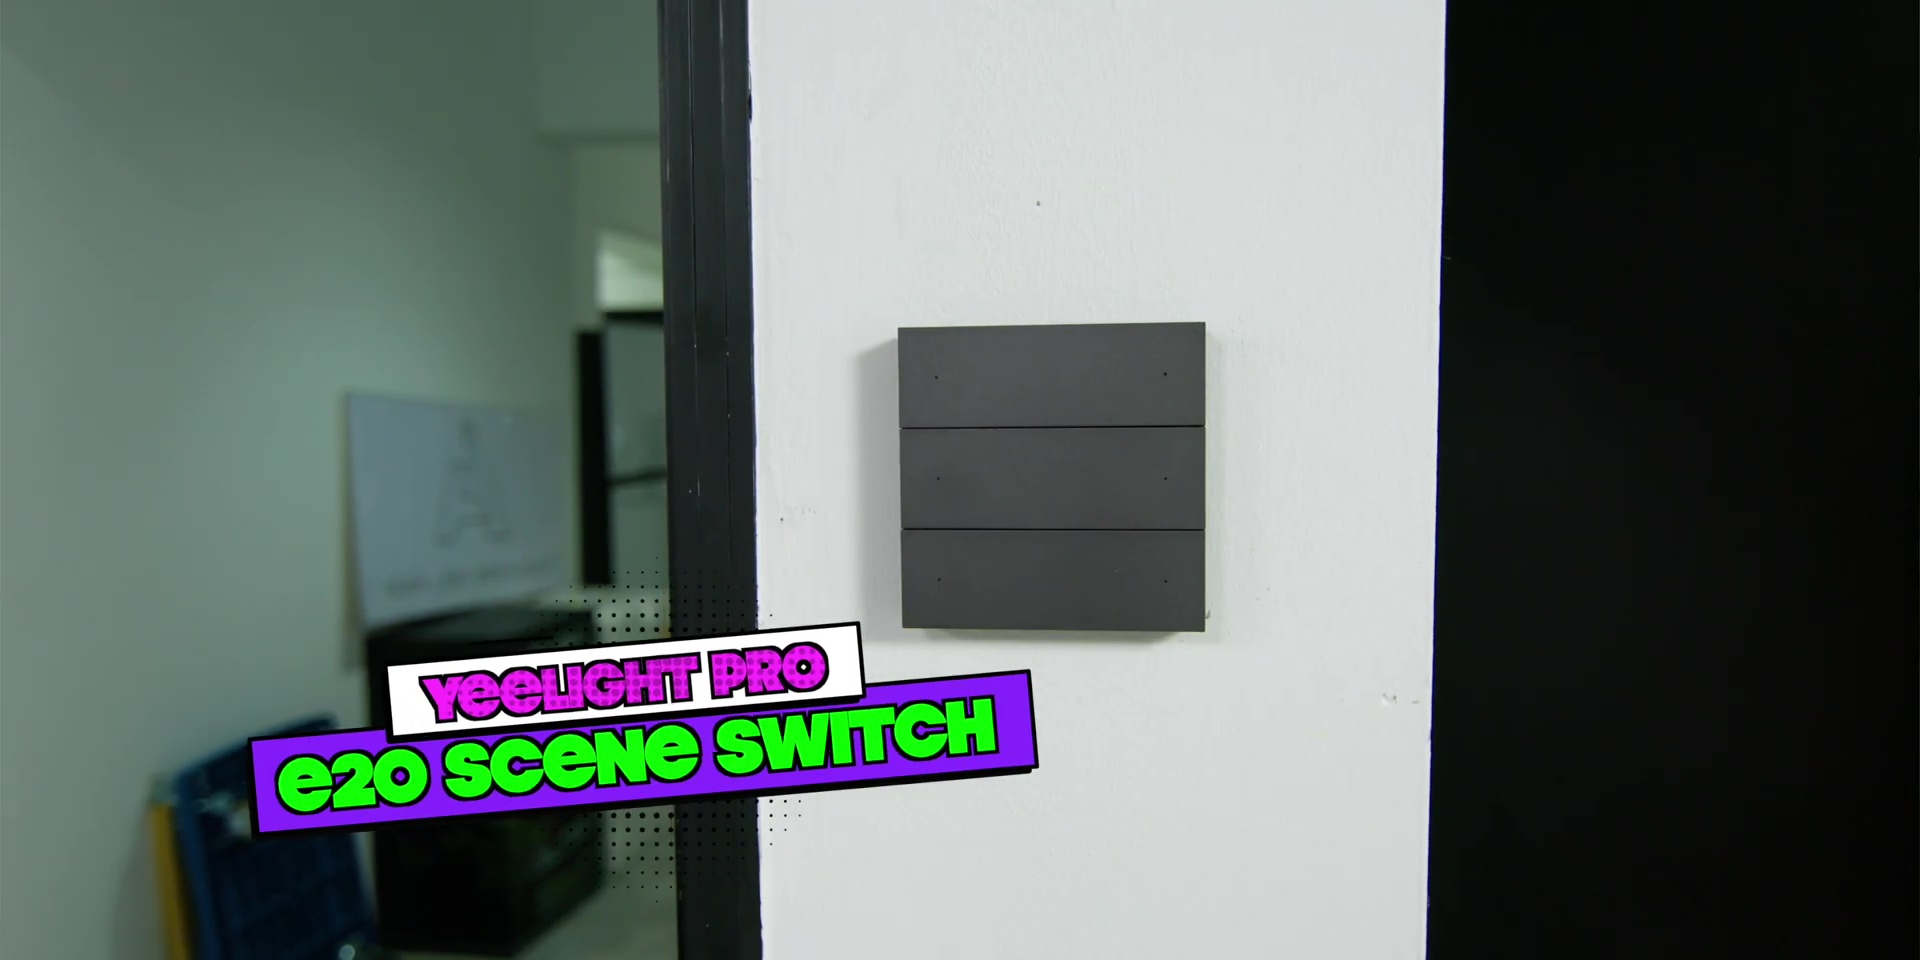
Since it’s magnetic, the boys can just leave it over here or just bring it around so that they don’t have to come all the way here or use their phones to turn on and turn off the lights.
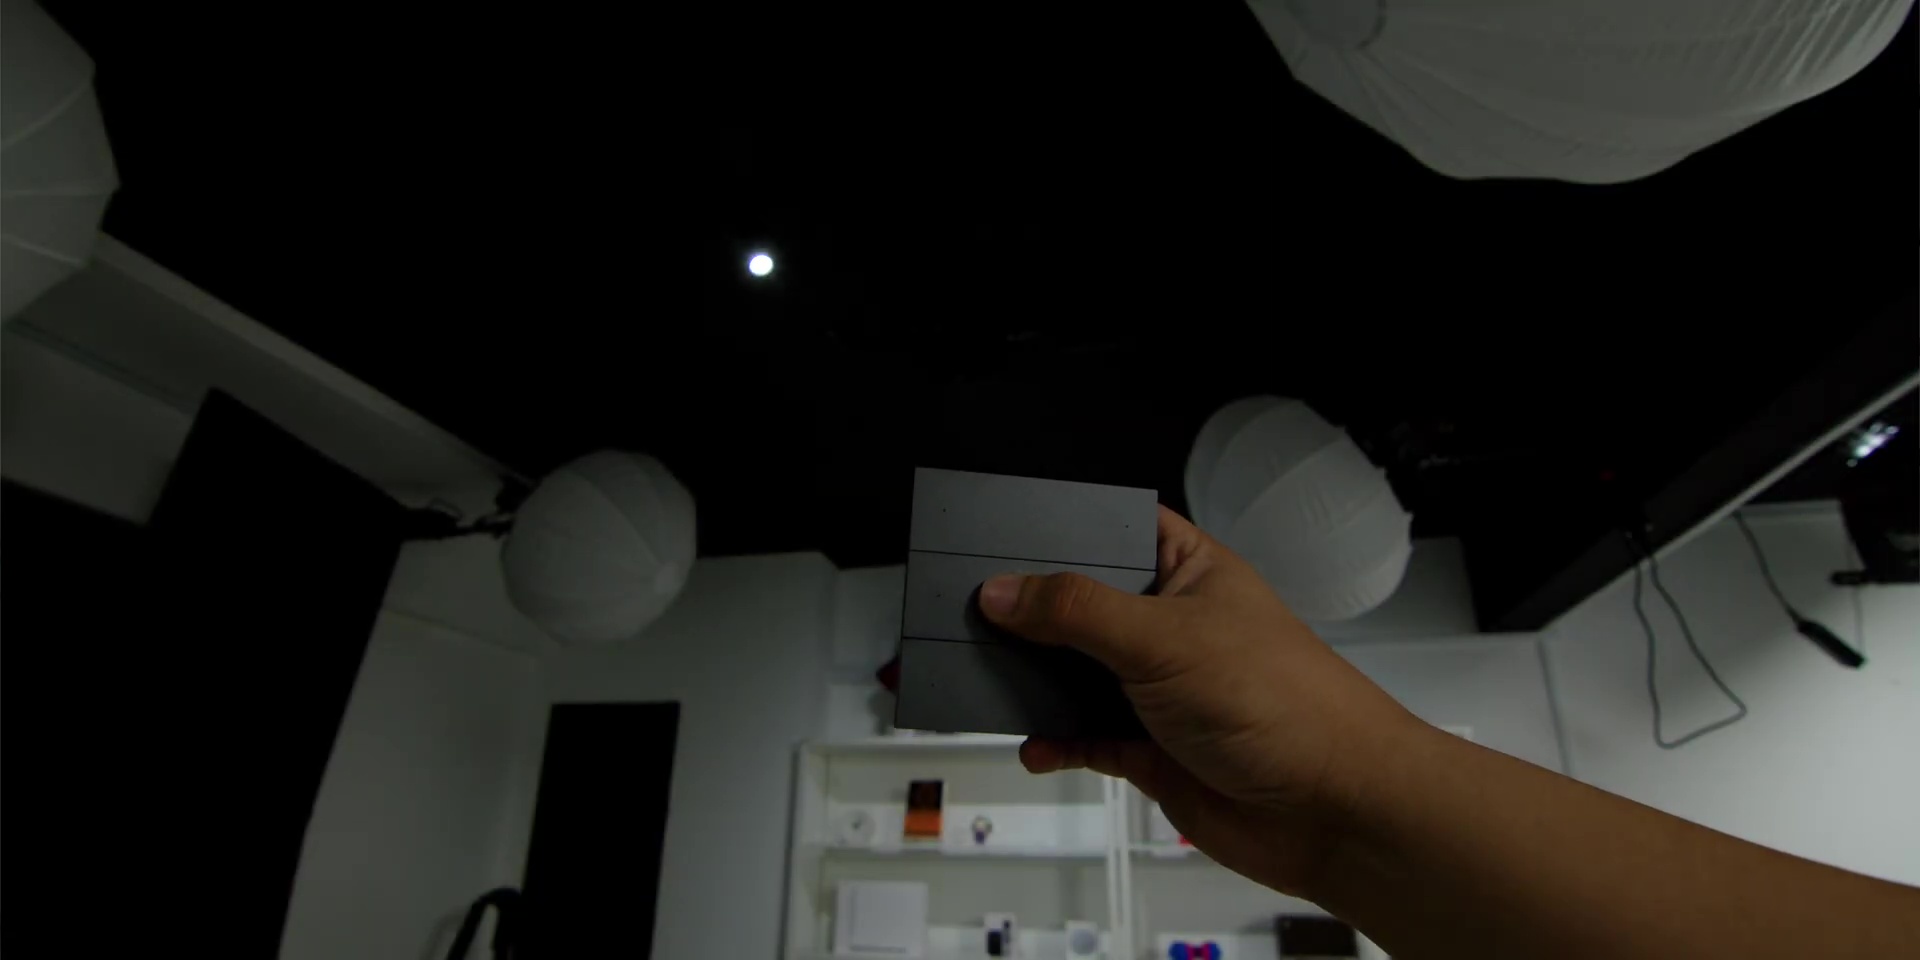
Yep, first-world problems, but thank you very much, Yeelight Pro, for being very thoughtful with this.
For now, this is set to control the overall lighting over in this area, where there are a total of 6 scenes that can be configured accordingly, which also includes controlling the smart switches that we have all the way over there.
There are 3 units of the 2 gang Yeelight Pro M20 Smart Switch that control the mains not only for the Yeelight Pro lightings but also all of the Amaran studio lightings that we have over here too. Of course, this is also divided into different sections available that are connected to the plugs at the ceiling beam area.
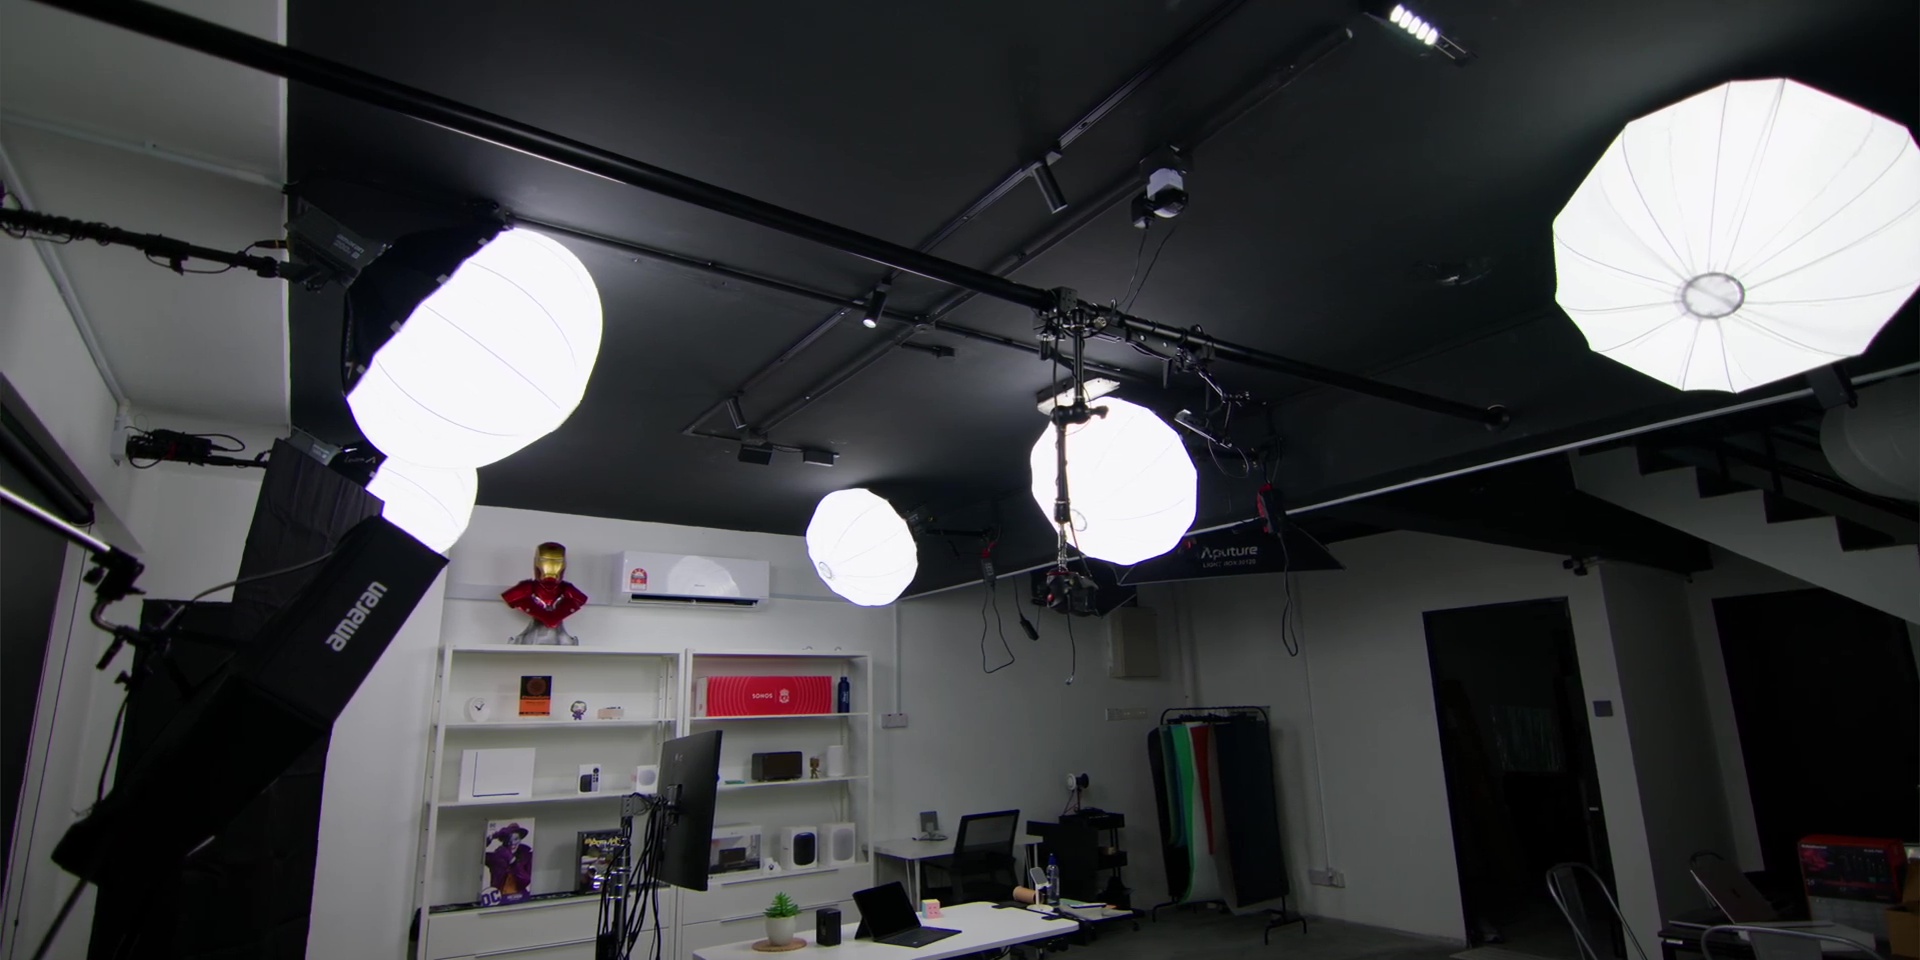
Over here, the ceilings are black, and this is for our video production purposes because white ceilings do not look great when it comes to reflections, especially when it comes to reviewing smartphones, laptops, or even tablets.
Since this area is smaller, we don’t really need a lot of light over here, so there’s another Yeelight Pro M20 Surface Mounted Downlight.
At the larger area of the living room above is also another similar magnetic lighting setup, which includes three spotlights. Then there are the very unique Yeelight Pro P20 Surface Mounted Magnetic Grille Lights on each side of the area.
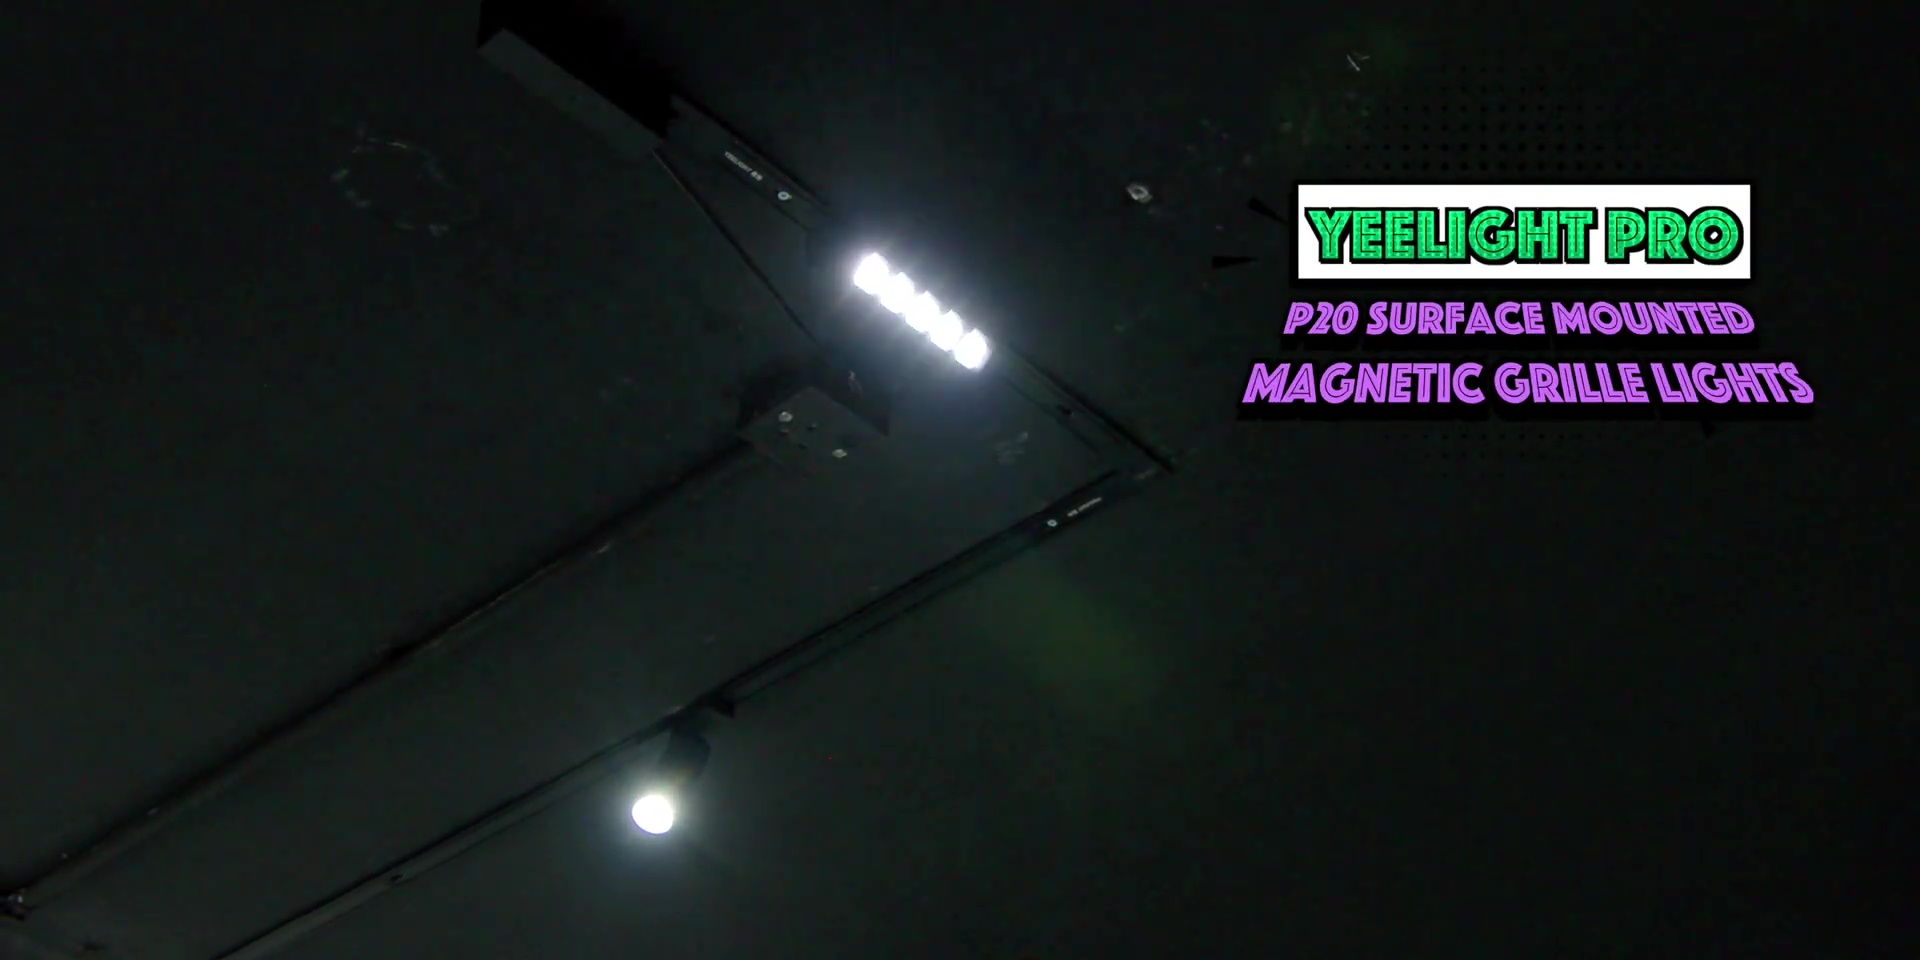
This gives a nice bounce towards the wall, so it lights up this area very well and can also be configured to the exact color temperature to match with all of the Amaran studio lights that we have in this studio. Together with the Amaran lights, which are currently turned off, you can have a nice high-key lighting setup, or you can always change it to low-key by just having these lights and changing the color temperature accordingly.
Yes, I would say that this area is not only essential when it comes to video production but also an area where we can just chill.
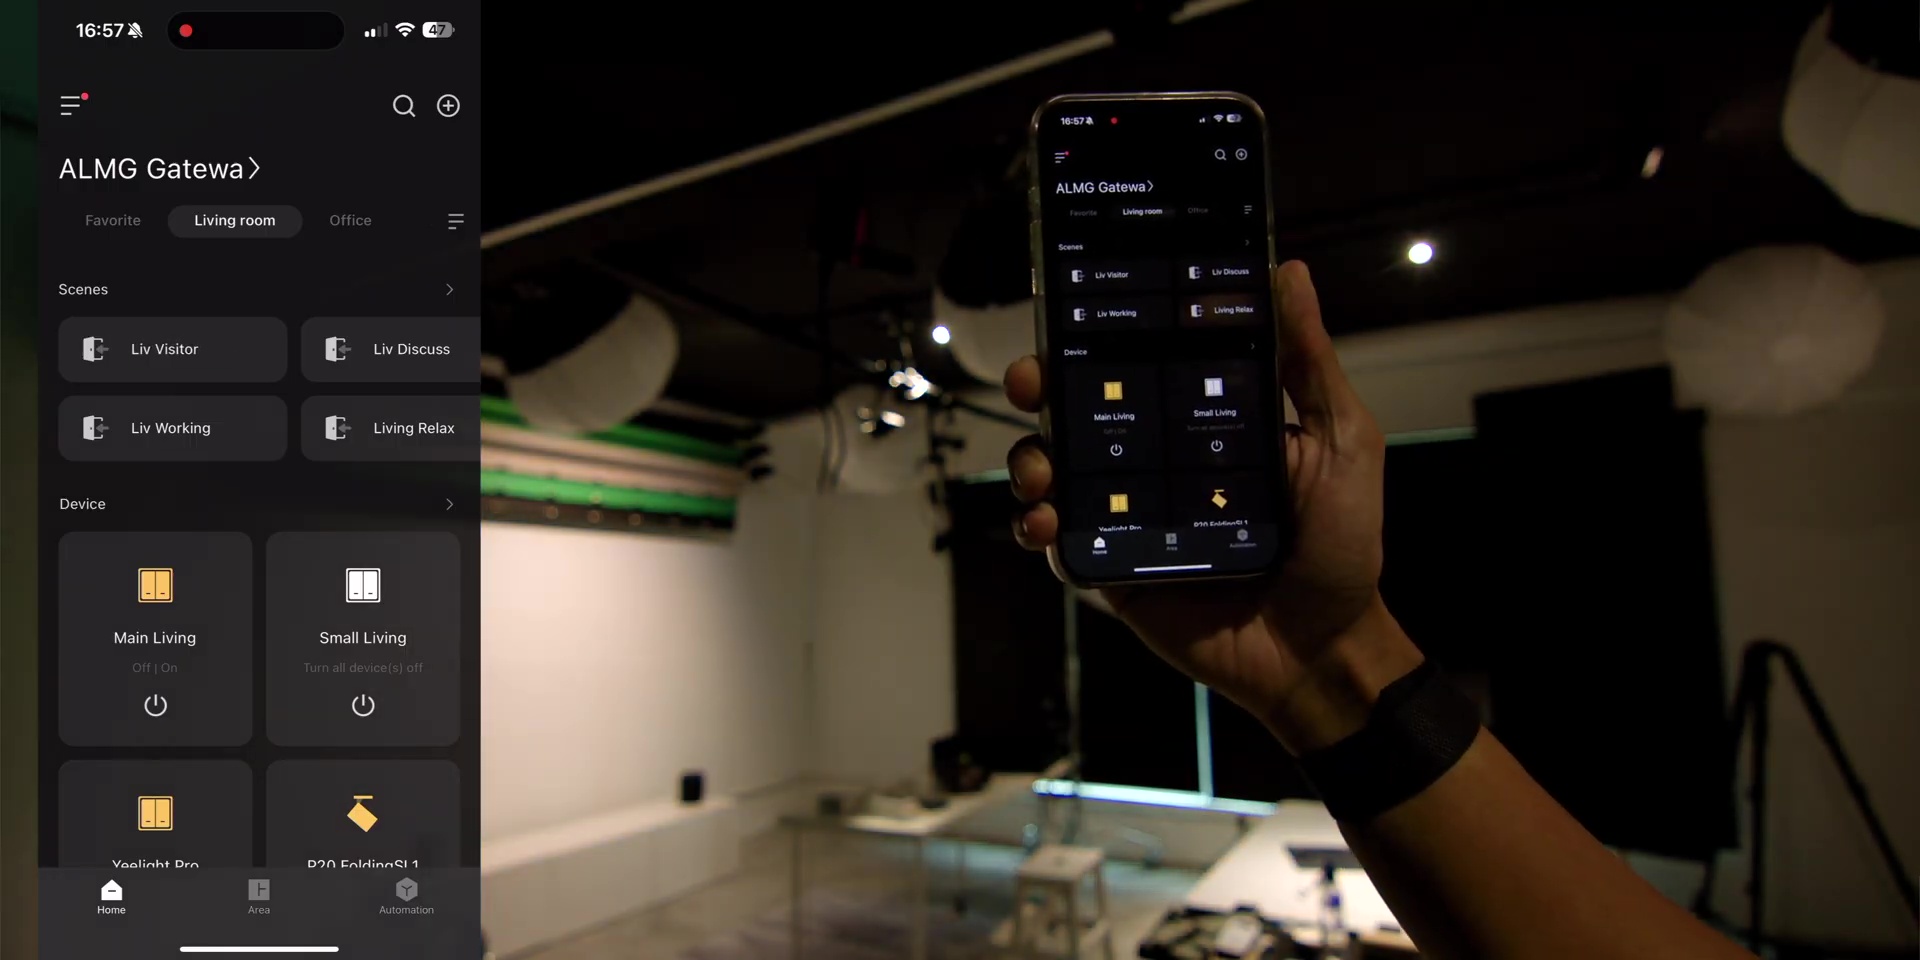
Speaking of relaxing, I’ve also created specific scenes for this area and other areas as well, where there is a visitor scene, a working scene, a discussion scene, and, of course, a relaxation scene.
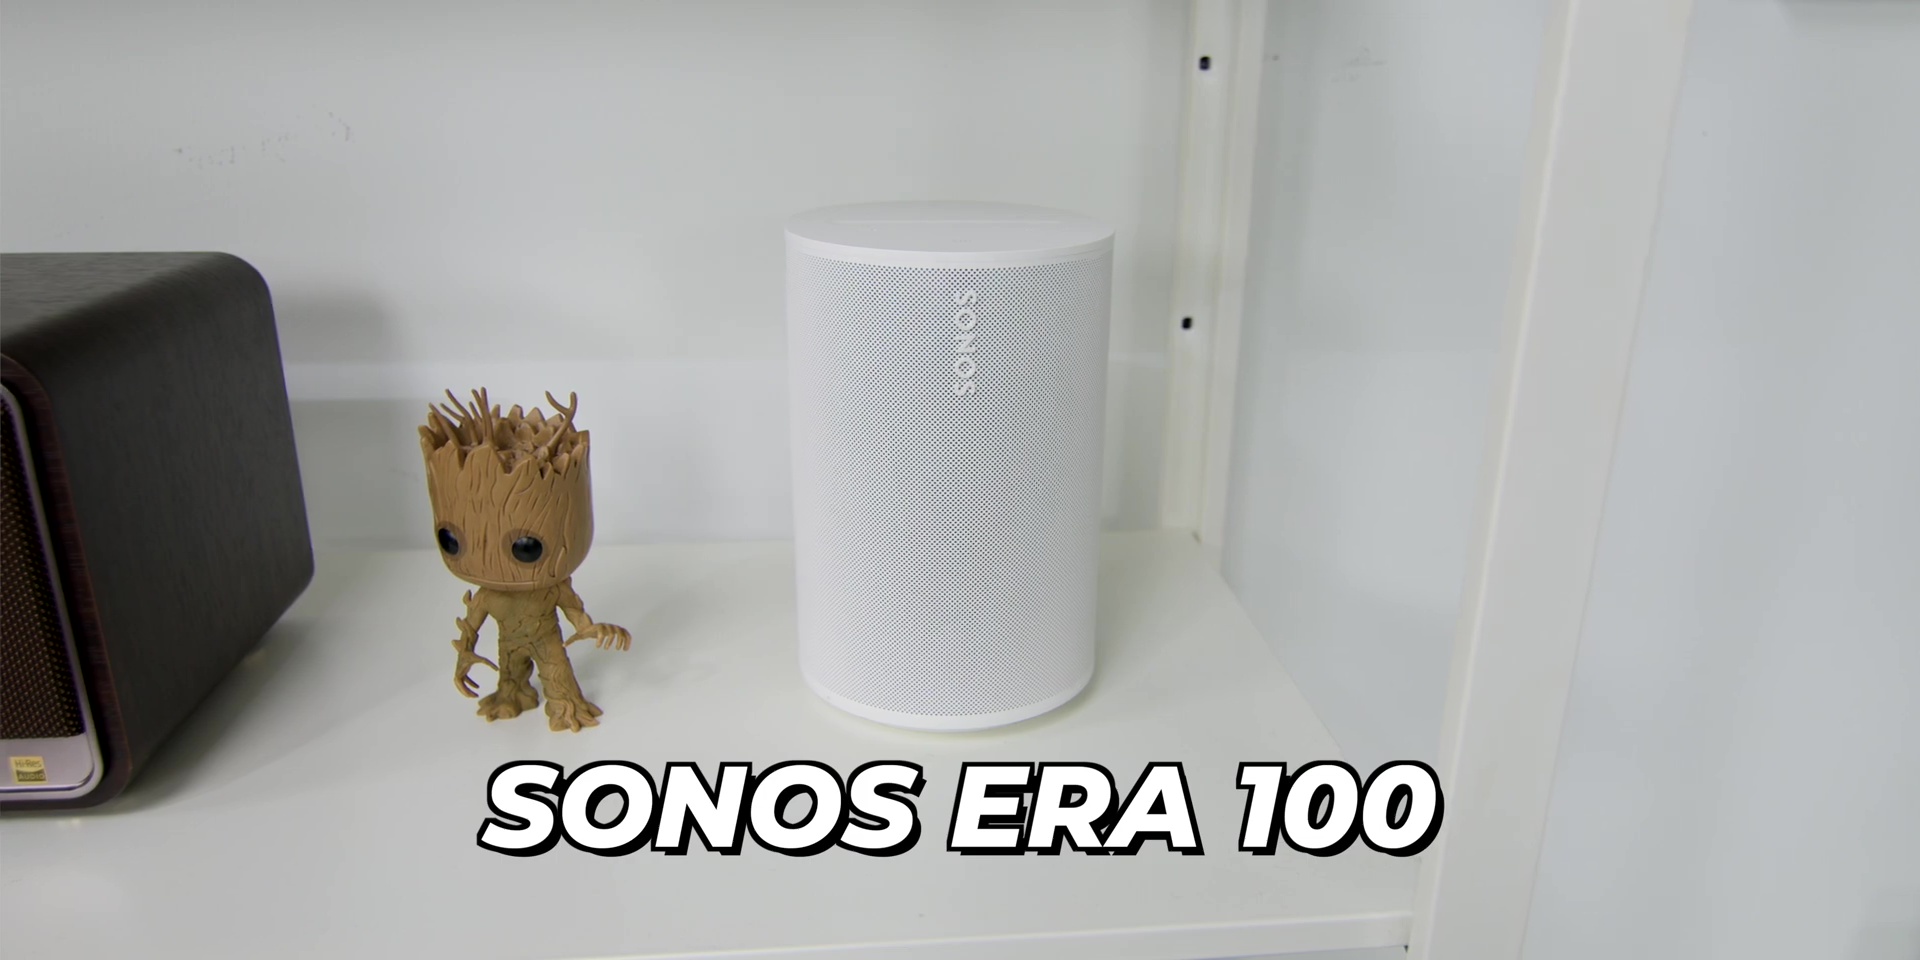
Finally, since Yeelight Pro works hand in hand with Sonos, I have the Sonos Era 100 over here to give that easy integration between Sonos and Yeelight Pro. For example, you can create automation so that when you turn on the lights, there is music being played on the Sonos Era 100. Or, when you’re leaving, you can set it to stop or even pause the music, where you can see the Sonos devices shown in the Yeelight Pro app as well.
Stairs
Okay, then let’s go upstairs. But before that, looking all the way on top, there’s the regular non-pro Yeelight Ceiling Spotlight, and inside there, there are also the non-pro 3 GU10 bulbs.
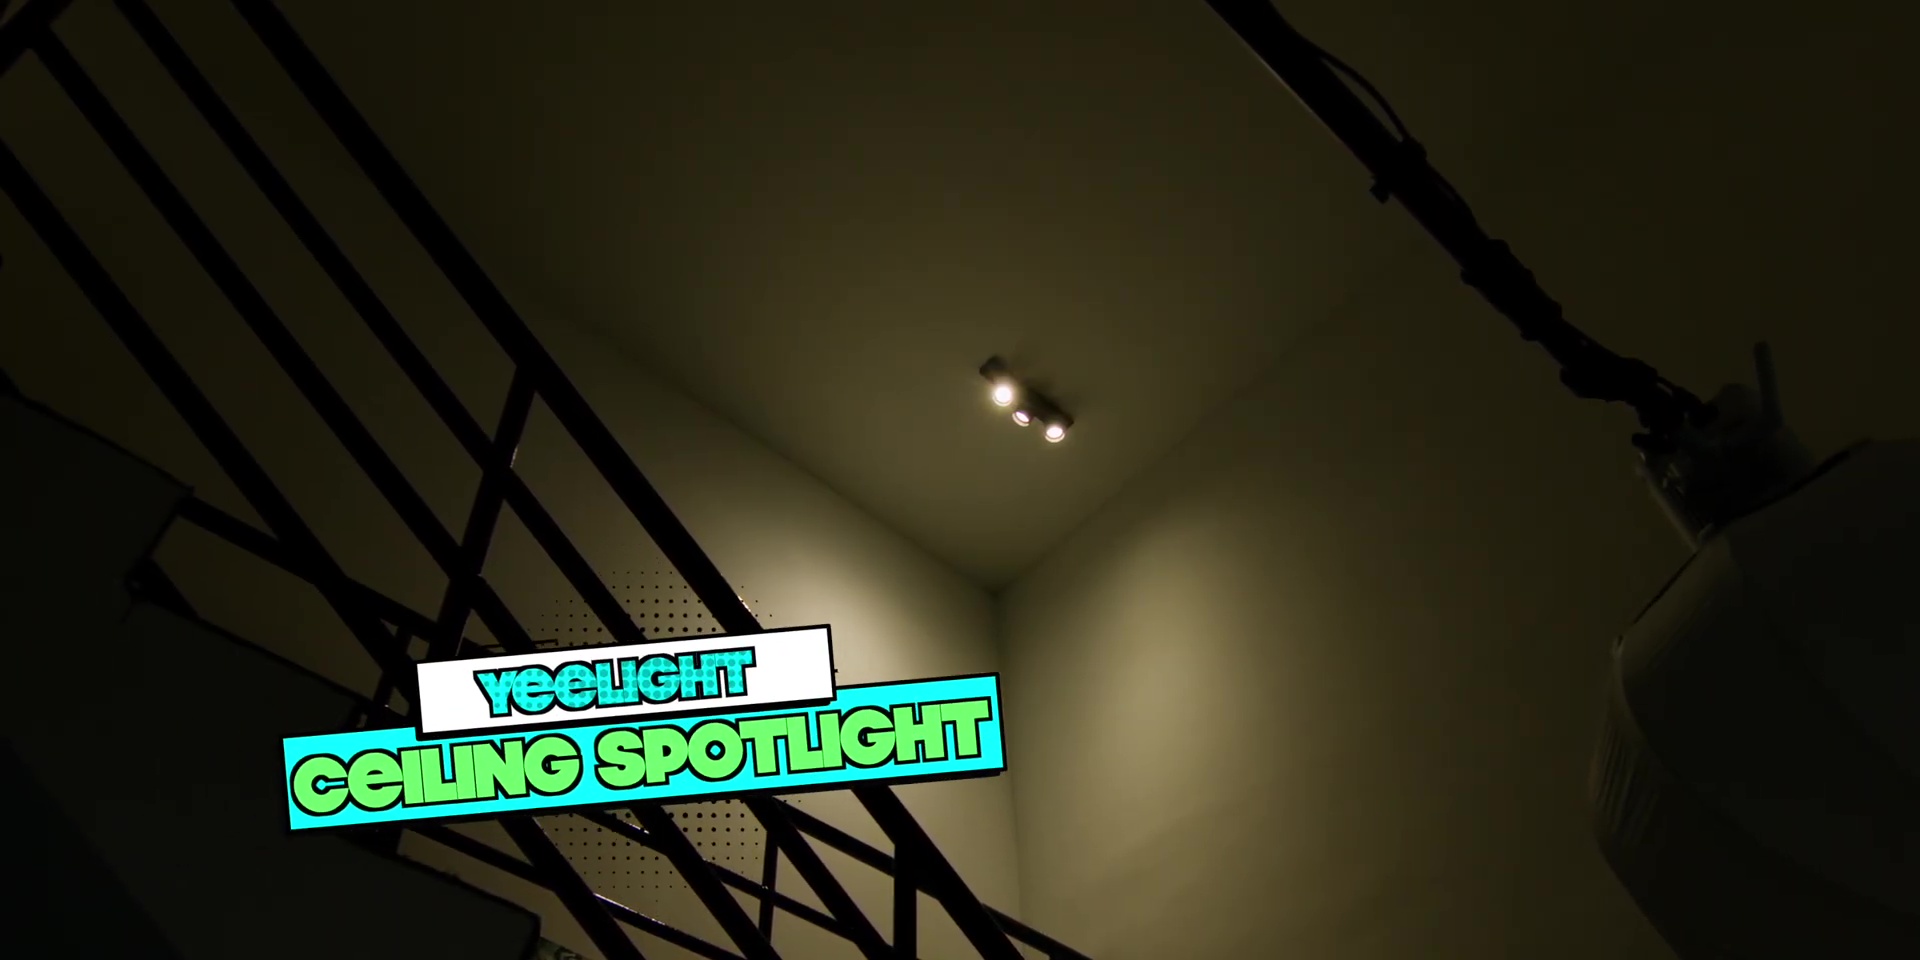
It’s lovely to know that even the non-pro version of the lights and also the switches can be integrated with the whole entire smart home ecosystem together, not only with Yeelight but also HomeKit and the other smart home ecosystems that you have.
A Roll Studio
Alright, welcome to the upper floor. First, there is this: the Yeelight Pro M20 Smart Switch.
Yes, welcome to the unfinished area of what’s supposed to be the live stream area or the podcast setup.

Now, before we talk about the number 1 product most asked by people who come to the studio, which is over there, let’s talk about this Yeelight Pro D Series Recessed Downlight and Spotlight. I chose these particular lights because they give that one-directional light (not the group) since I’m giving this area more of a low-key setup as opposed to the bright one which is available on the other A-roll set.

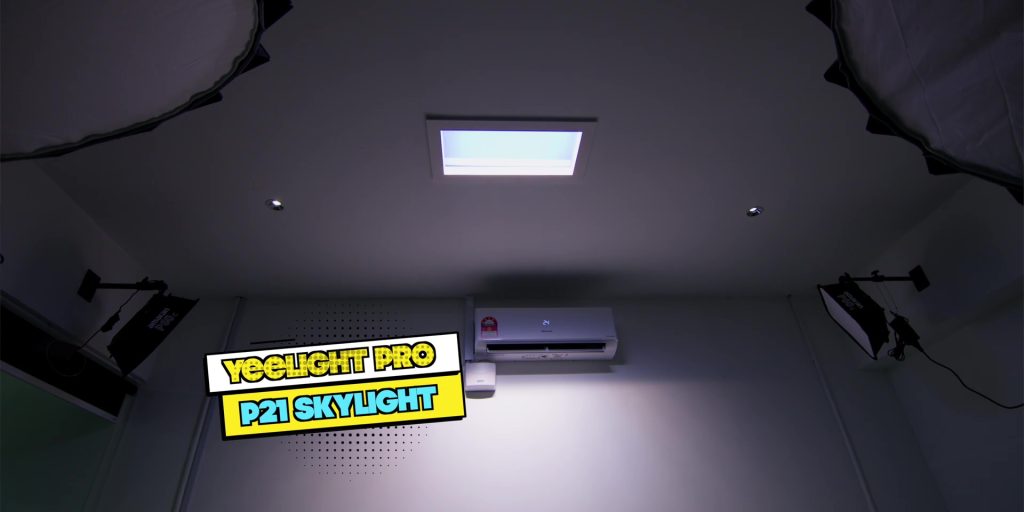
Now, we can finally talk about this: the Yeelight Pro P21 Skylight. I love how it gives that skylight look, where, as mentioned earlier, people who always come to the studio always look at it and go, “Huh, is that a light, or is that real light coming from the sky?”
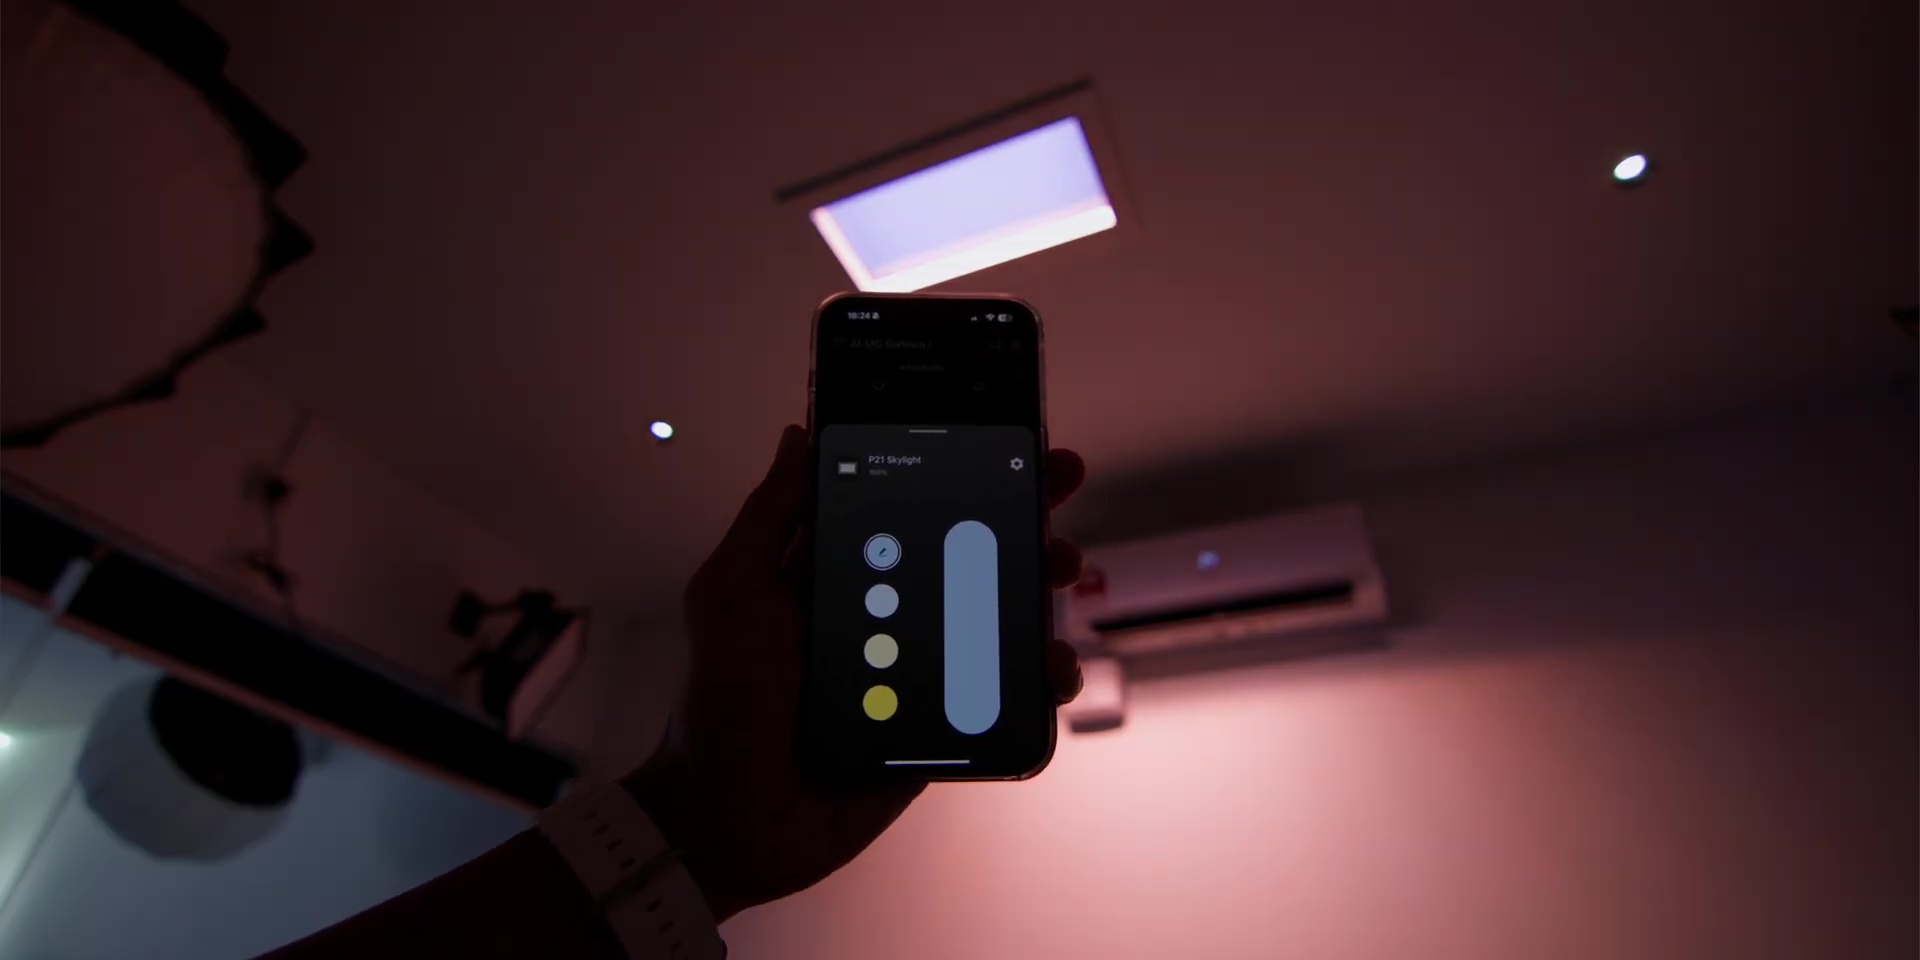
Besides being able to adjust the color temperature and set scenes as mentioned downstairs, you can adjust schedules. For example, between 7am and 8am., it will be set to a cooler light and can even be set to a different color towards the afternoon and a warmer color temperature towards the evening or night.
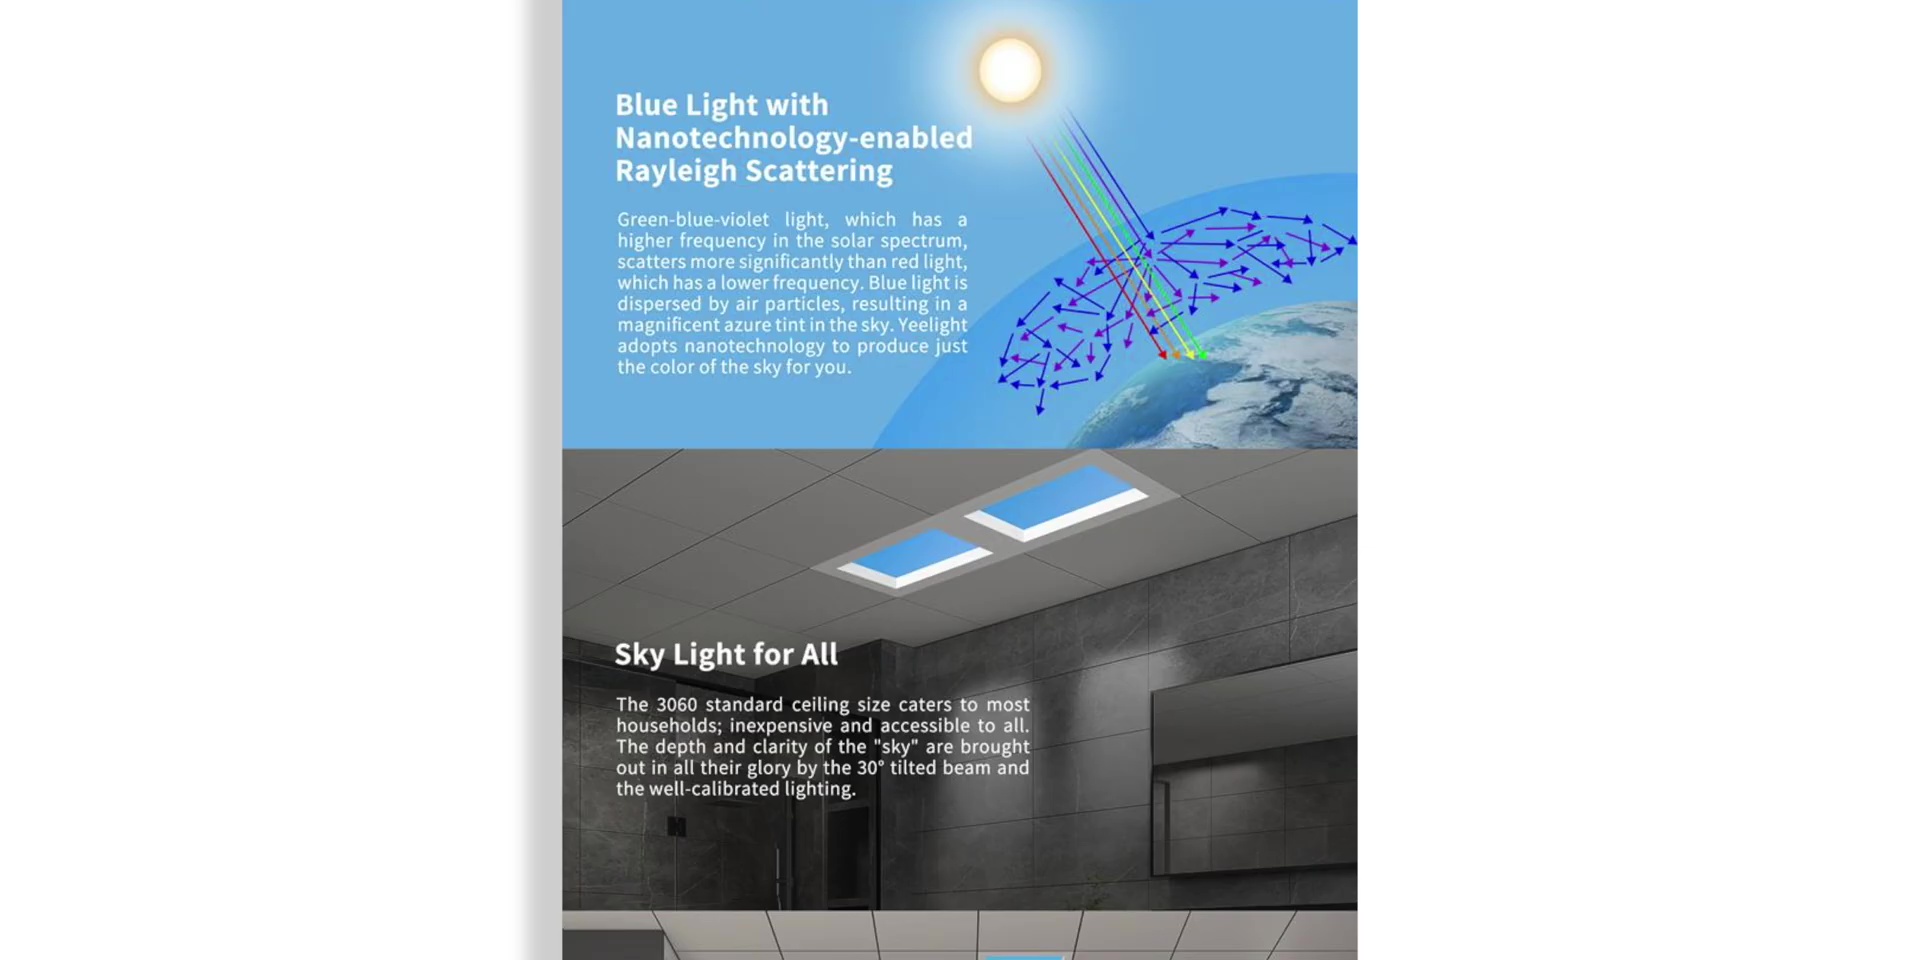
It also supports multi-joint installation systems, so if you want to have more than one, you can have a really nice, clean, and cool-looking setup. The light emitted over here is not your typical LED light, as it uses the Nanotechnology-enabled Rayleigh Scattering, which disperses blue light by air particles to give you a real-life tint of the sky, hence, why people think that it is indeed light coming from the sky. Cool, right?
Now, this particular light can only be installed via a plasterboard, so keep that in mind. For more information on all the installation setups, especially for this, because I did not install any one of them myself, I will hook you guys up with Copper Connect, which I’ll talk about more later.
Then, finally, the typical A-roll area that you would see behind the scenes is separated by these cool blackout blinds. Hopefully, I can replace all of this with curtains where I can use the Yeelight Pro S21 Curtain in the future. So Yeelight, if you’re watching, hook a brother up, will you?
This is the behind-the-scenes look at what you typically see during our front-facing A-roll setup that you usually see in our videos.
Not only does it have a similar magnetic track light on top, which is the Yeelight Pro E20 Surface Mounted Magnetic Track Light, which also has the spotlights and the floodlights you saw throughout the studio, but my favorite is the Yeelight Pro S21 LED Lightstrip right at the top of the ceiling.
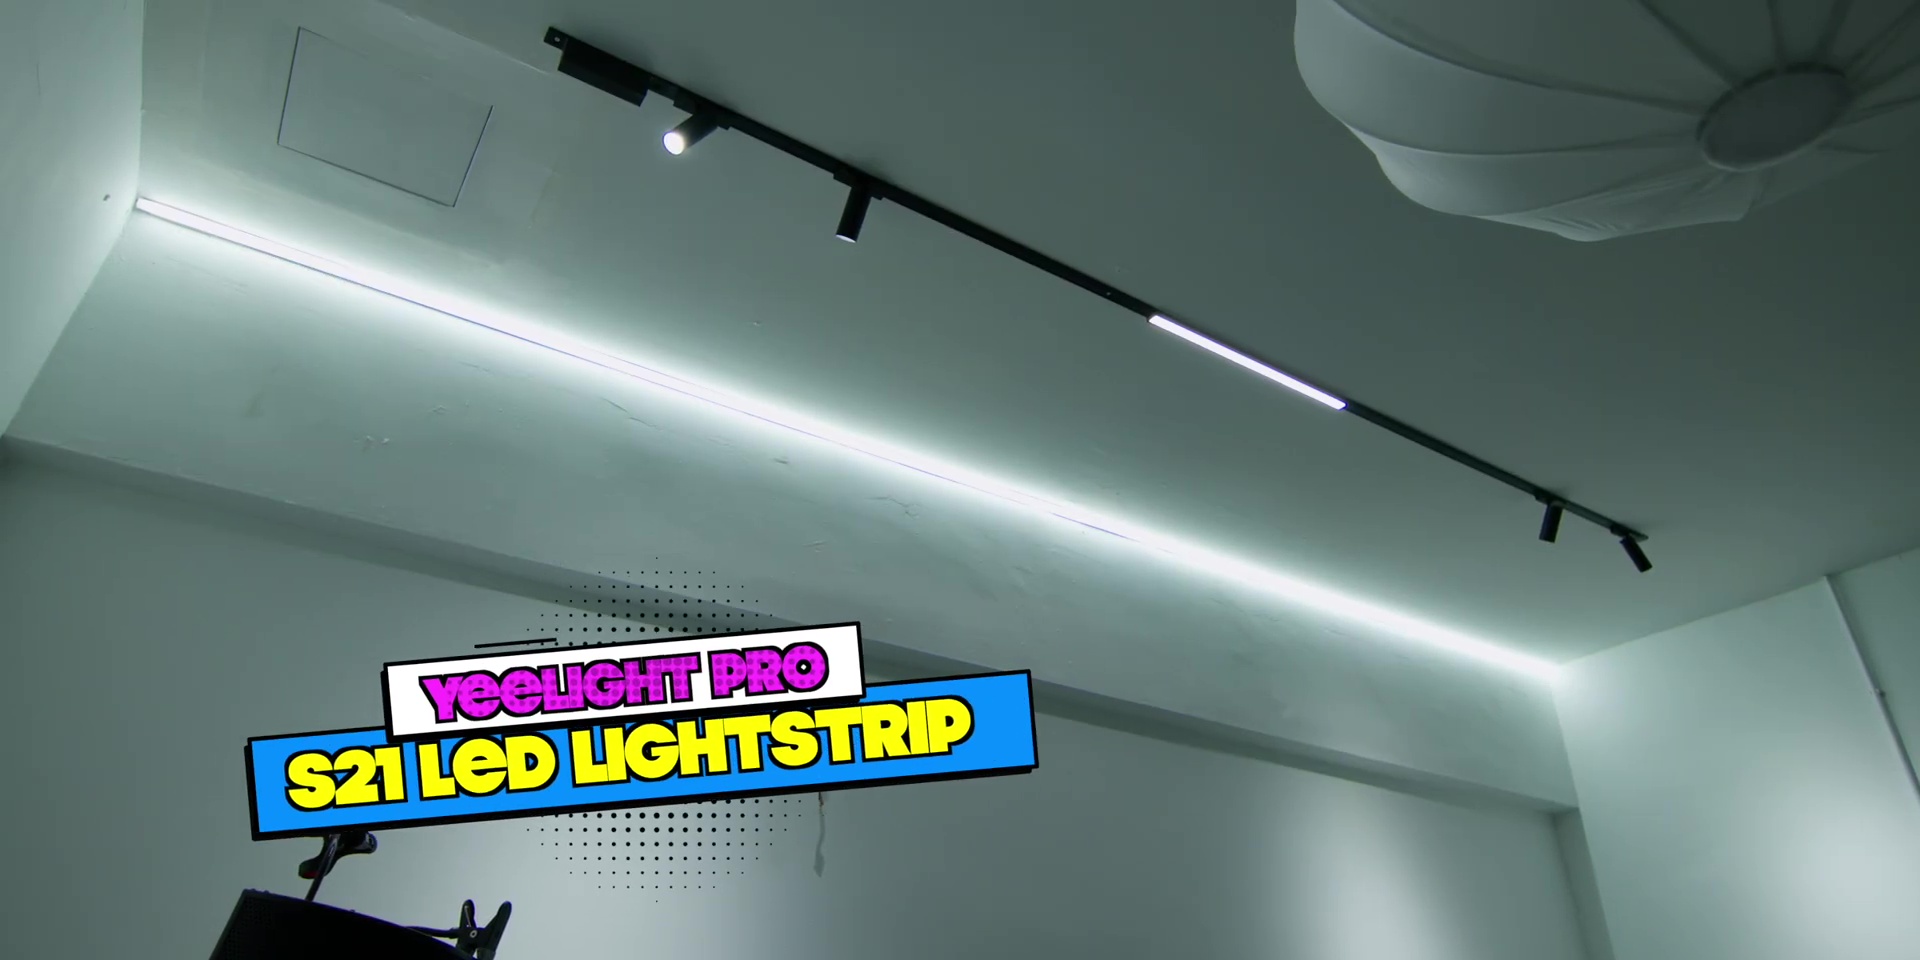
While this is not visible during our A-roll shots directly, it does give proper illumination for the high-key light setup that we have together with the Amaran video light setup all over the studio as well. So, like the living room setup, it also gives me the versatility of having different color temperature changes and, of course, giving a different overall setup for the looks during my A-roll set, whether it’s high-key or even low-key as seen earlier.
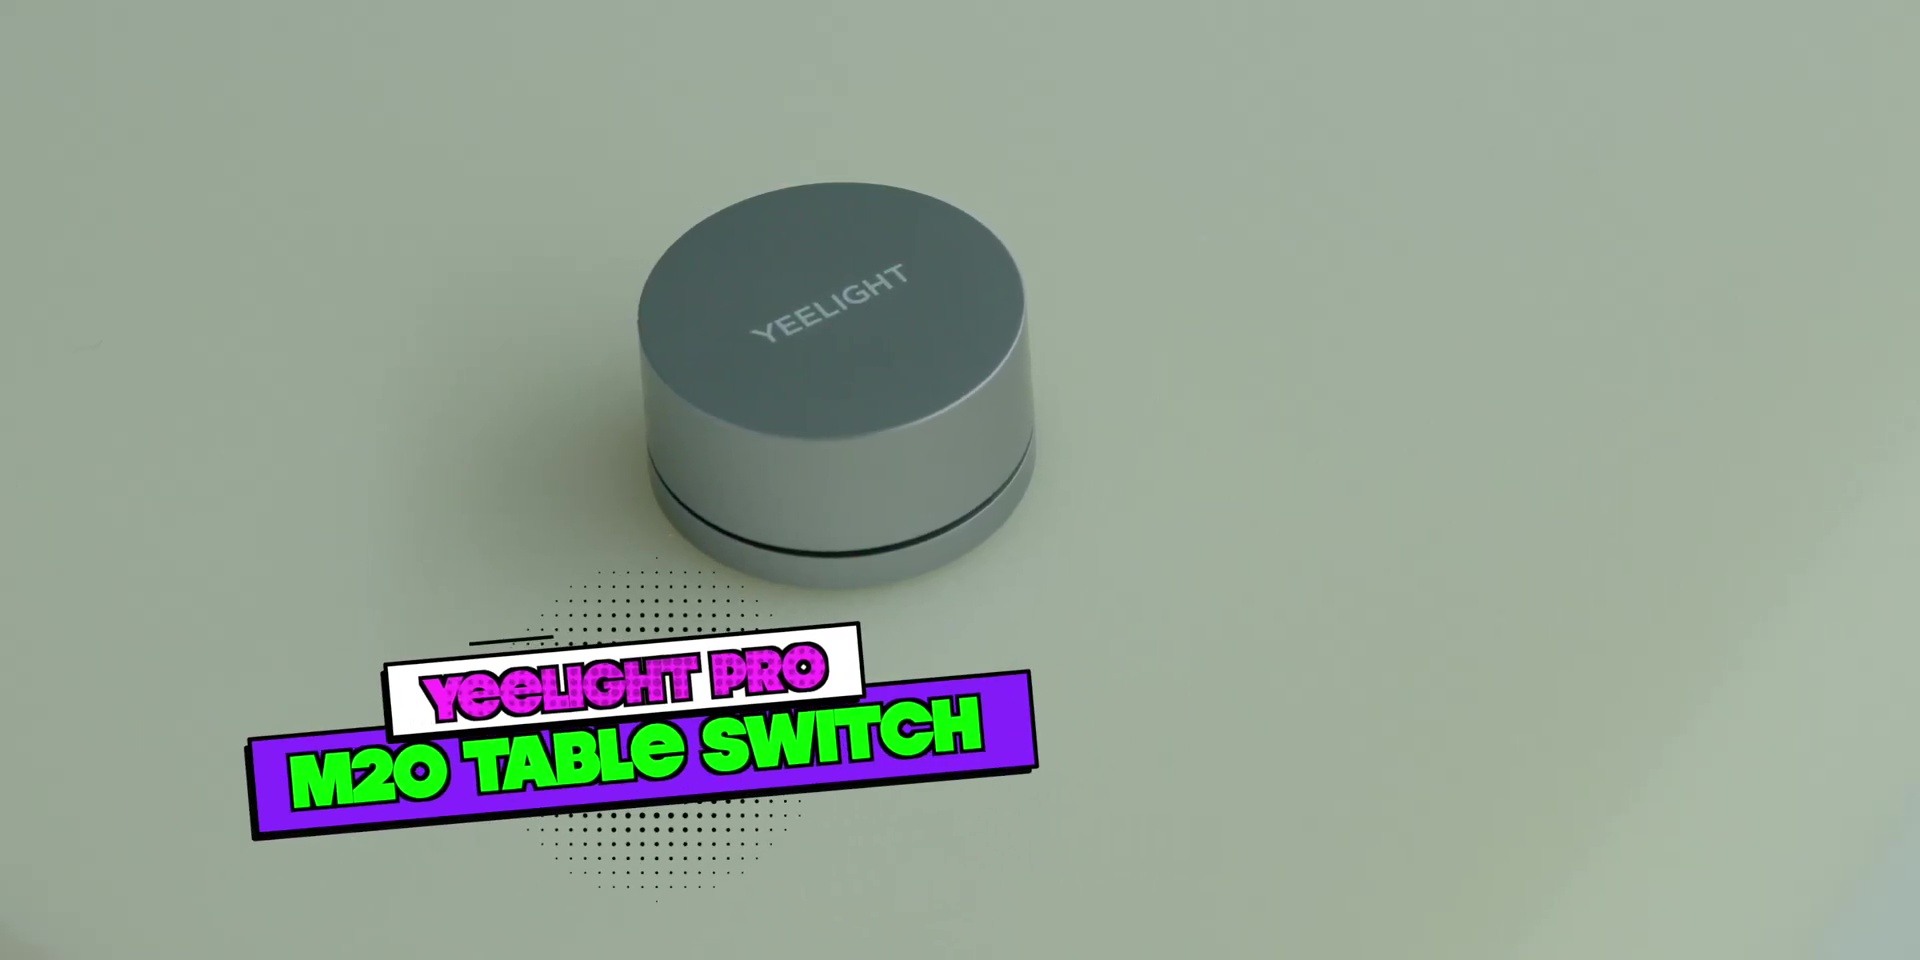
Then, on my desk over here where I do my A-roll, there’s also this: the Yeelight Pro M20 Table Switch Button. Here, I can just turn this on and off; I can just press it over here and I can turn it on and also adjust the brightness throughout the whole entire studio overall at this A-roll shooting area, which is super easy and convenient as well.
Conclusion
Alright, so that concludes the overall Yeelight Pro studio setup. Was it worth it? Absolutely, for me, and I am sure you will agree too.
Now, if you want to learn more about how I configured this whole entire setup, let me know in the comment section. Or if you’re too lazy to go through each setup one by one, if you are here in Malaysia, Copper Connect is an easy way to get everything set up for you, as they were the ones to help me with everything here in the studio, from the setup to the configuration, since I was really busy with moving in and also making videos for you.
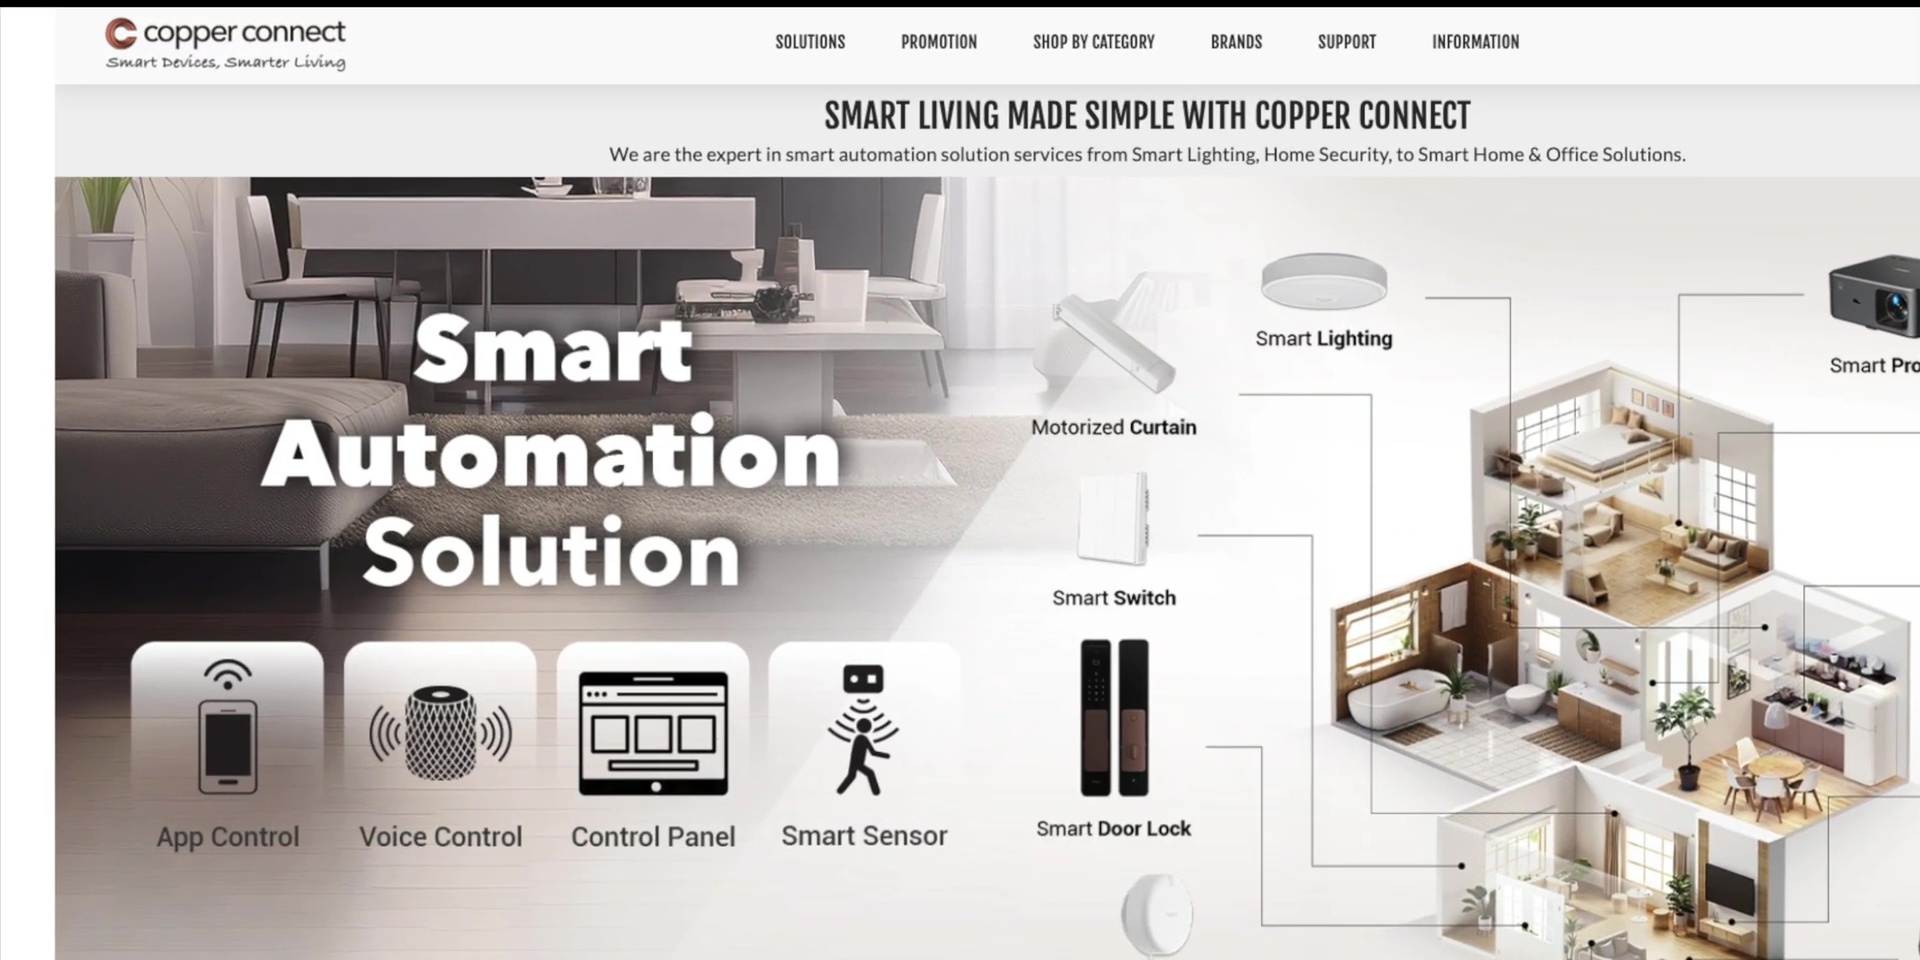
They have a total smart automation solution that works not only with Yeelight Pro products but also with other brands like Aqara smart door locks, smart CCTV cameras, smart curtains, smart robot vacuums, and many other compatible devices.
They have an easy 5-step process to get everything up and running, where you can also get a free smart automation solution consultation session with the Copper Connect team.
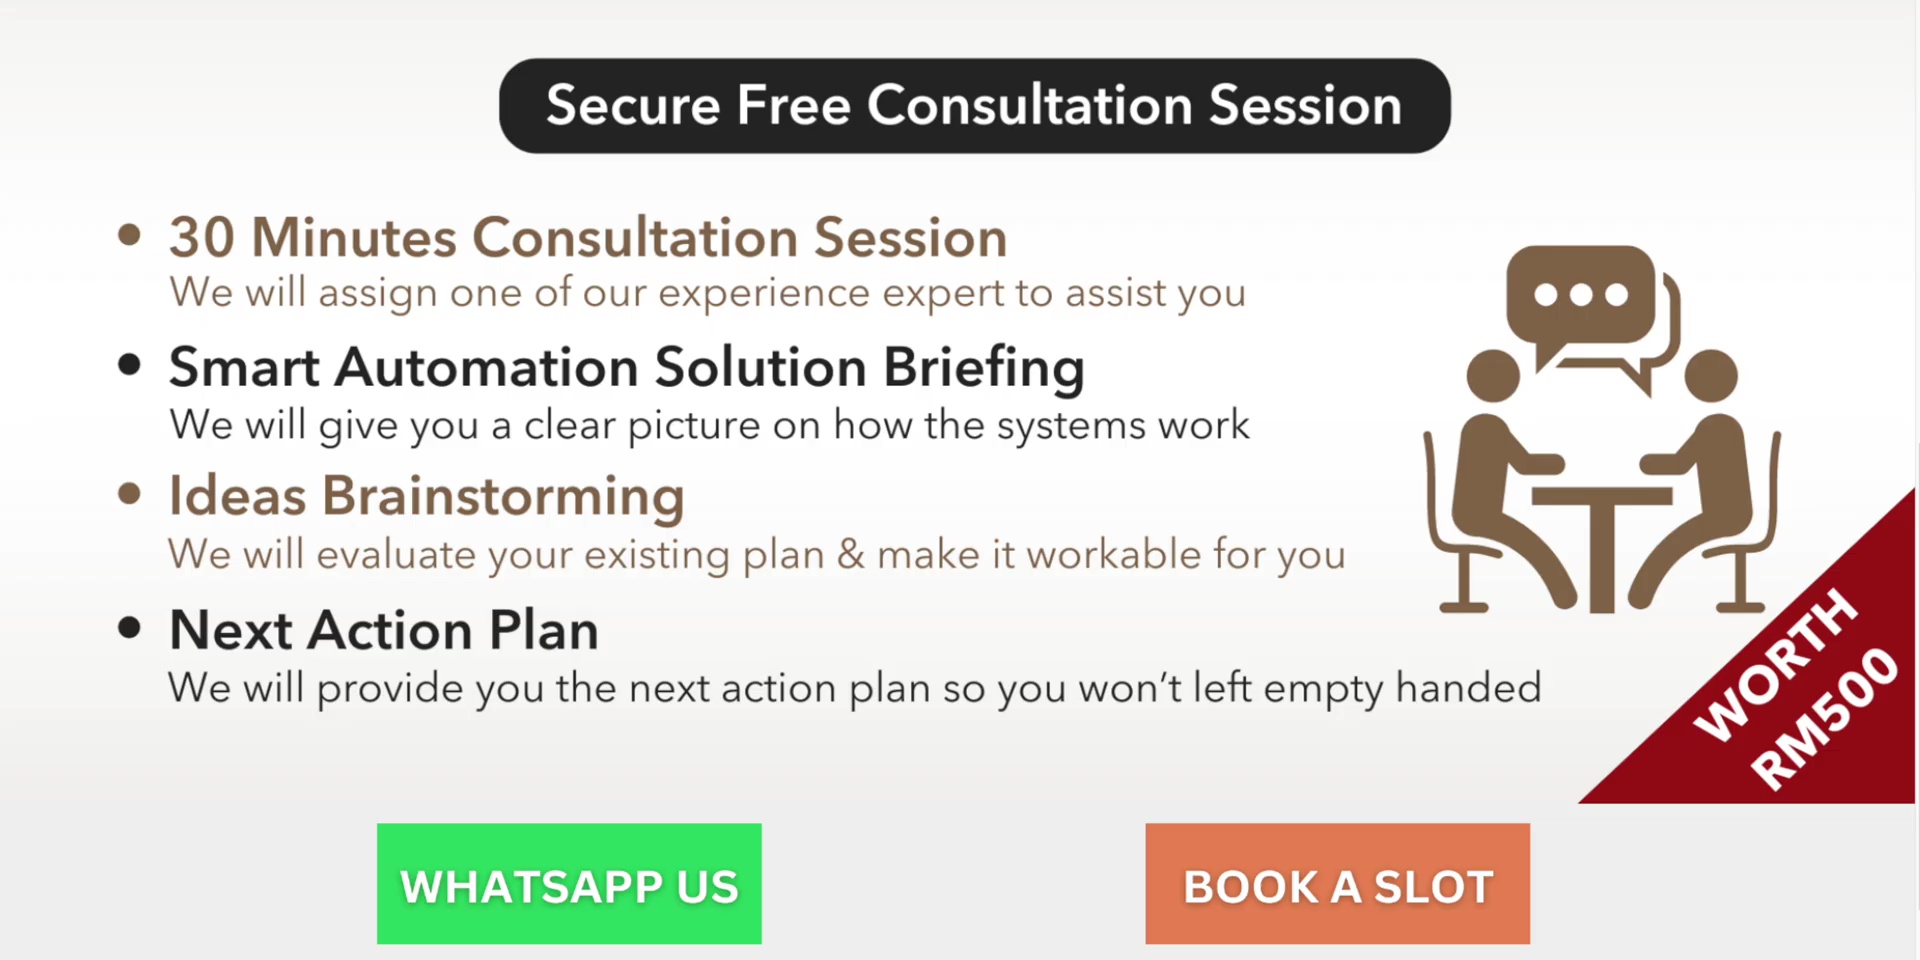
Get a special 5% discount on your total smart home makeover by mentioning the code “LOBOSMART”, either by walking into their shop or via WhatsApp as well.
💡 More info at https://www.copper2u.com/