This review is going to be a little different as I will be taking you all behind the scenes and revealing a particular “secret” on a specific tool or a gear that I have been using when I create all of the videos that you see on Adam Lobo TV.
Now, just before that, allow me to give you a quick backstory, I LOVE coffee, it is what keeps me going to start off my day and also to soldier on throughout the day. BUT the problem with having too much coffee is my….shaky hands and unstable hands.
So because of this, it is almost impossible for me to get those nice smooth movements when I shoot my B Roll products shots here for my YouTube videos.
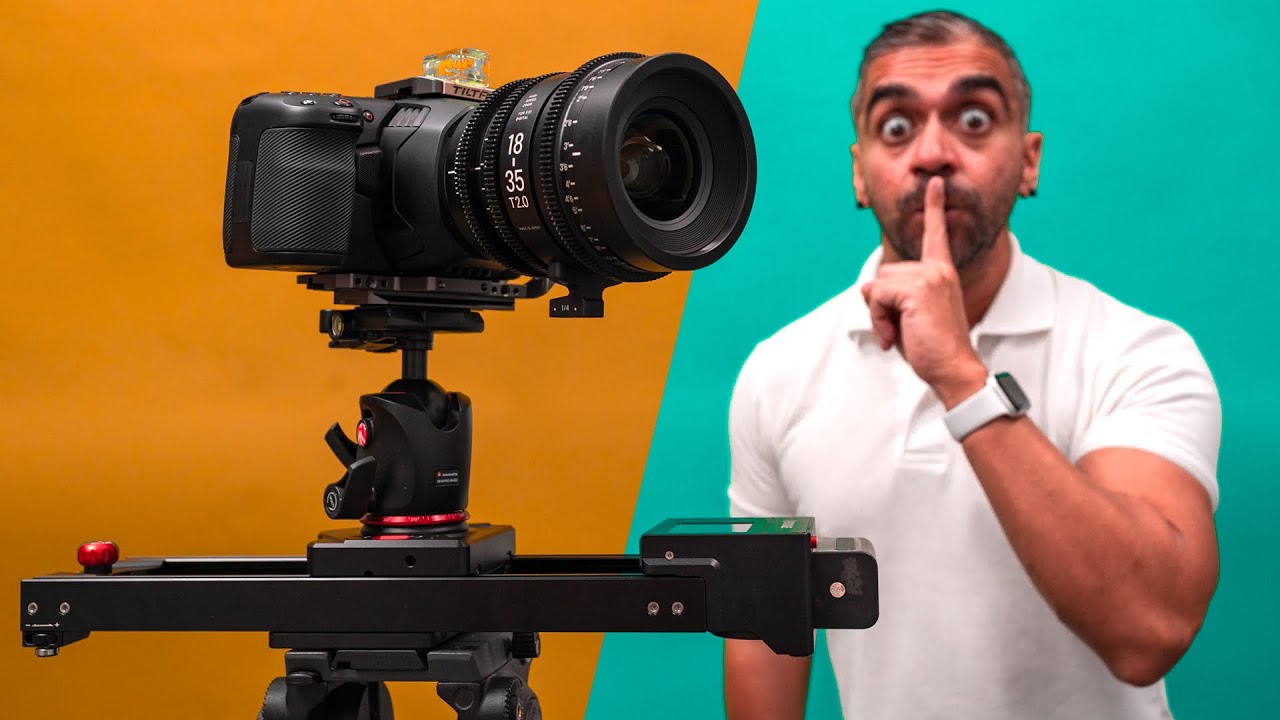
Then, how have I been achieving those buttery smooth and sweet B-roll in the channel? Well, my secret is the iFootage Shark Slider Nano.
So let me tell you how it became extremely useful for me after using it for 2 months!
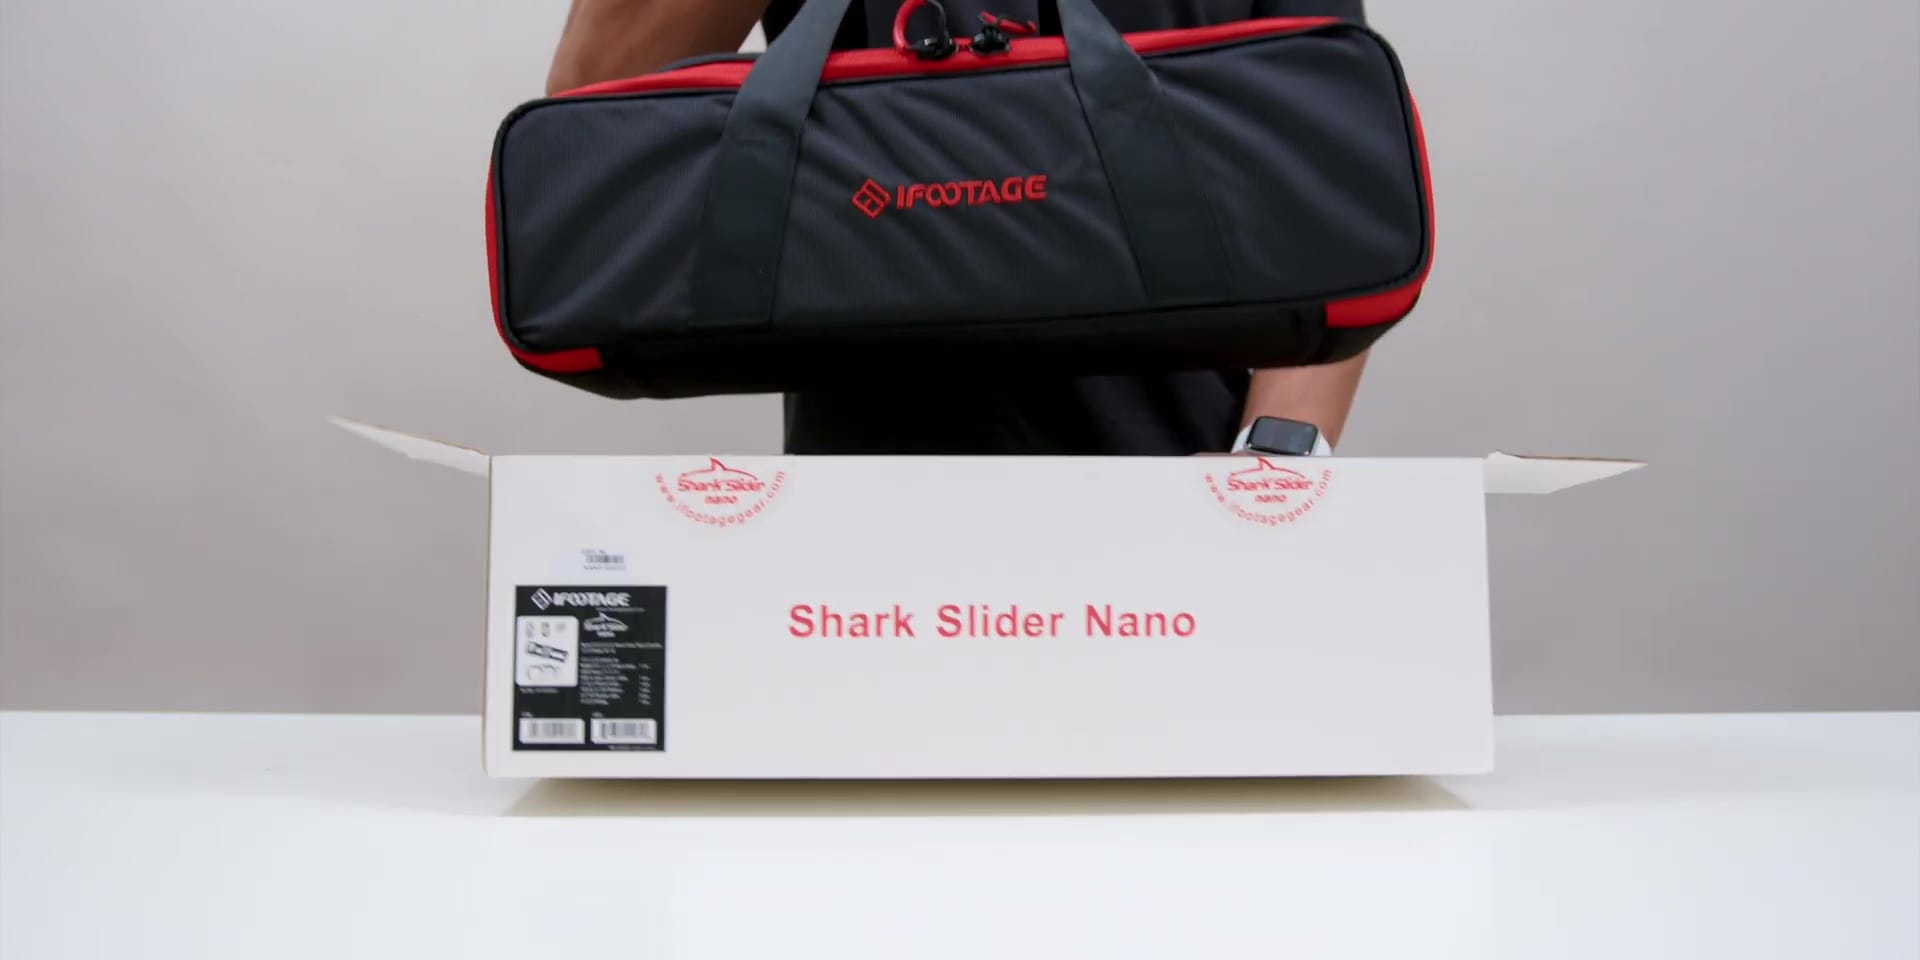
Unboxing
First, let’s find out what comes inside of the box.
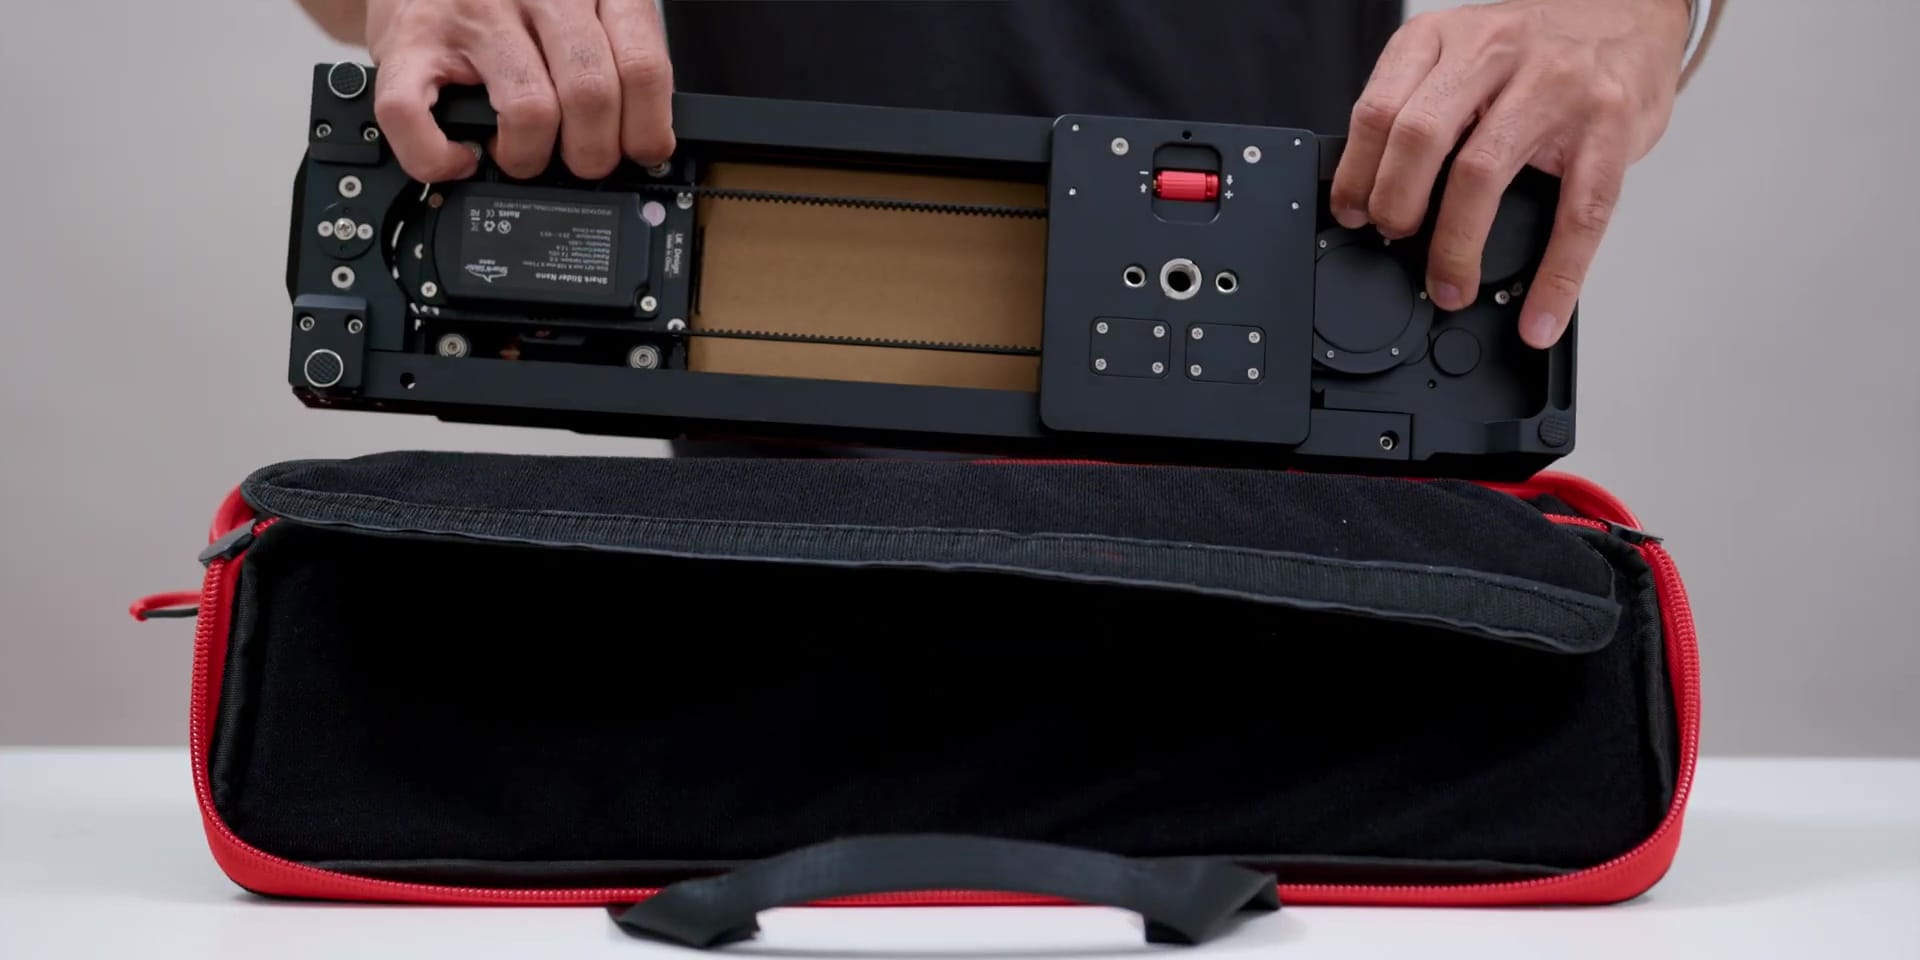
Just so you all know that I’ve gotten the bundle variant, in the box, you will find a nice little black carrying case bag inside.
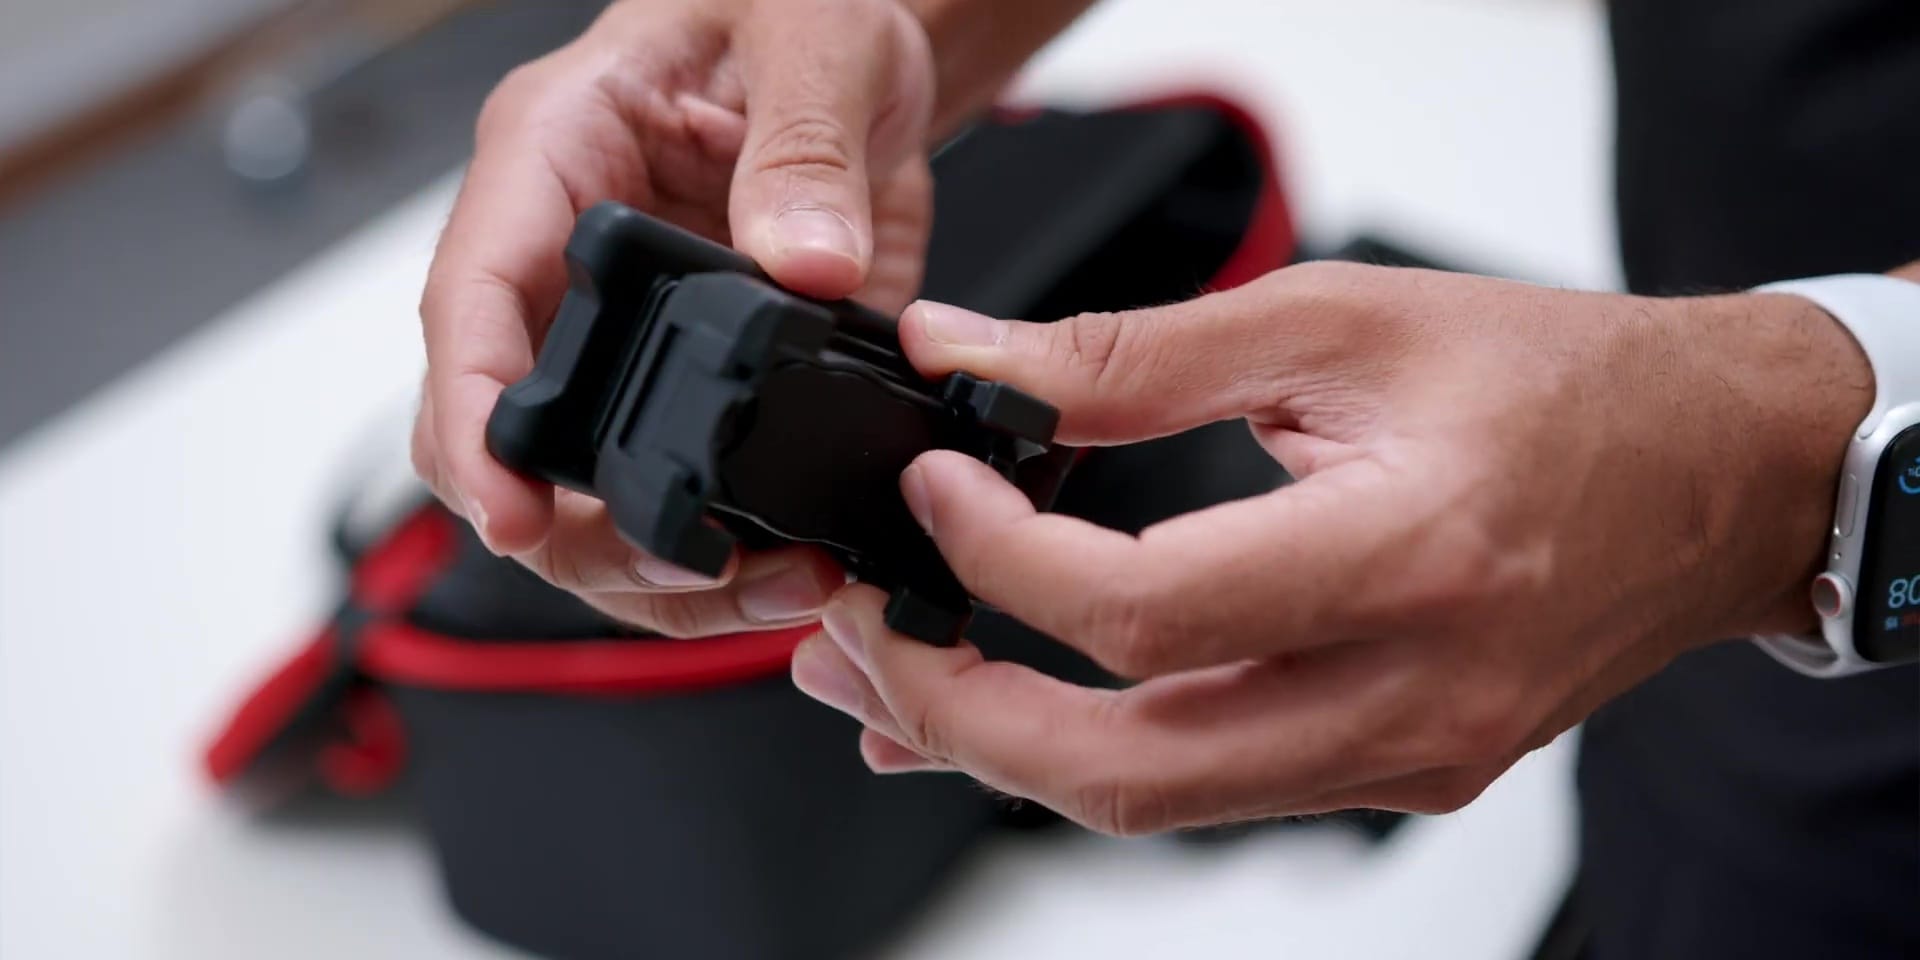
Opening the bag, there is the smartphone mount, which is surely a pretty steady and solid-looking one.
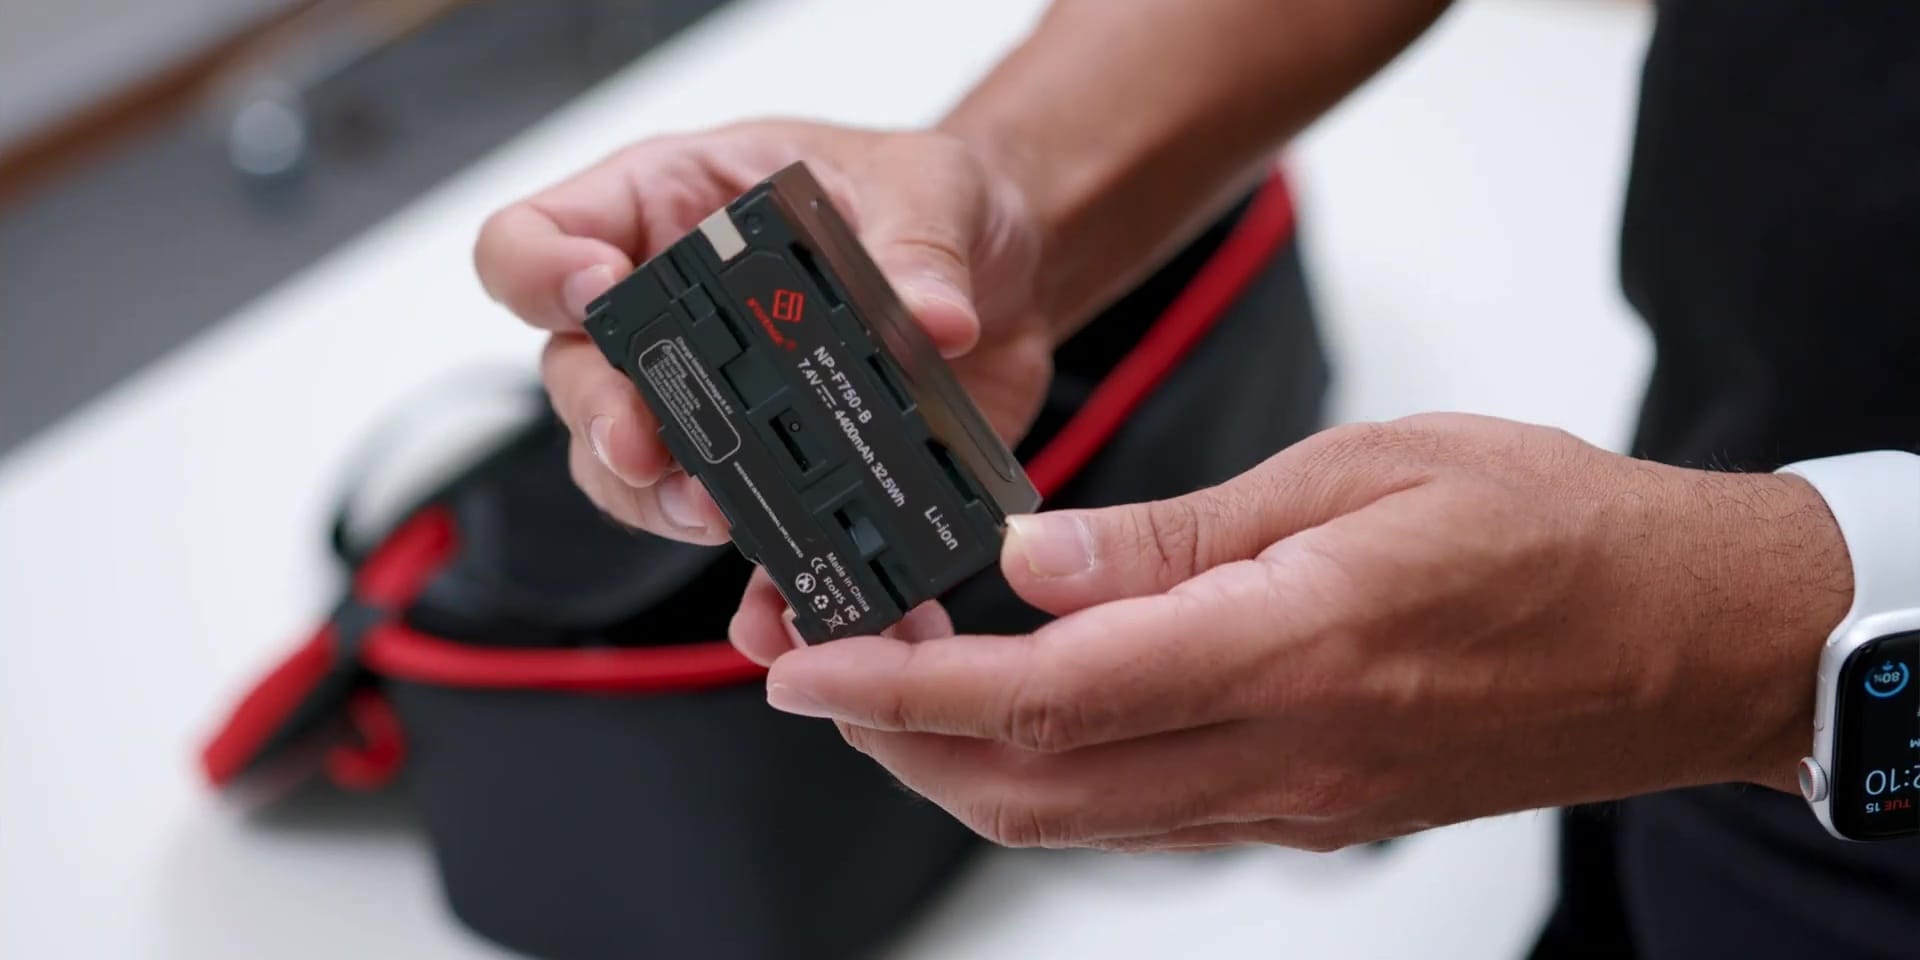
Then there is the NP-F750 battery
Then towards the top compartment, there is the slider itself.
Tucked in next to the slider, you will find a brown box that has 5 pieces of the Shutter Cables.

Next, there is a USB-C cable, the warranty card, some iFootage stickers and the user manual as well.
[easy-image-collage id=4690]
Build Quality
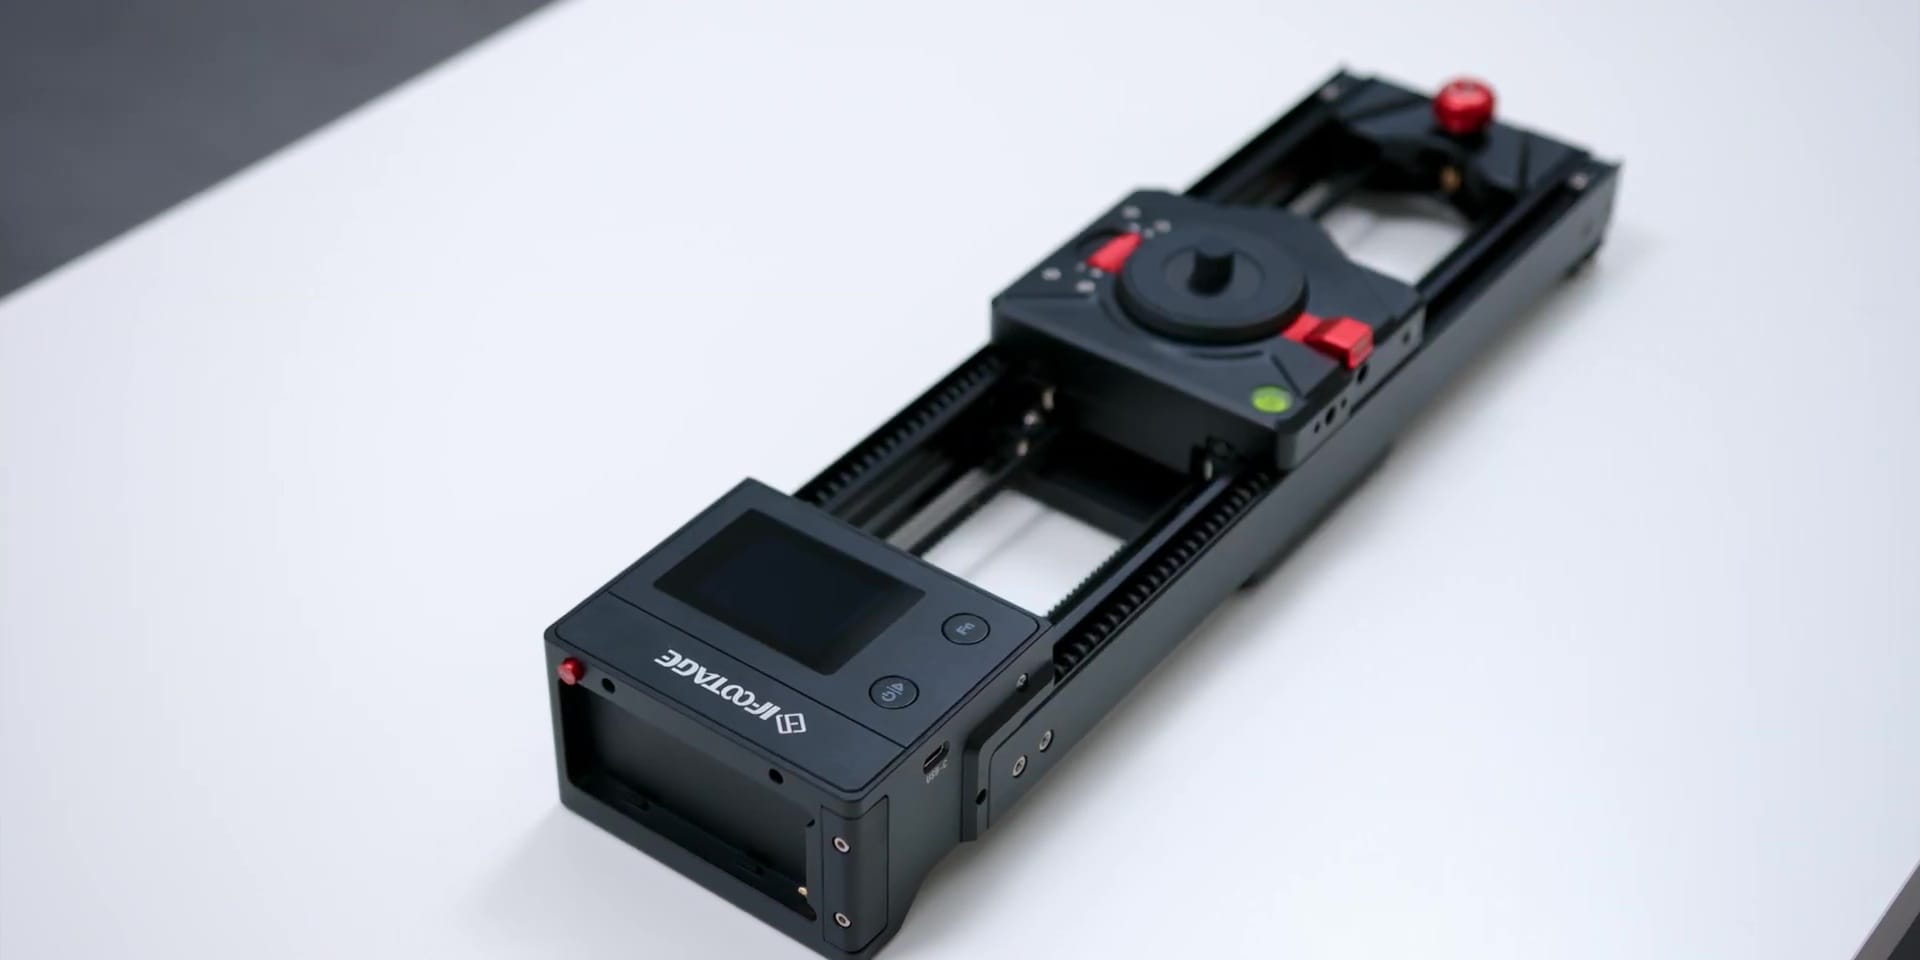
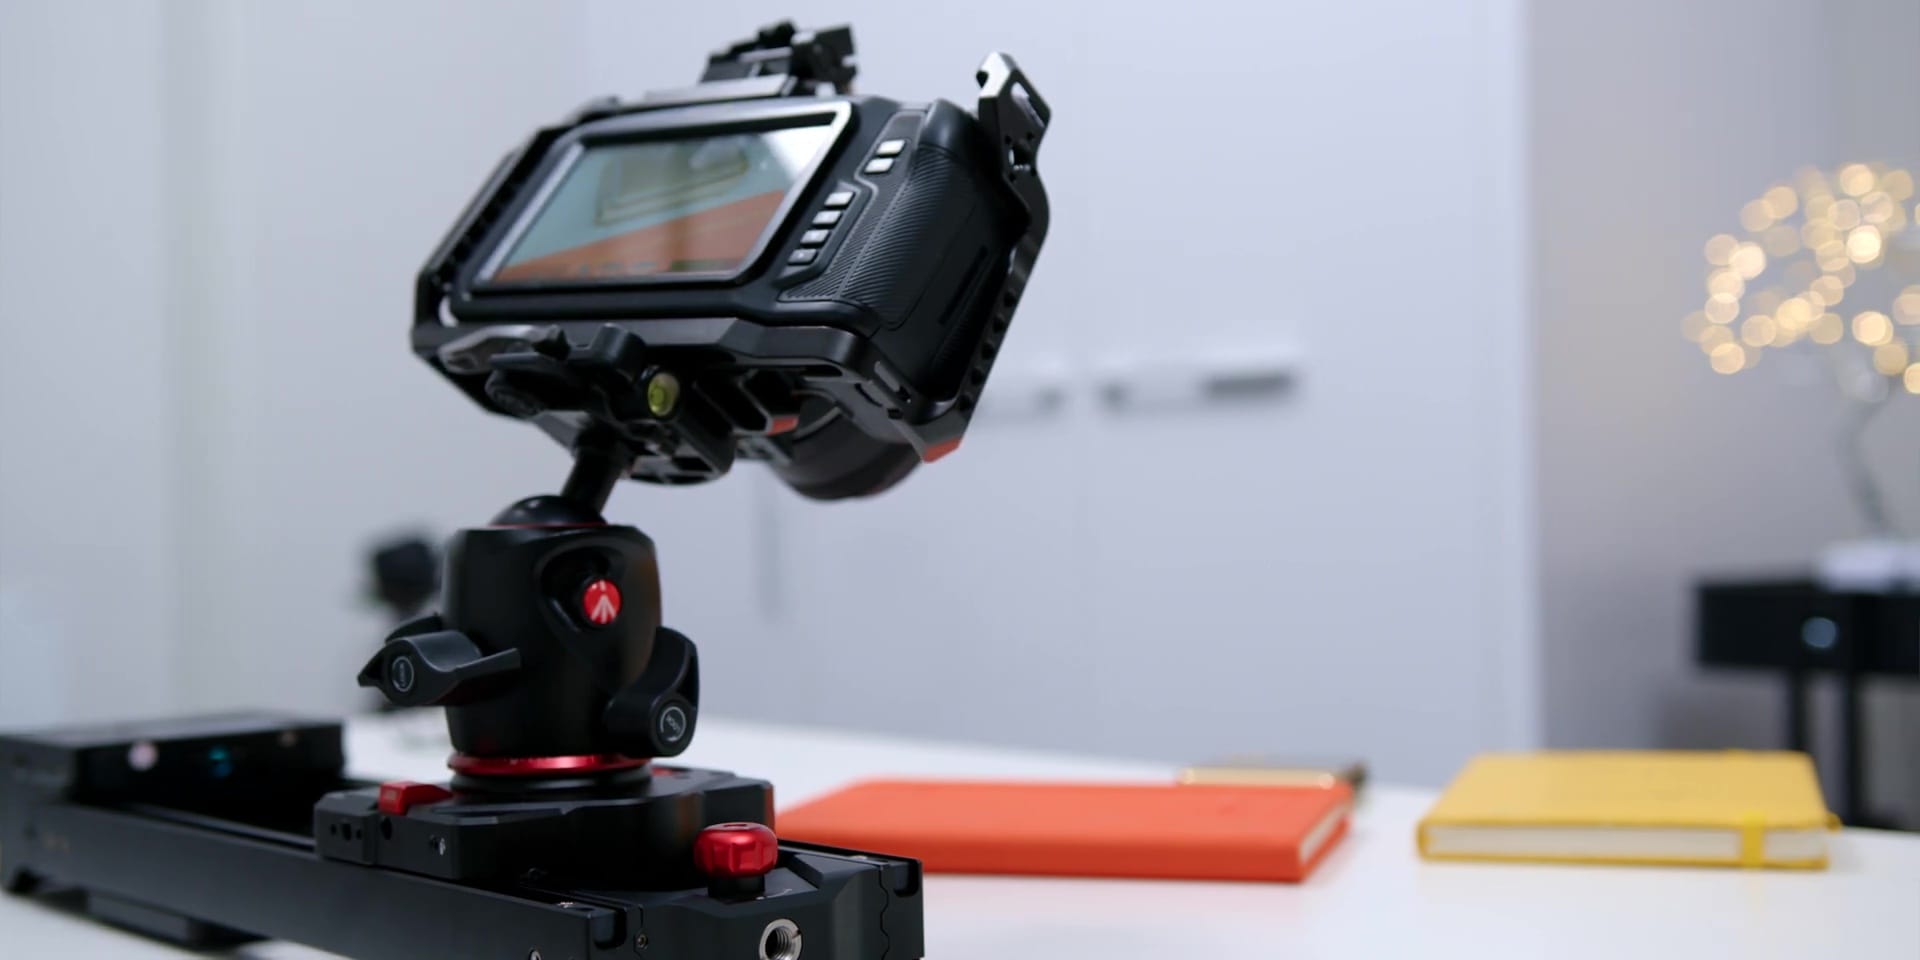
Now when it comes to the build and the size of the slider, my first impressions were how compact and light the slider was because the motors are actually built inside the slider, compared to having an external motor to attach to it.

Now this was a huge plus factor for me as it would be something that I could easily set up no matter if I am just shooting in the studio or on the move, once we have tech events here in Malaysia once again.
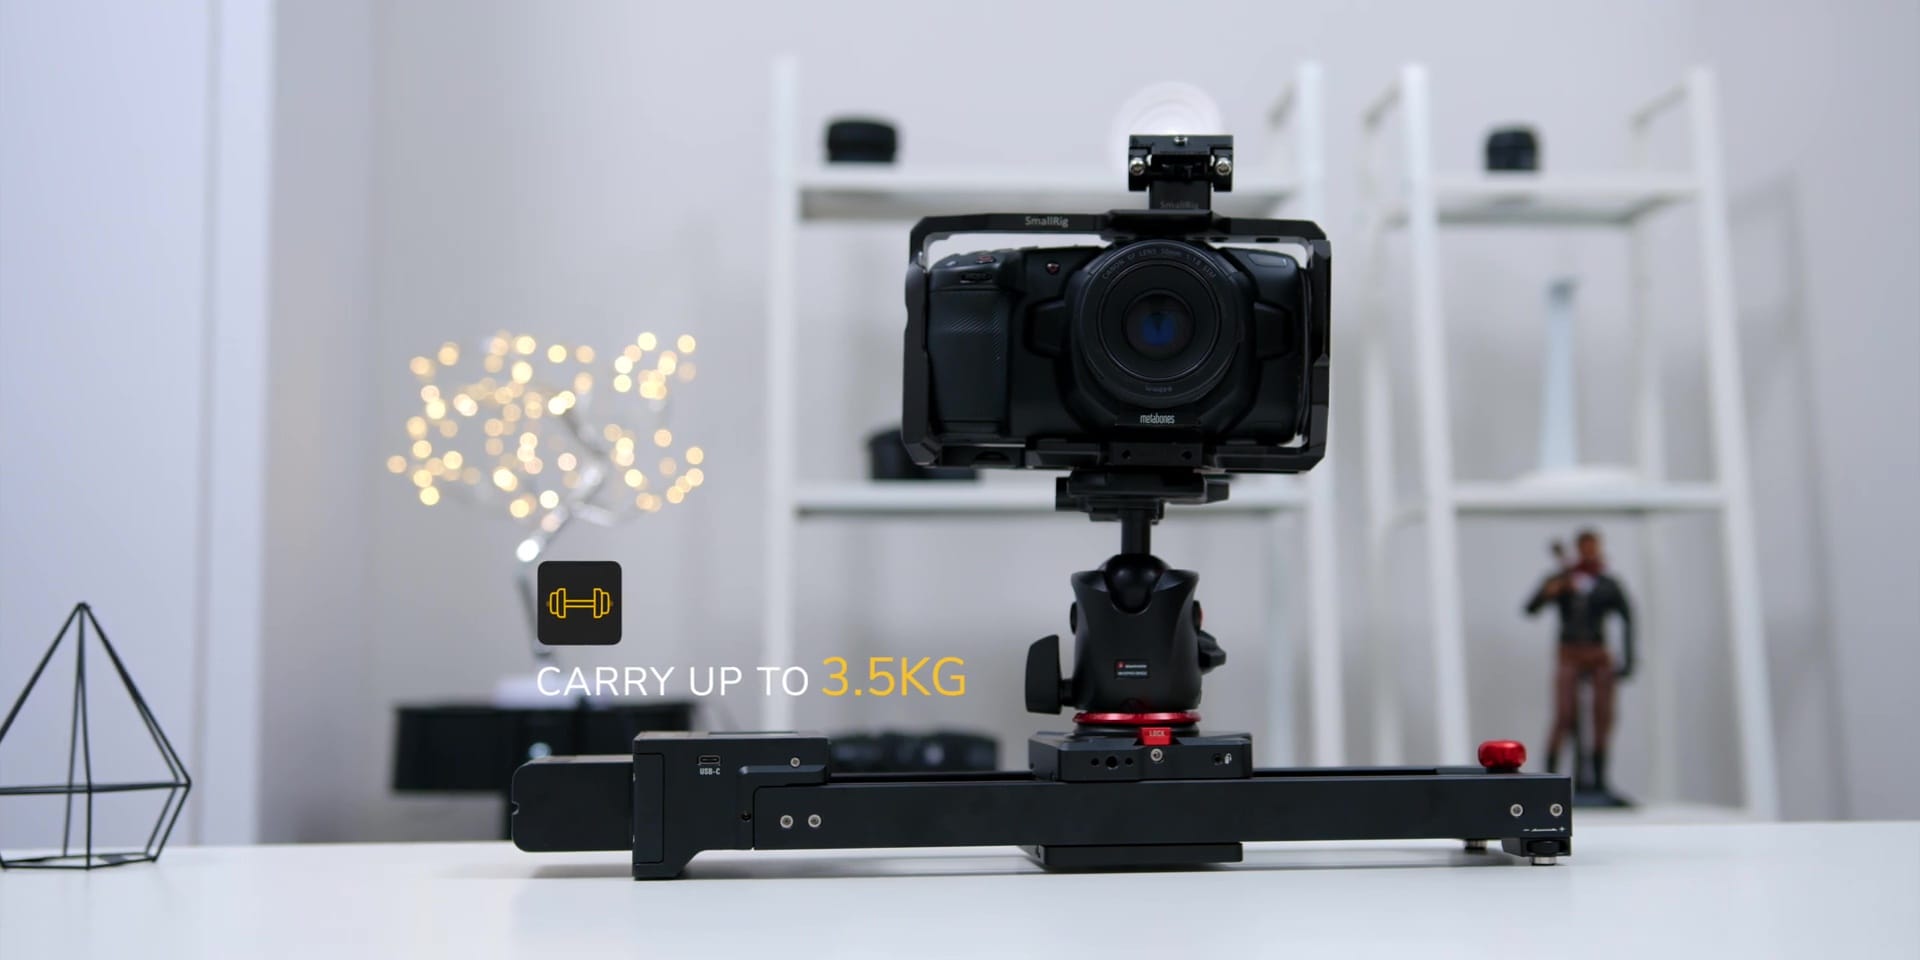
And what’s surprising is that even with this small and light form factor it is able to carry high payloads of 3.5 kgs on desktop mode, where that desktop mode is when the slider is placed on a table.
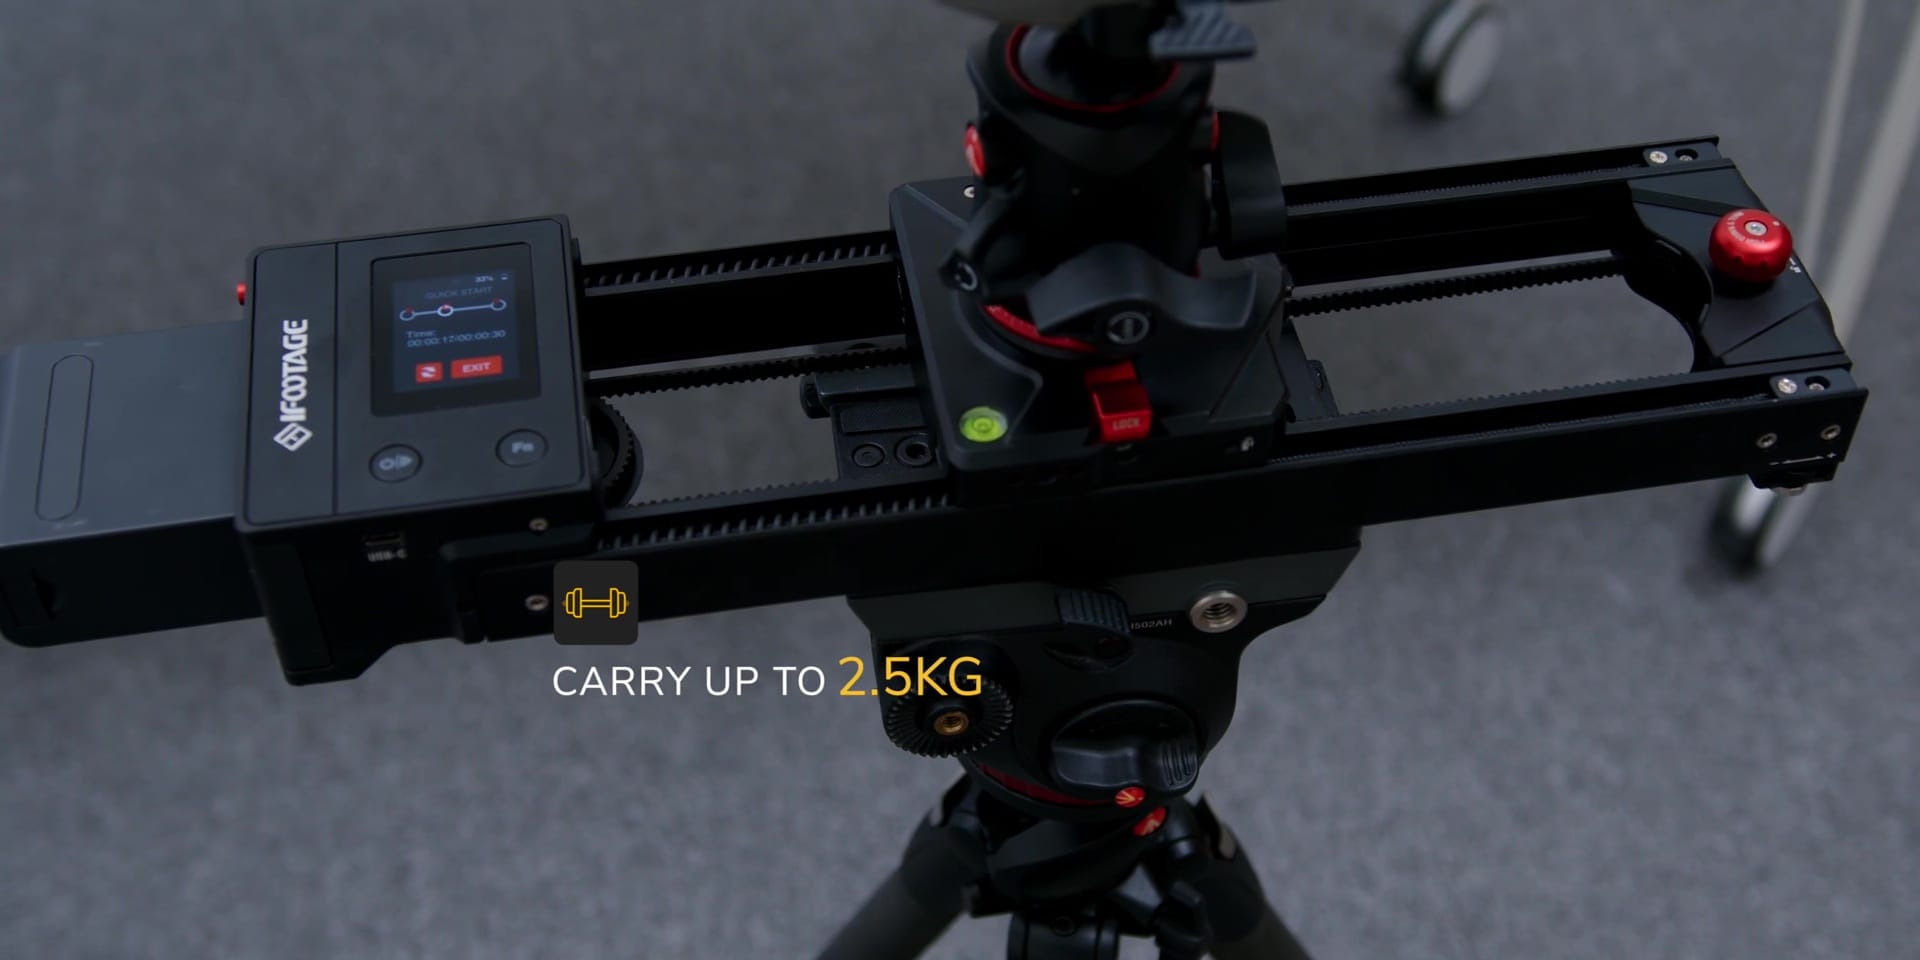
Then if it’s mounted on a tripod, it can carry loads up to 2.5kgs. And speaking of the tripod mode, what’s extra sweet is that when it’s on a tripod the travel distance from end to end will be almost twice, which was really handy as well.
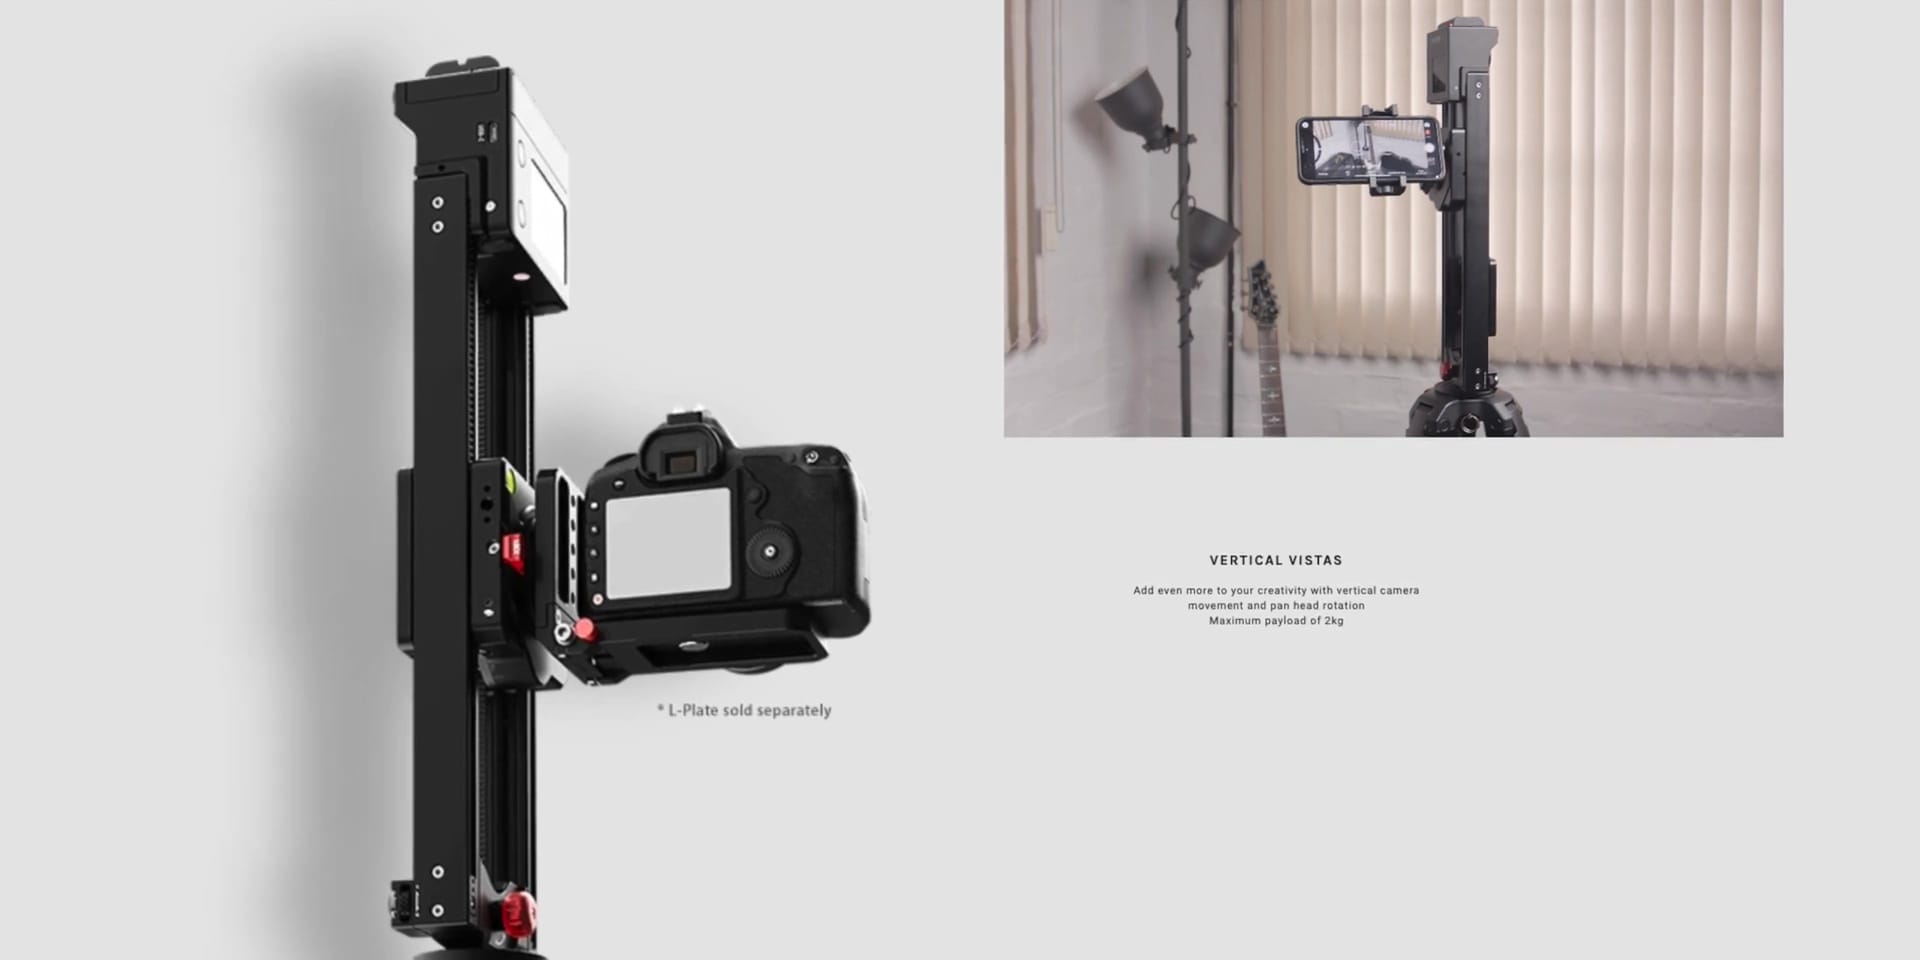
And if you want to get a little creative, you can even go with the vertical mode, but keep in mind that this could only carry a maximum weight of 2 kgs and you also need to get the additional L bracket which is sold separately in order to use that.
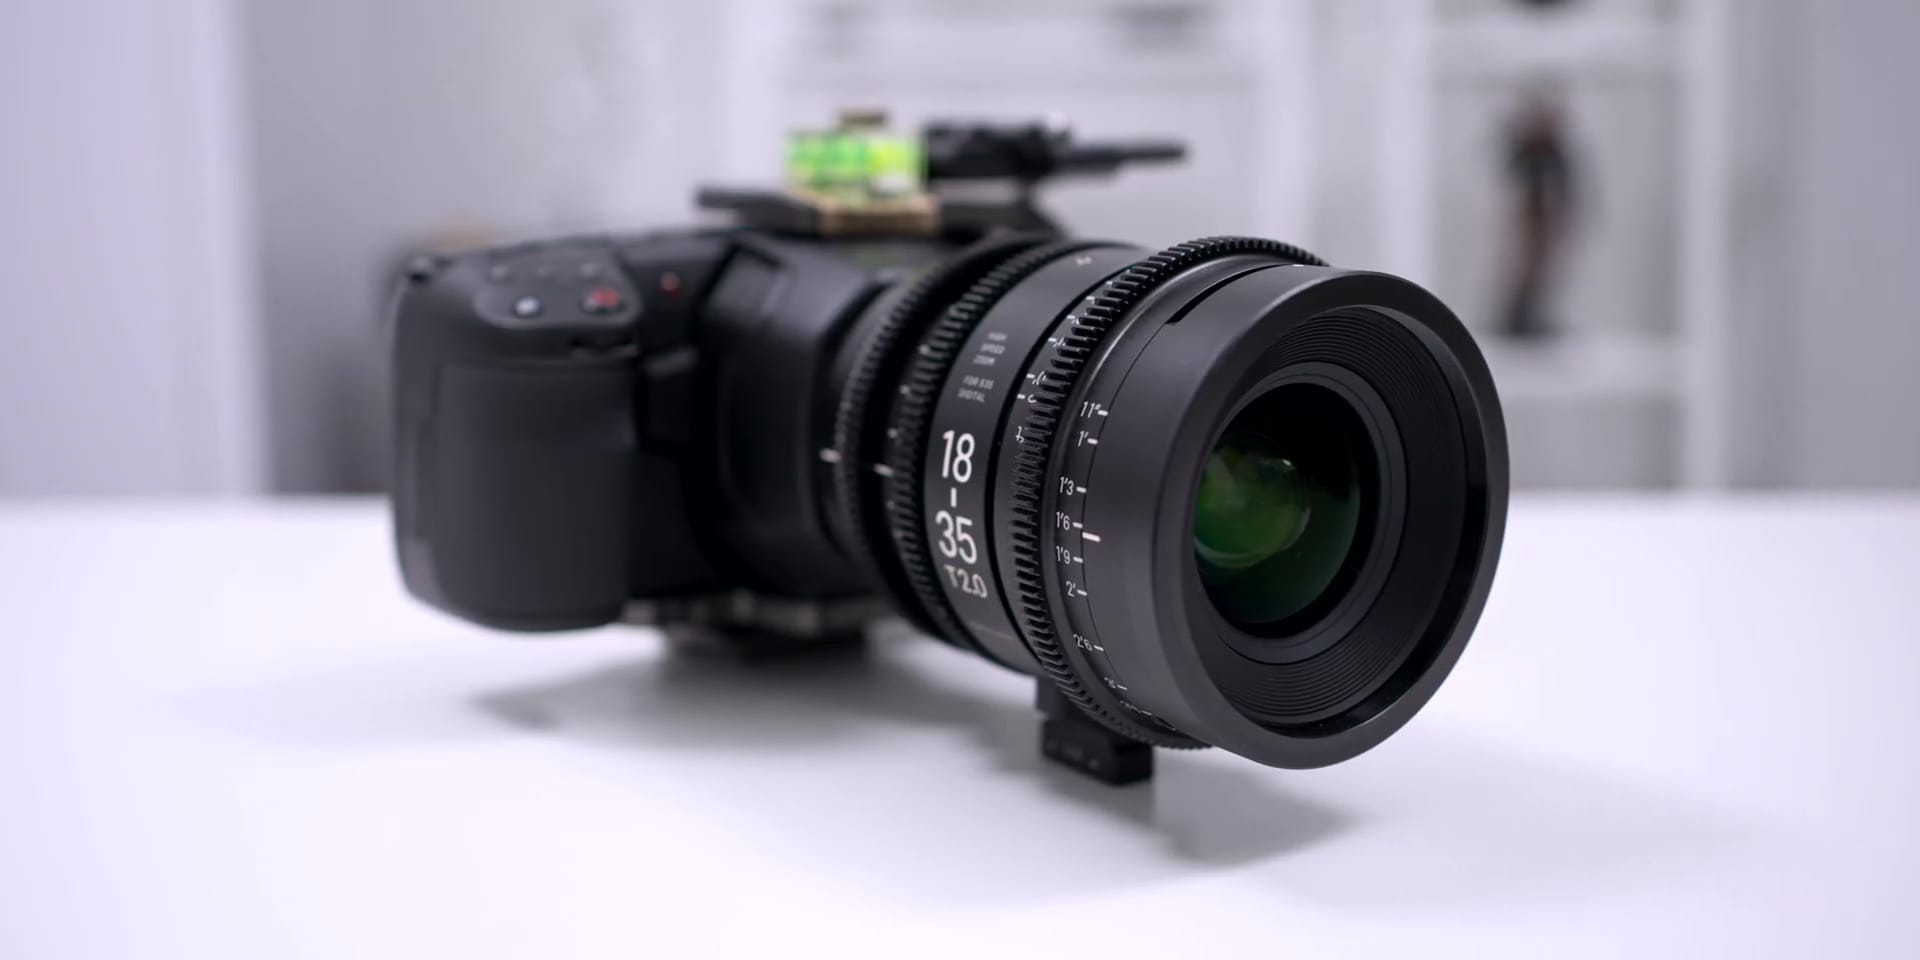
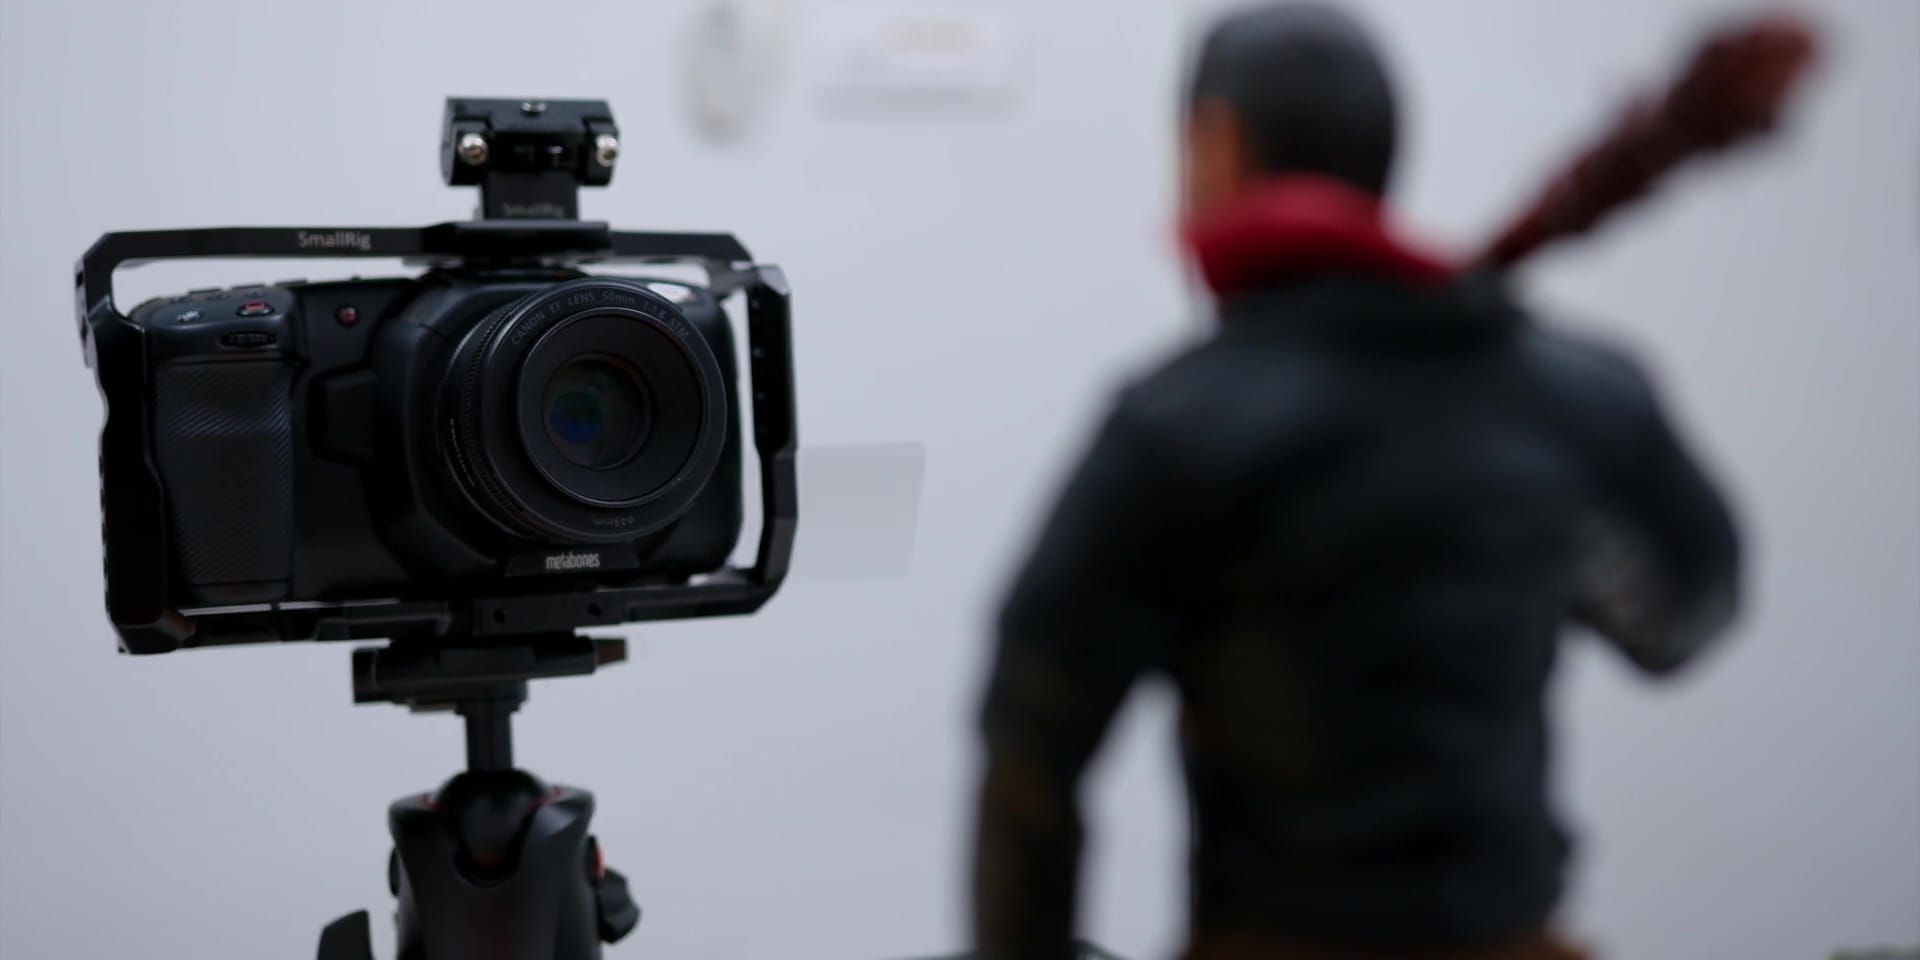
So yes, this is totally dependent on the exact weight of your setup and since my current camera rig is about 3kgs for my Blackmagic Pocket Cinema 6k camera with my Sigma 18-35mm Cinema Lens, I will be using the desktop mode for that.
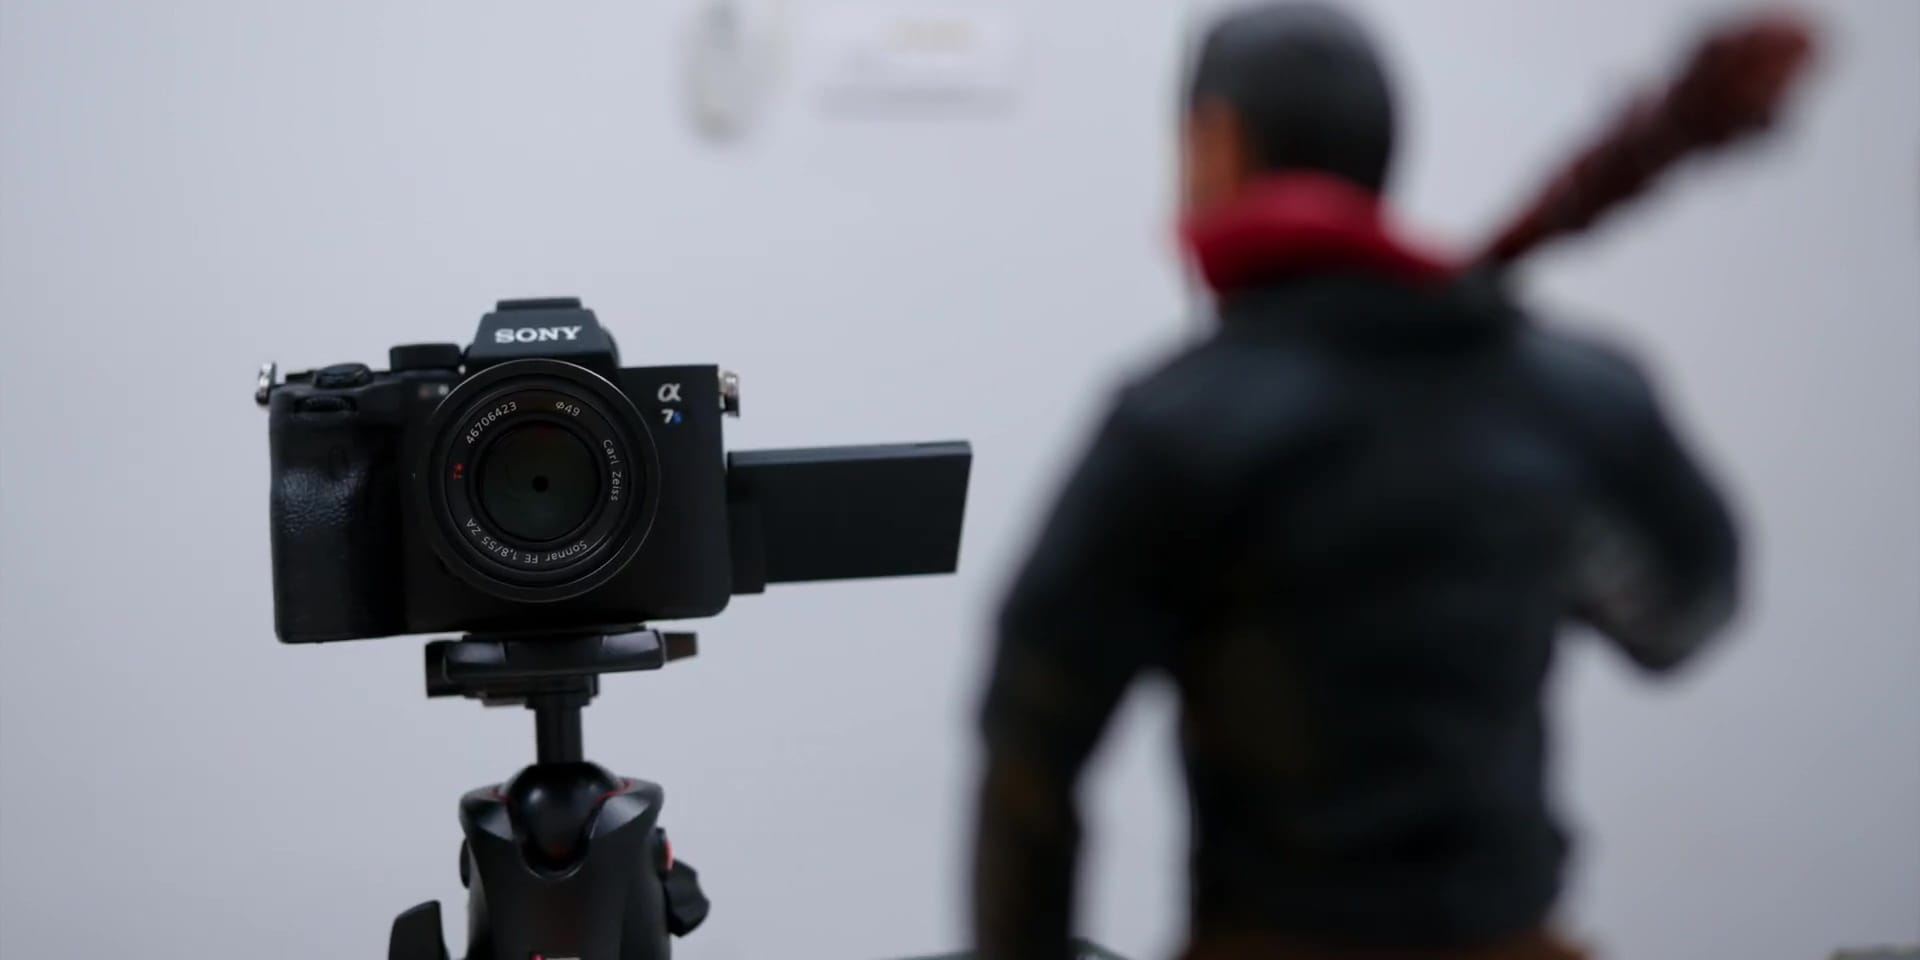
And when I change to a lighter lens on the Blackmagic camera, I will use it on a tripod, or if I switch to my smaller camera setup with the Sony A7S III.
Specifications
Alright, next look at what makes this slider different from what’s currently out right now.
First of all, this iFootage Shark Slider Nano is the world’s first build-in two-axis motion control slider, that allows you not only to go bi-directionals from each side but to also do a 360-degree pan motion too, which I will show y’all how easy is it to set up and execute later.

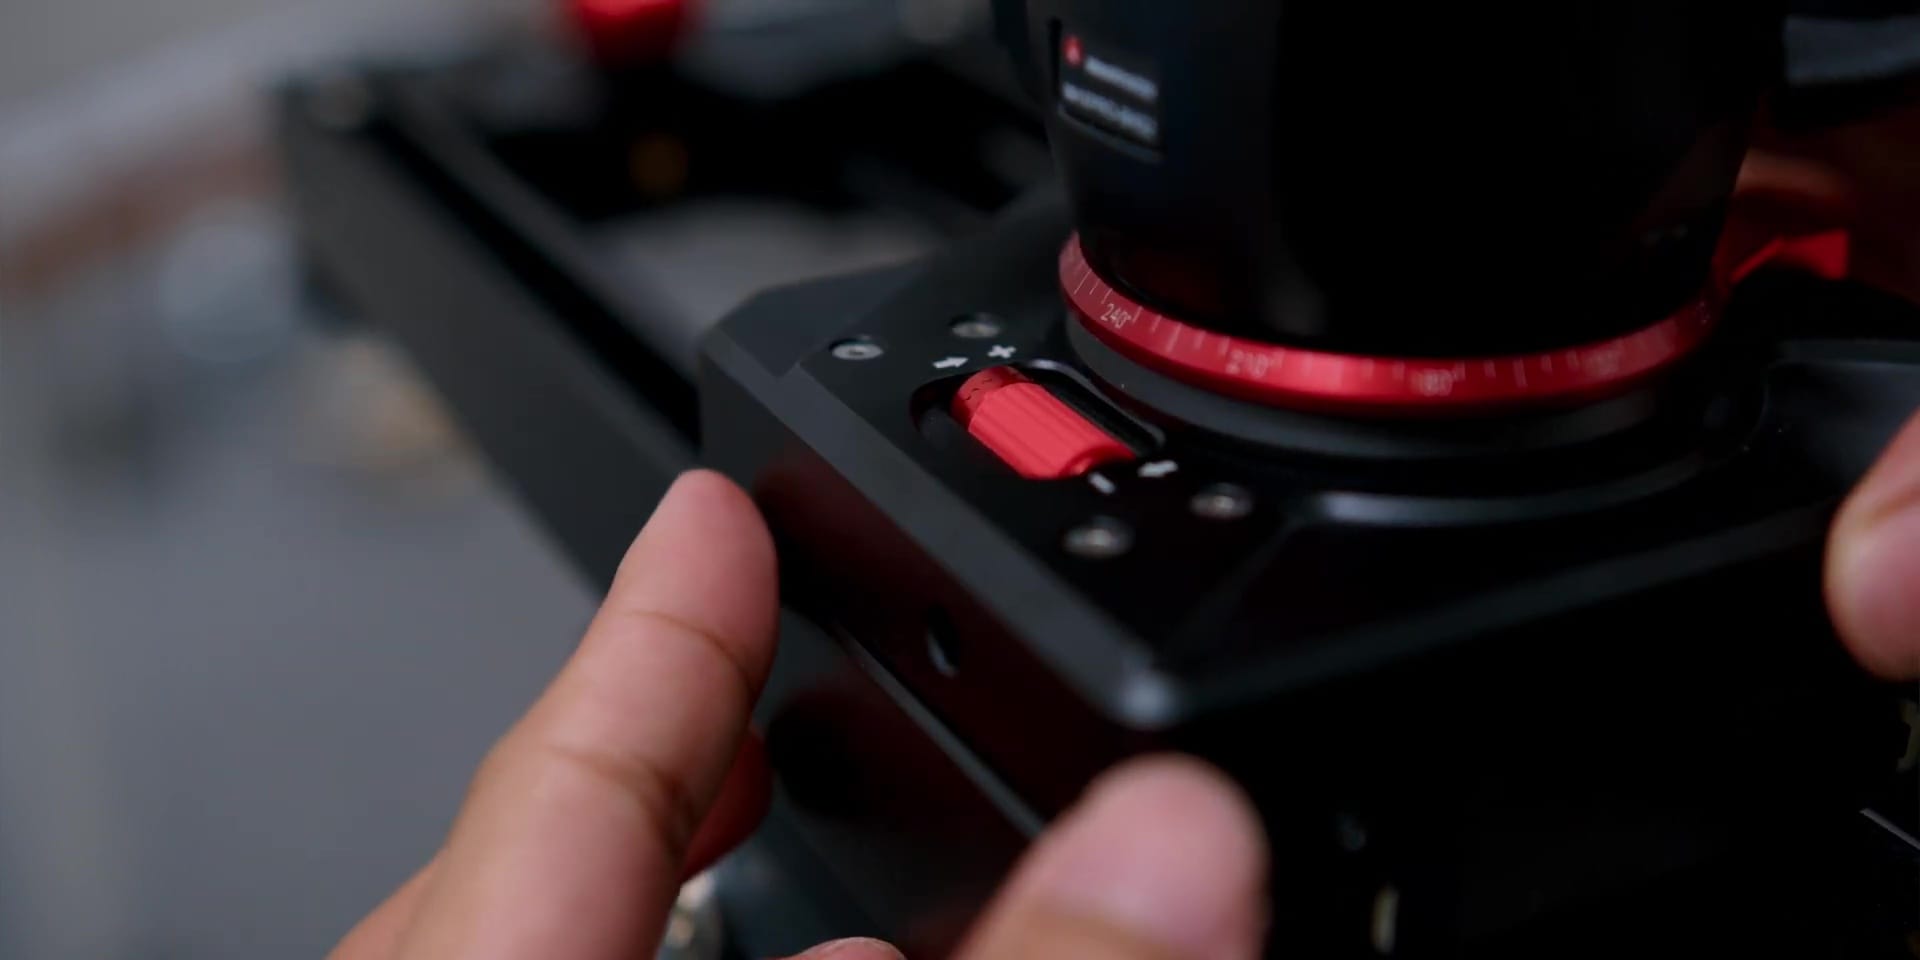
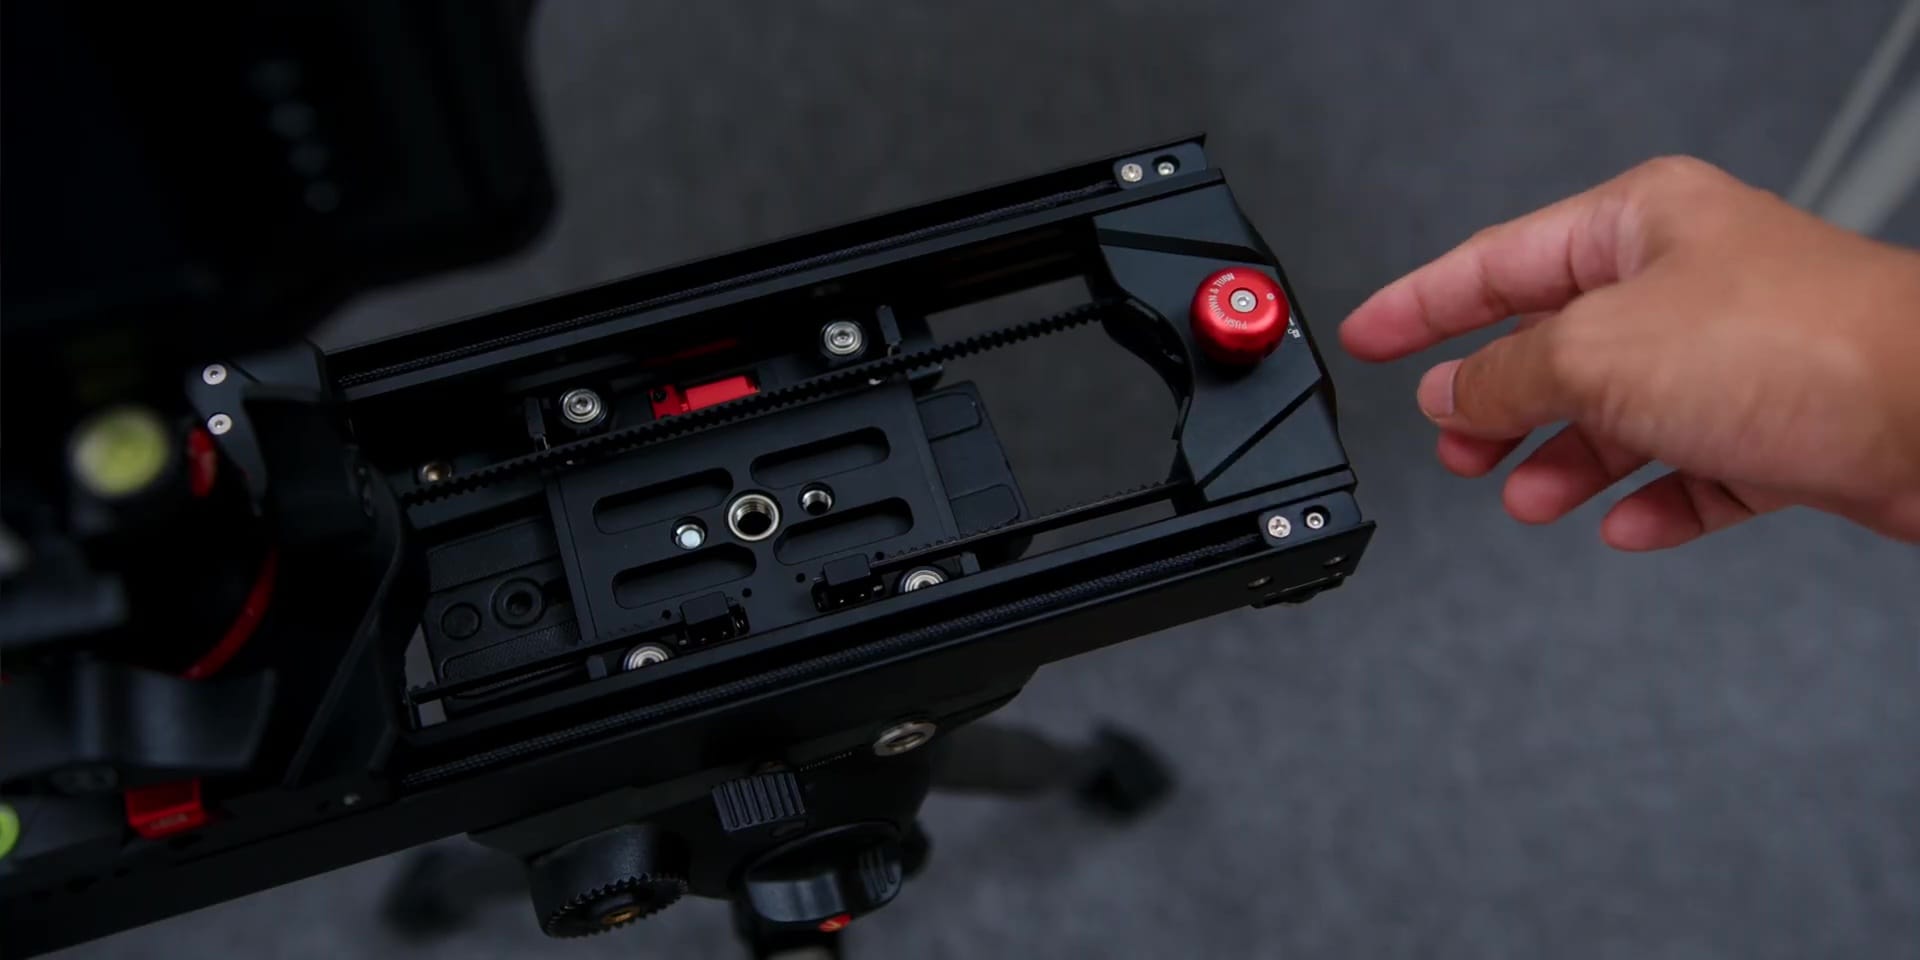
In terms of the physical controls, firstly there is a red adjustment knob on the slider cart which helps to tighten the cart further to ensure there is no wiggle on the cart when it is on the Slider.
Then there is the master cart lock, which helps to lock the slider cart from moving, where this would come in super handy during transport.
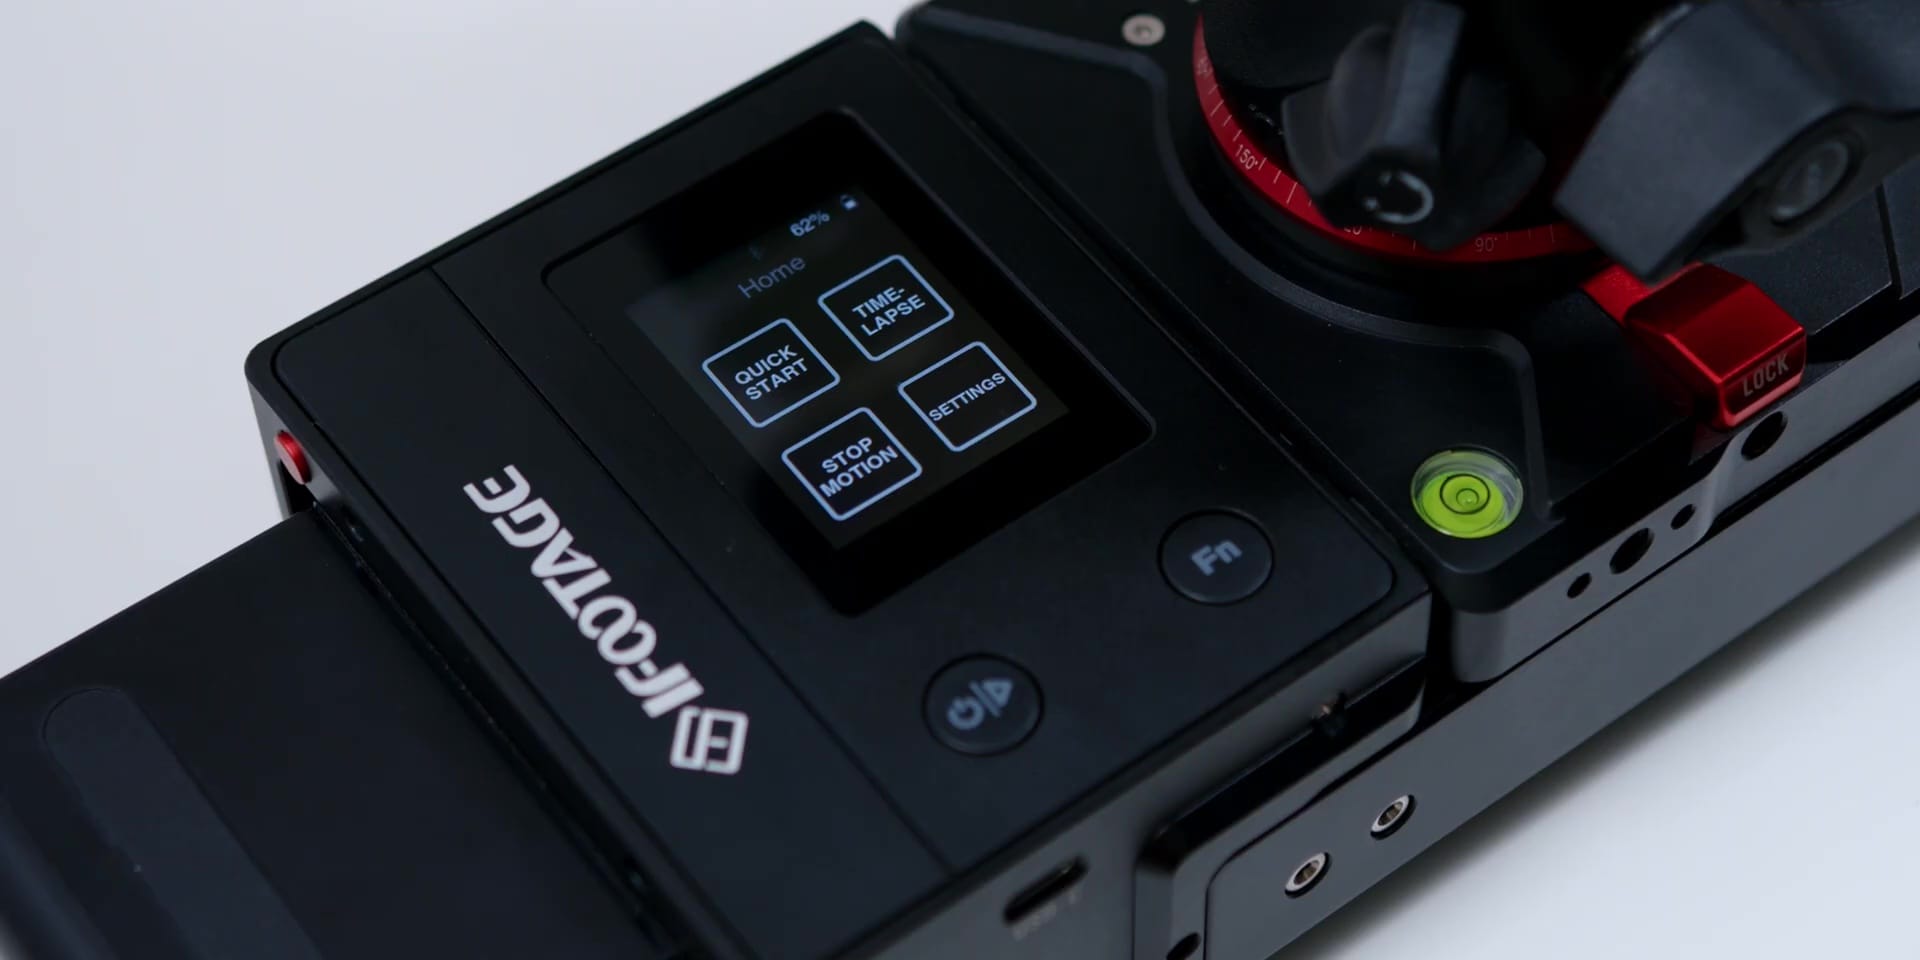
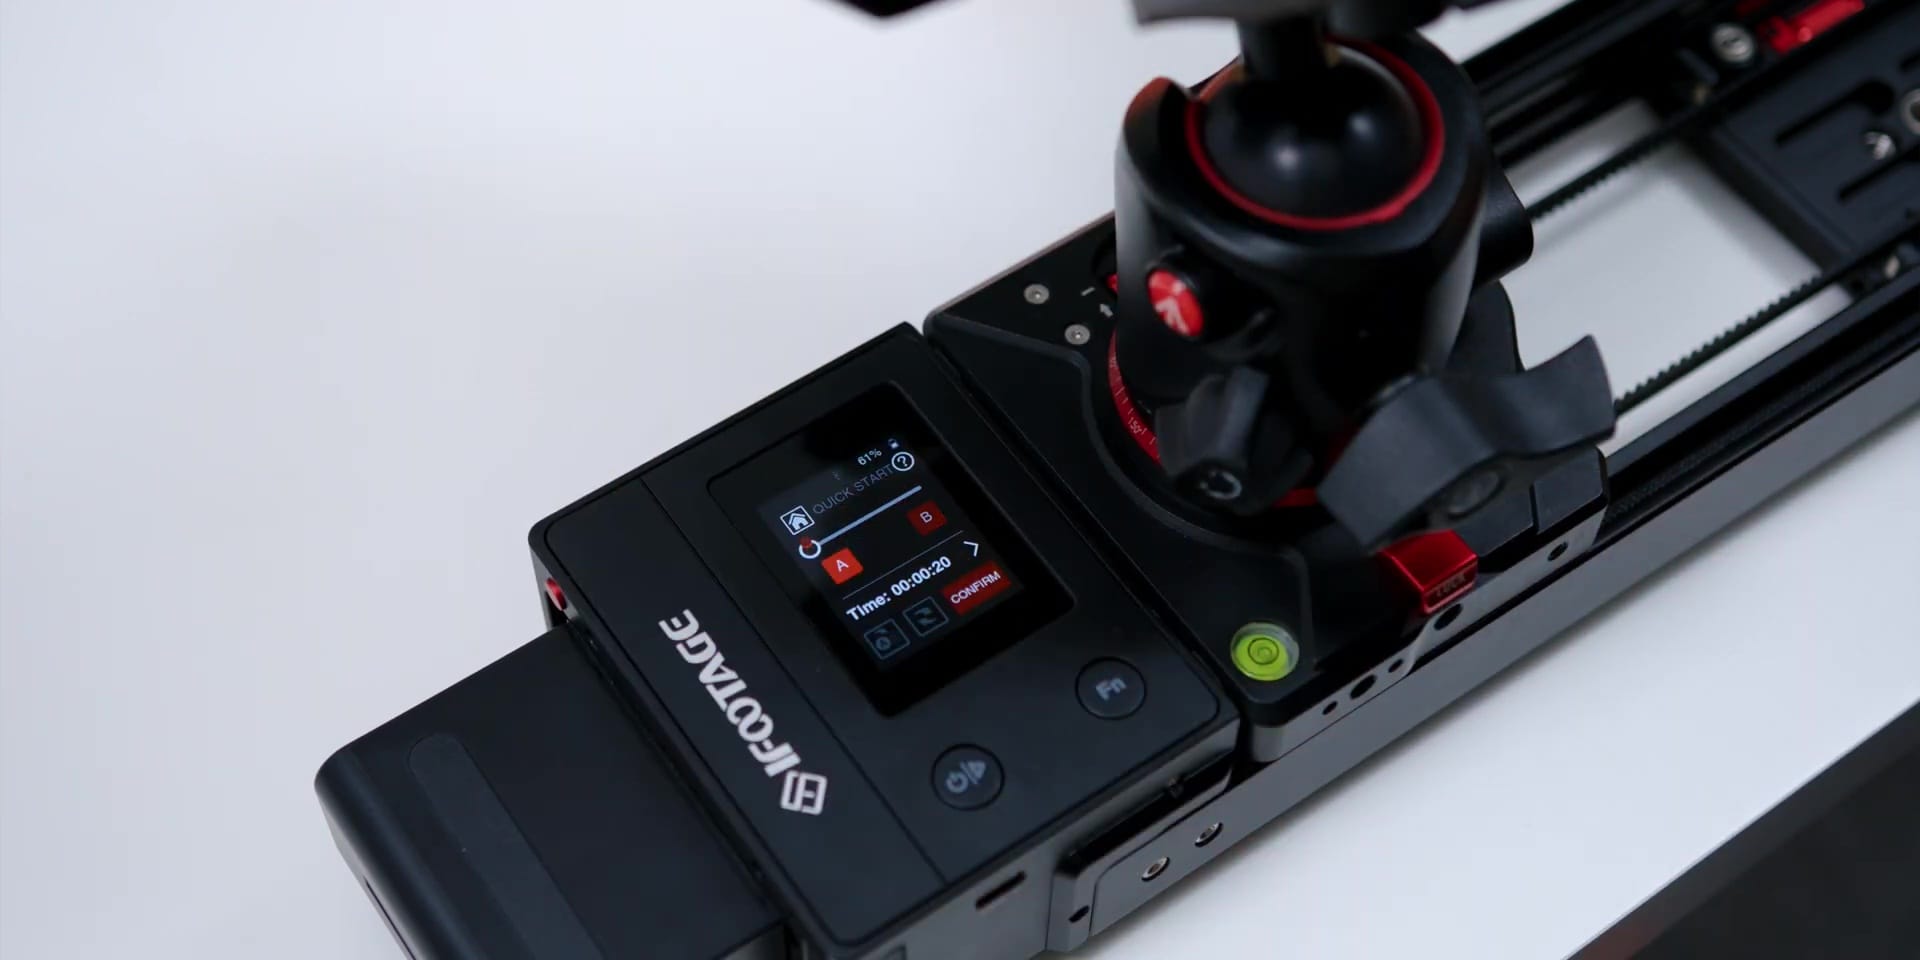
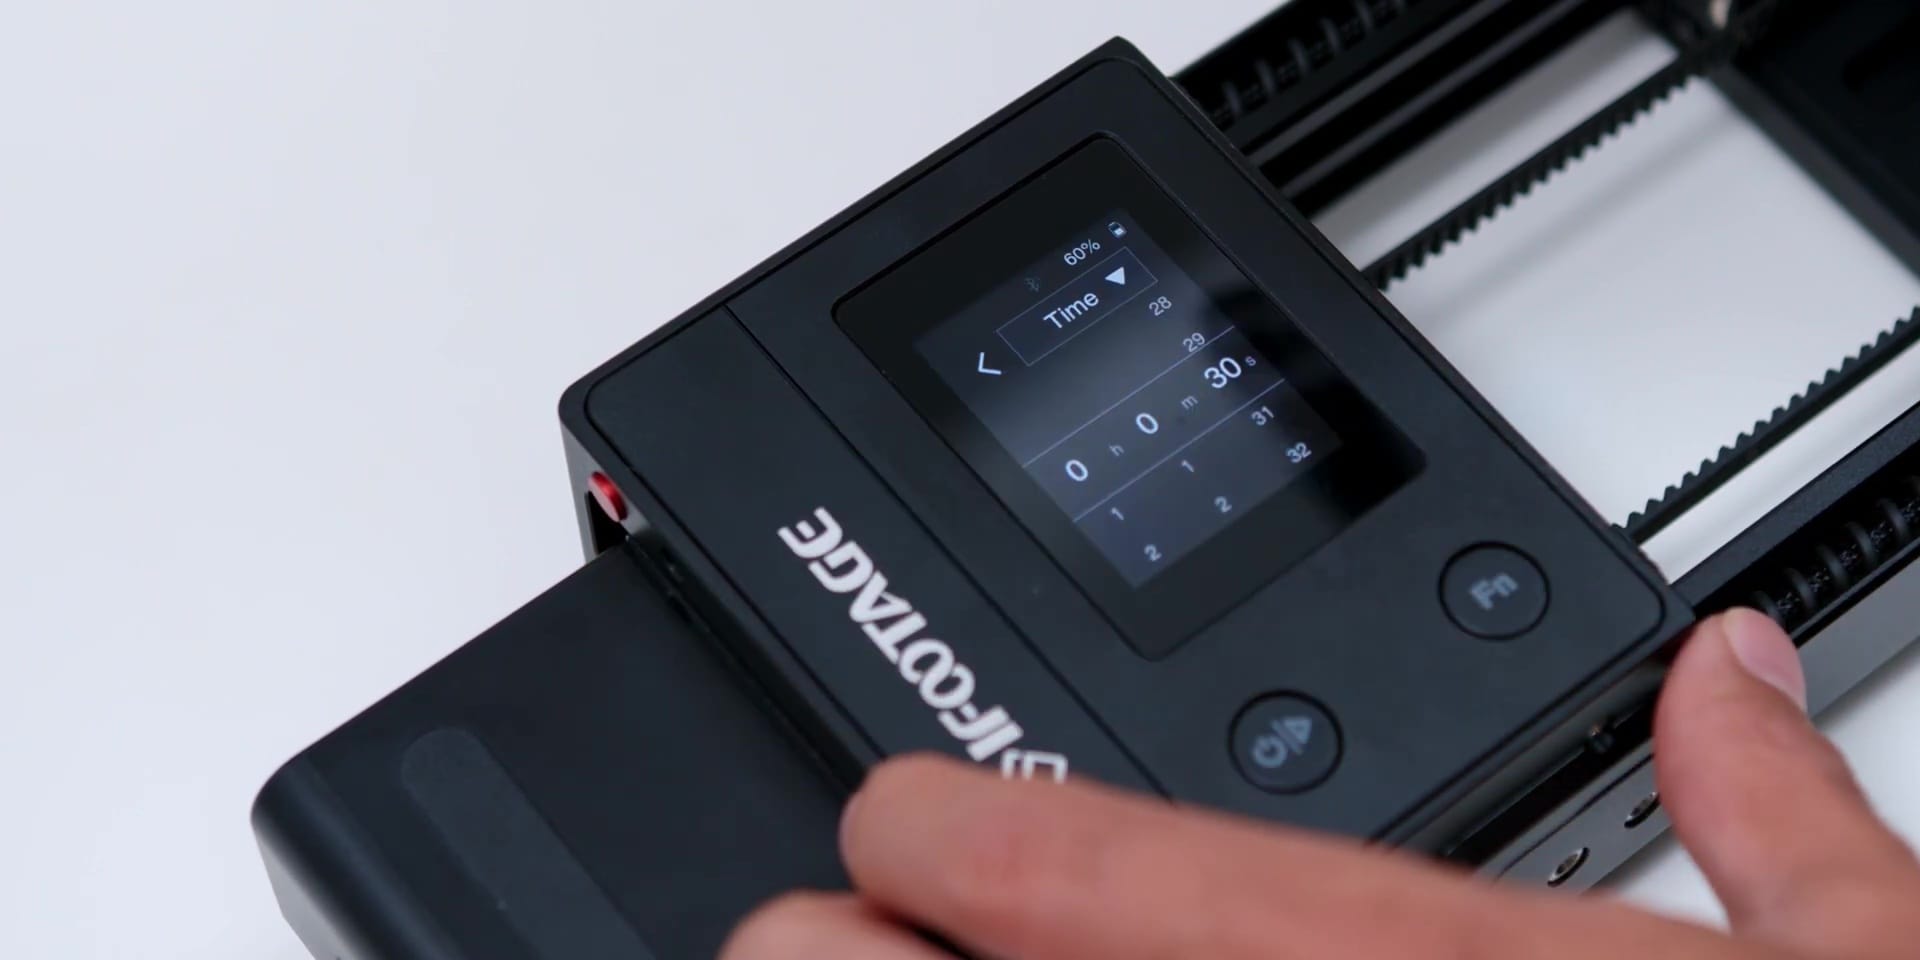
Also nicely included on the Shark Slider Nano is the 60 hertz IPS touchscreen to navigate through the menu, to go through the Quick Start features, Time-Lapse, Stop Motion, and other settings as well.
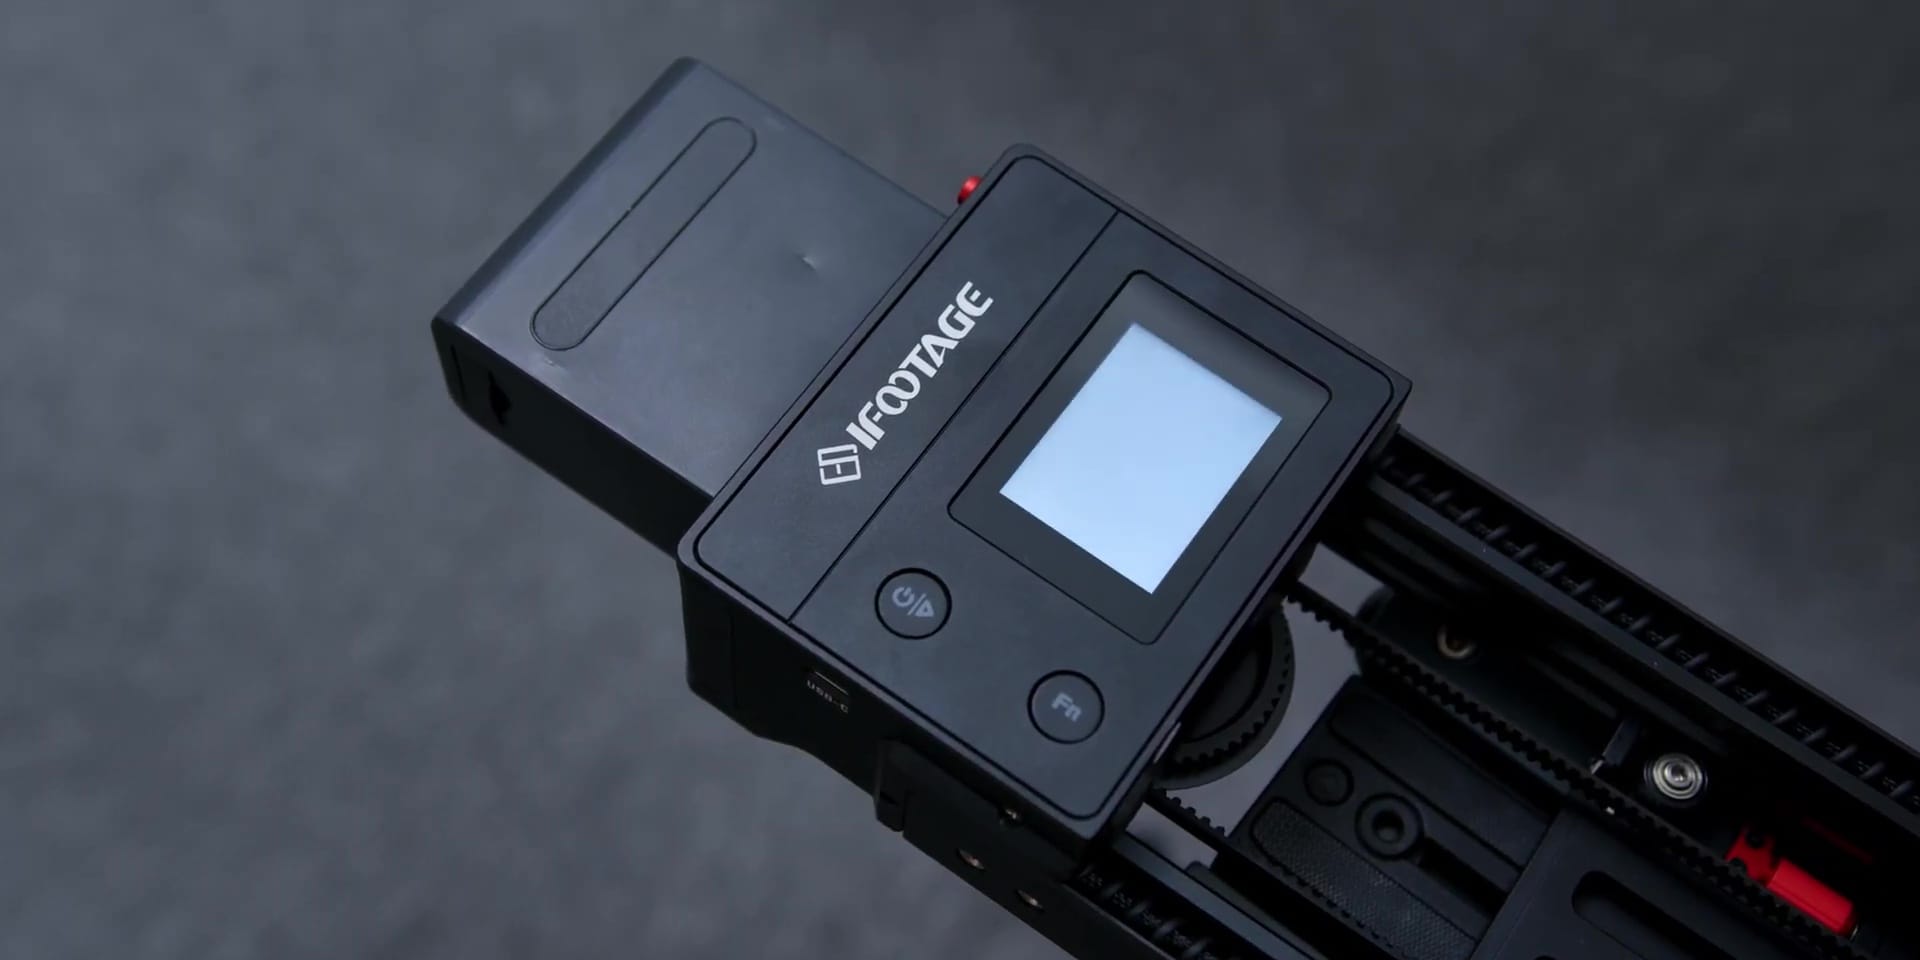
Then, there is the convenient on-off button and the function button right below that.
Now this is one of THE main reasons why I got this slider as I felt that I always wanted a motion control system that doesn’t solely rely on an app. Because the thought of always taking out your phone to control it was a little of a hassle especially when it comes to certain times where I just need to quickly get myself an easy slider shot and wrap things up.
App Control
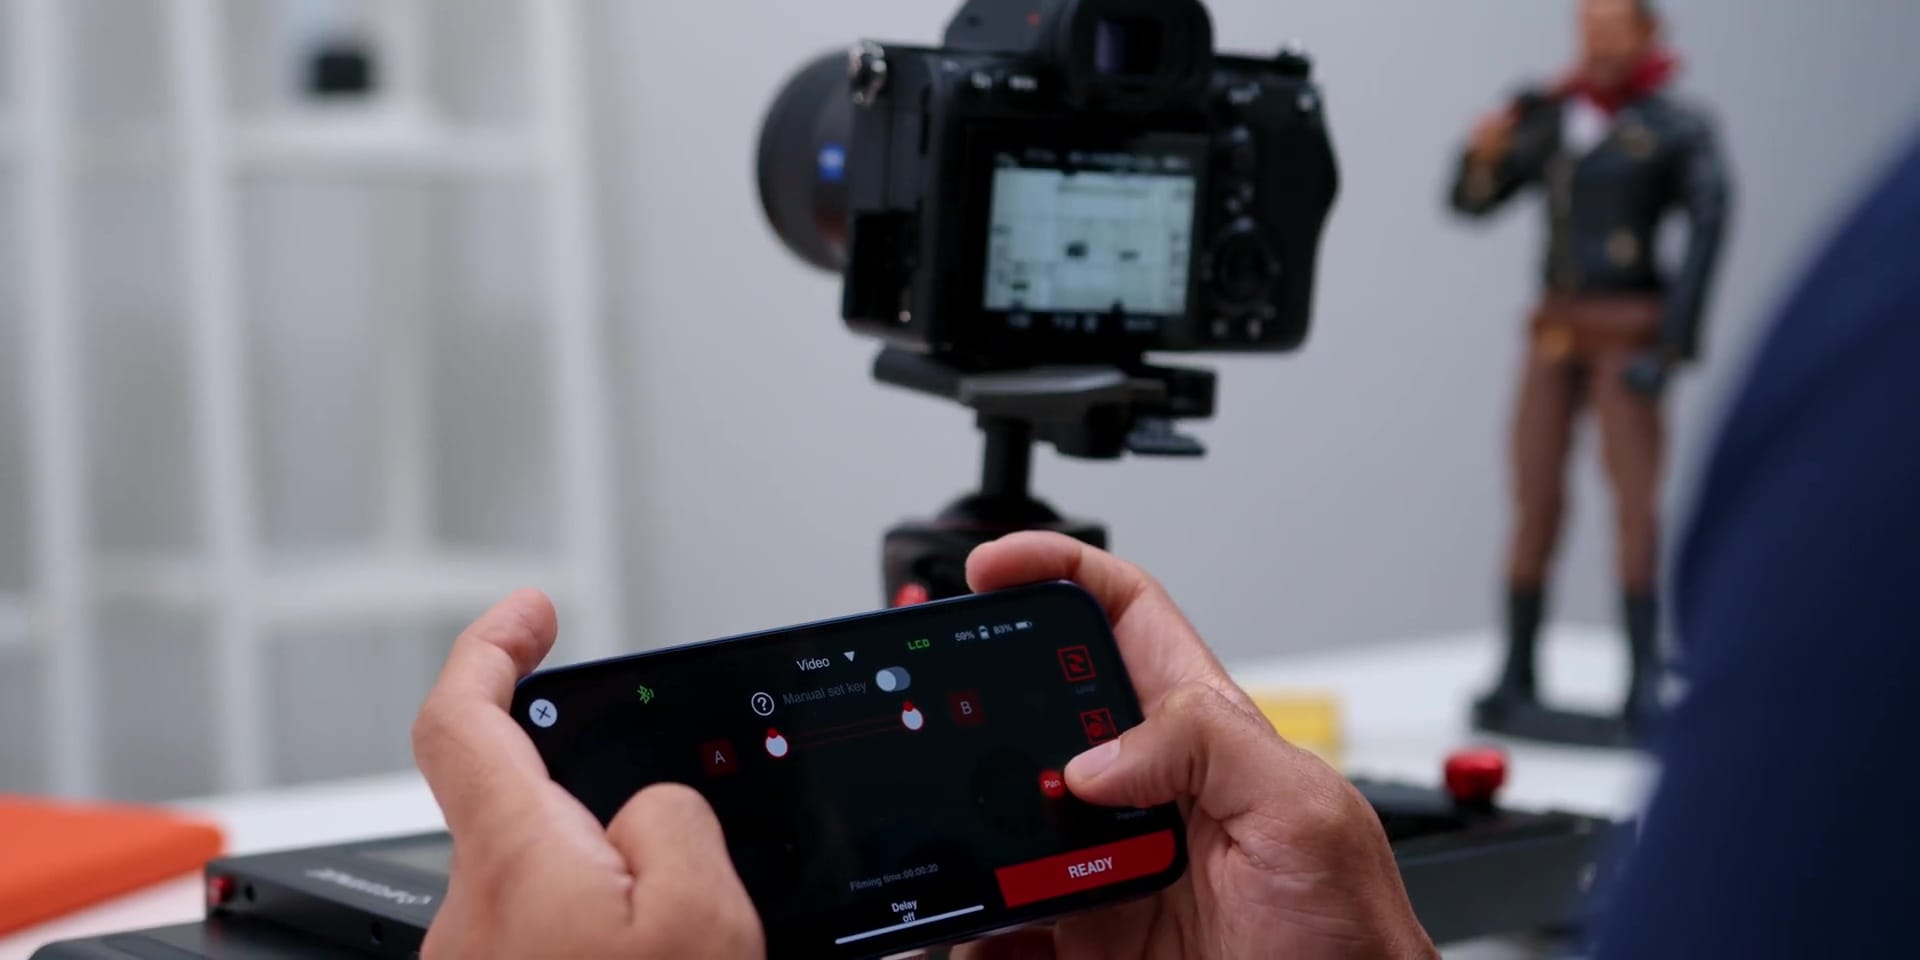
And speaking of apps, while you can perform motions through that touch screen, if you want to move the slide and the pan motion to a sort of a real-time “joystick” kind of movement, iFootage does have the Moco App.
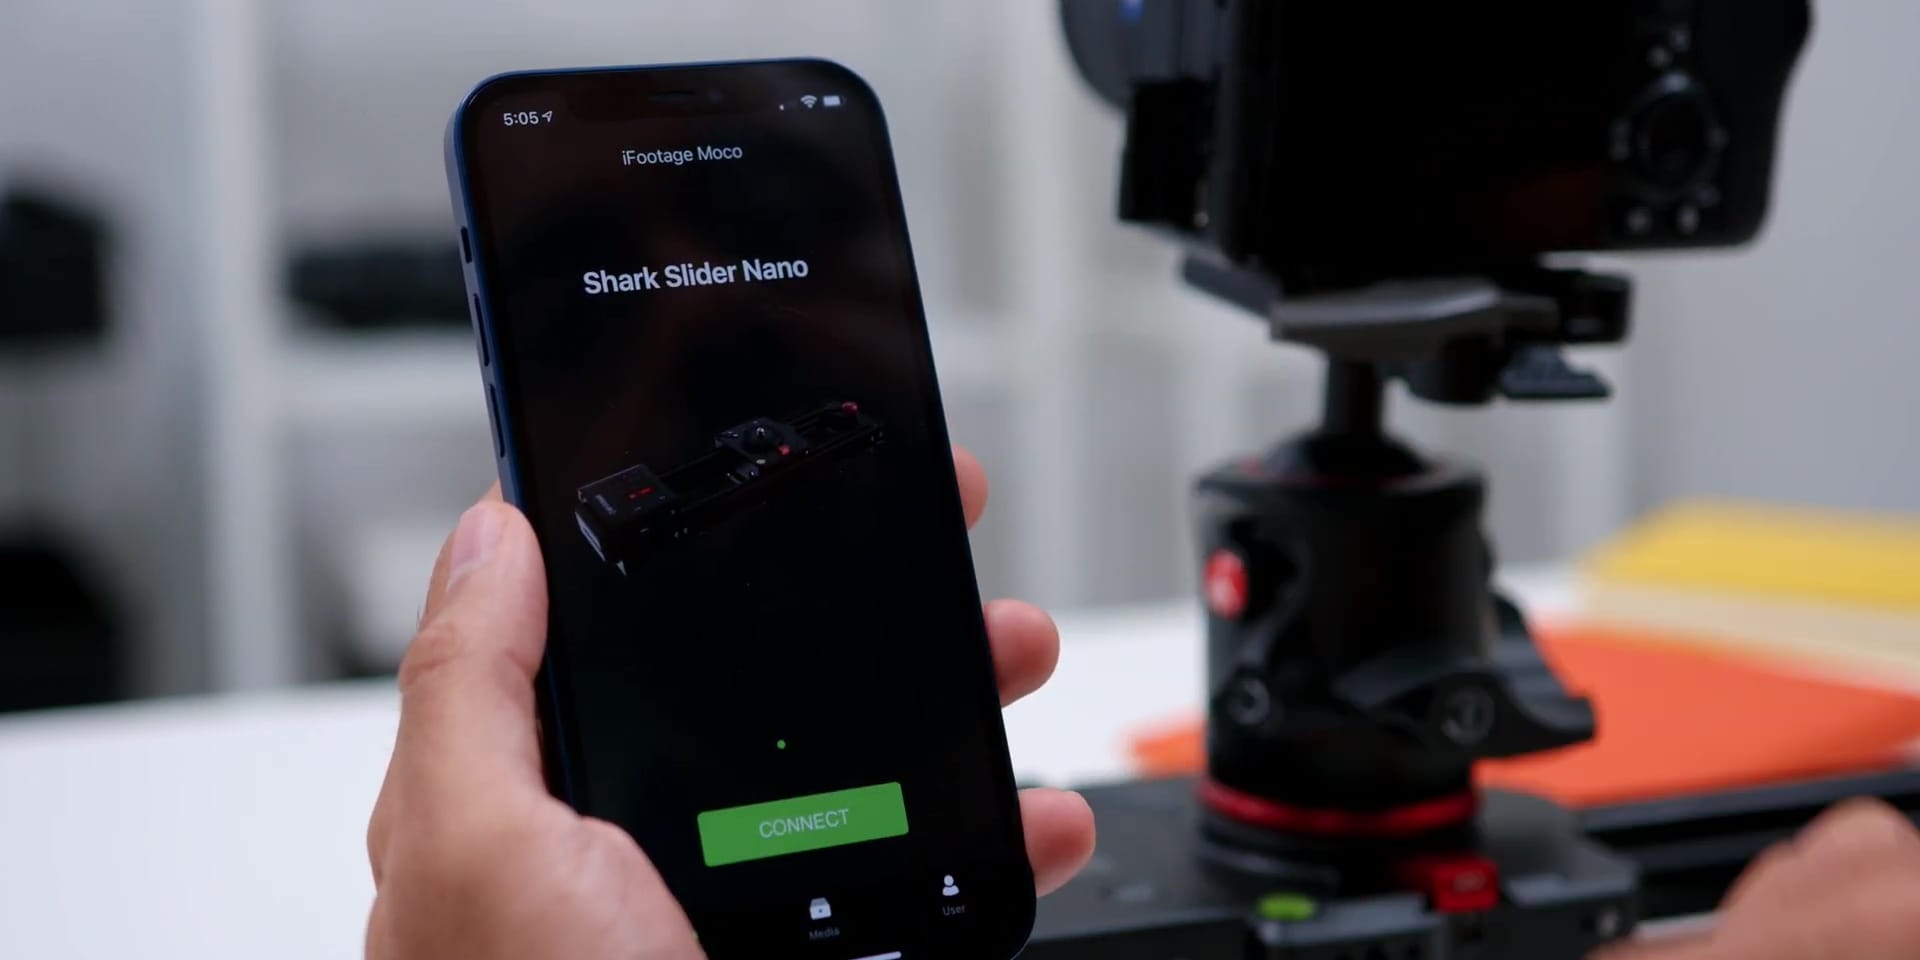
It connects to your phone super easily and since the package does come with an optional phone mount as seen earlier, you can choose the option to either use the app for your smartphone or your camera as well, but personally, I only use this Shark Slider Nano only for my cameras.
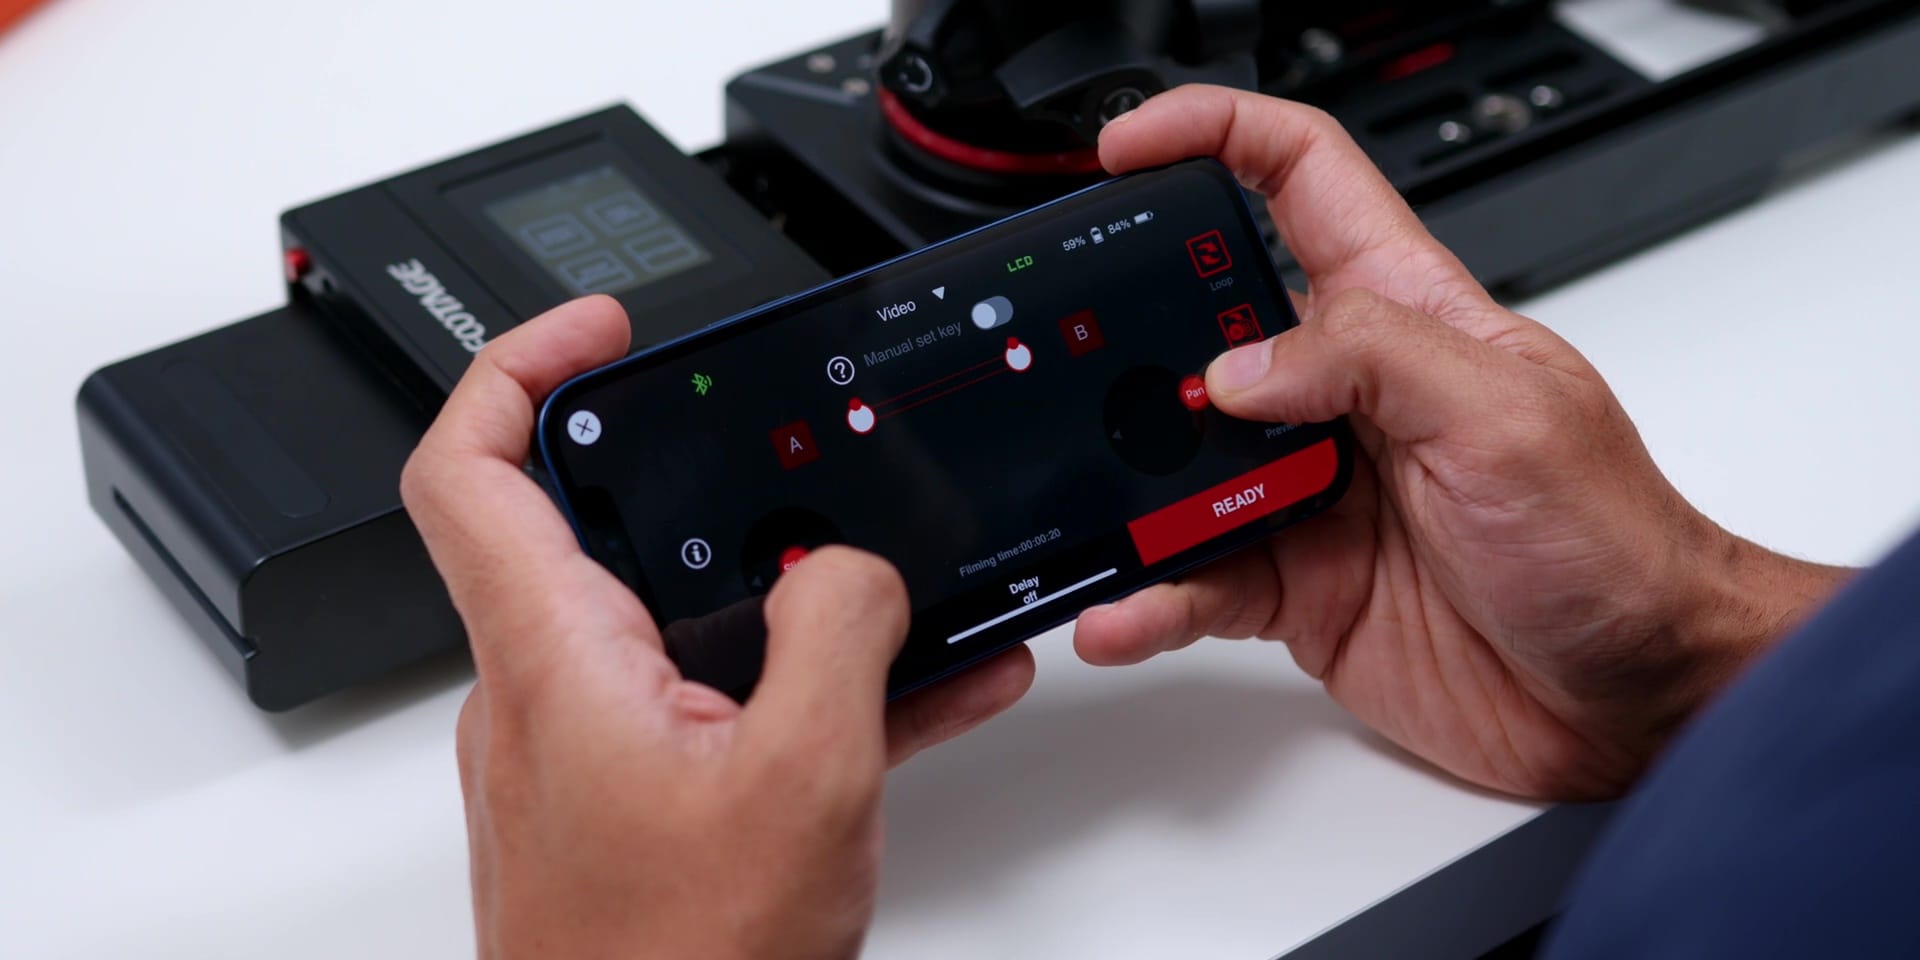
Once you have chosen the mode, you will come to the home screen, here is where you can already control the sliding and the pan function, or you can set the keyframes manually through the app which was sweet but as I mentioned, I still prefer the touch screen option on the slider itself since the controls are pretty much the same except for the manual control of course.
Also worth mentioning is the fact that this Shark Slider Nano is powered by a very intelligent chipset, to provide a very stable and reliable algorithm to increase the accuracy of the motion and the keyframing set.
And there is also a built-in sensor that detects the start and endpoints to avoid any unwanted collision as well, which on other motion sliders you will usually need to calibrate it manually so that was extra nice to know.
Power Options
Now before we go into how exactly I use this Shark Slider Nano and give you a demo, let me let you know about the power options to get this Slider running.
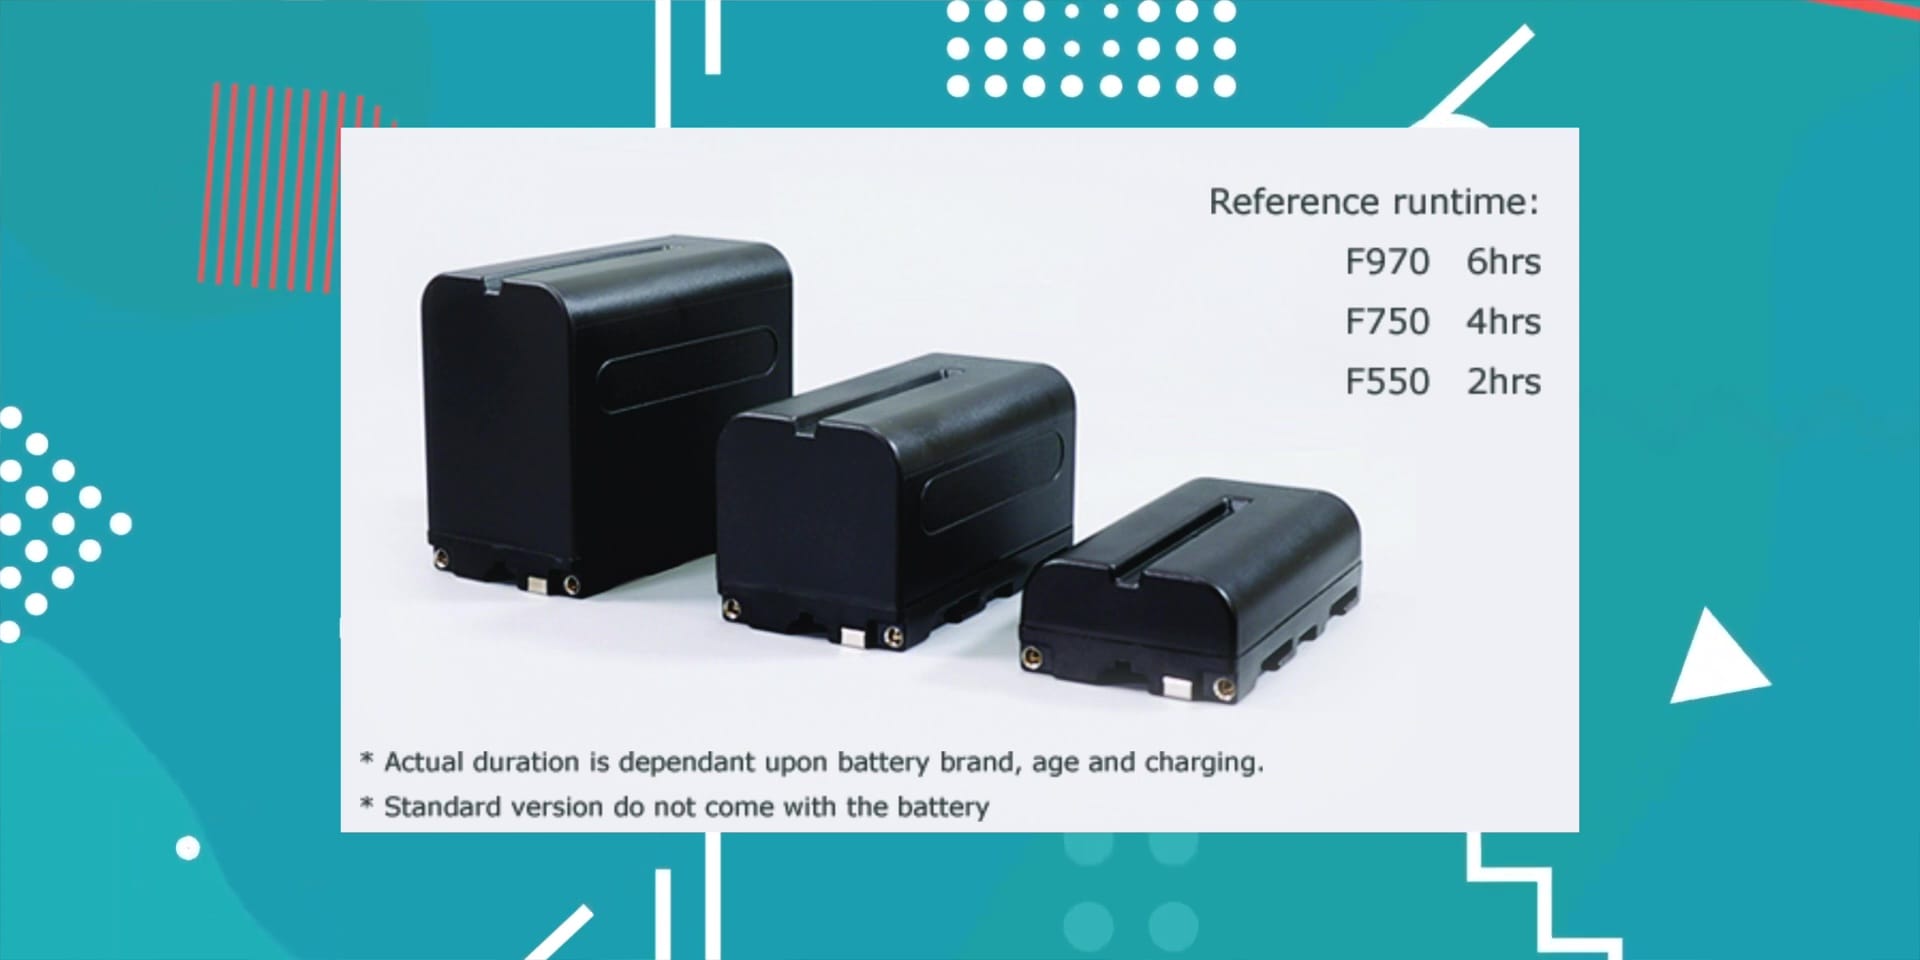
Firstly there is the battery option, where you will need to insert the battery at the side of the Slider, and it is compatible with the NP F series battery, where the bigger F970 battery will give you roughly 6 hours of run time, 4 hours on the F750 battery, and about 2 hours in the smaller sized F550 batteries
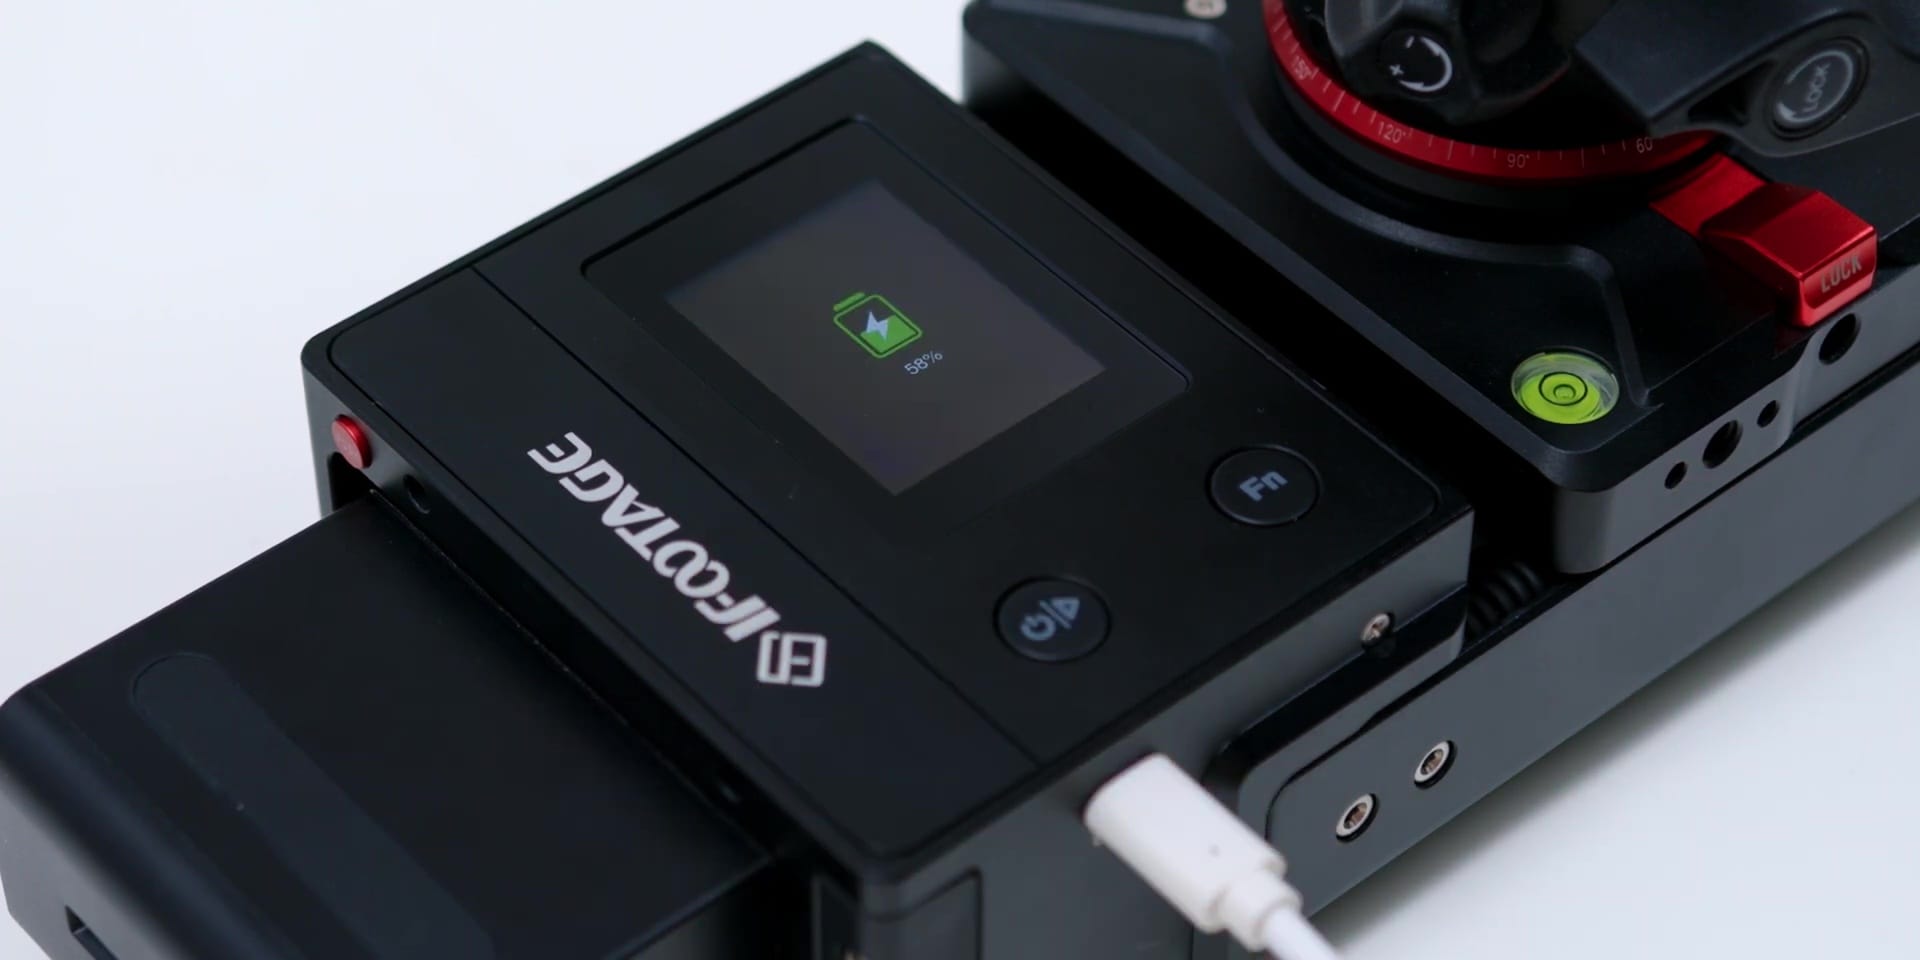
And the second way to power up the slider is through the USB-C port, which also charges the battery that you use as well, making it hot-swappable, to have continuous shooting when you are almost out of battery.
Setup & Demo
Alright, now, let’s talk about how to get this up and running and how easy it is to use this Slider.
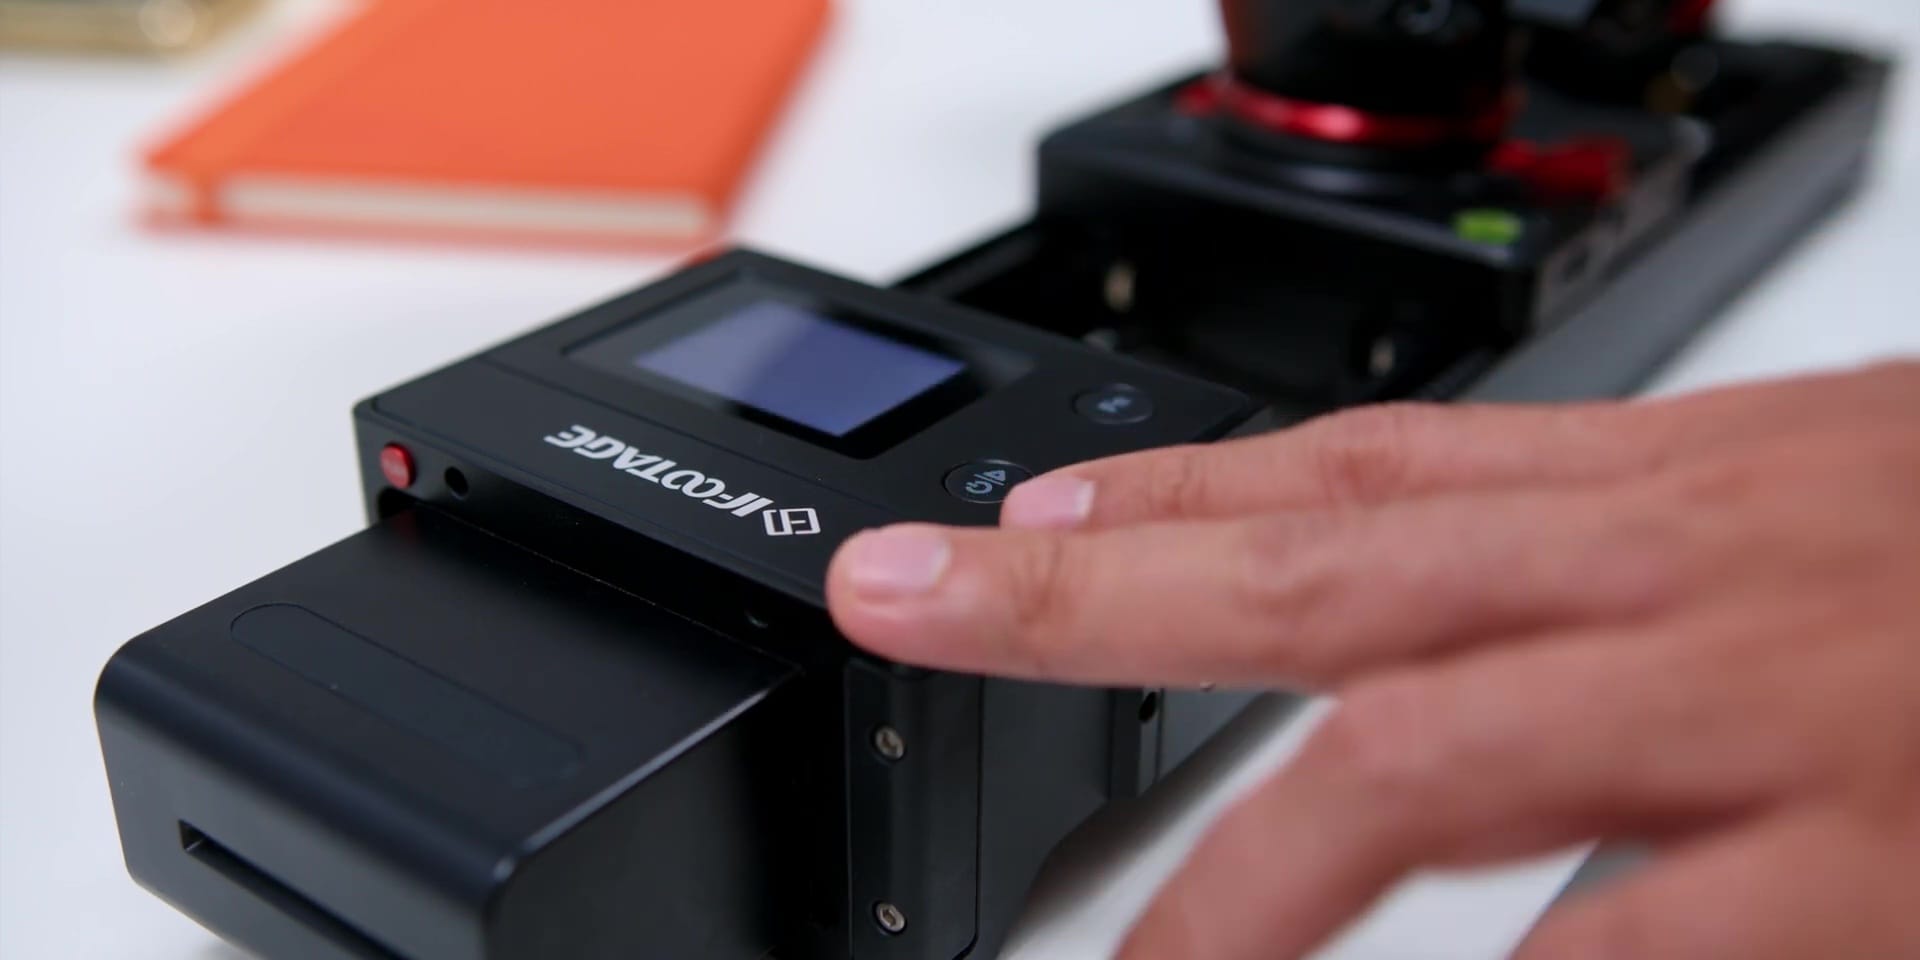
First, after mounting your camera on the slider, to turn the slider on, you will just need to press and hold the Power Button and you will get the screen to turn on, then the slider will automatically move and calibrate for about several seconds, so it’s not as long as how it was when this Slider was first introduced, so that’s sweet now.
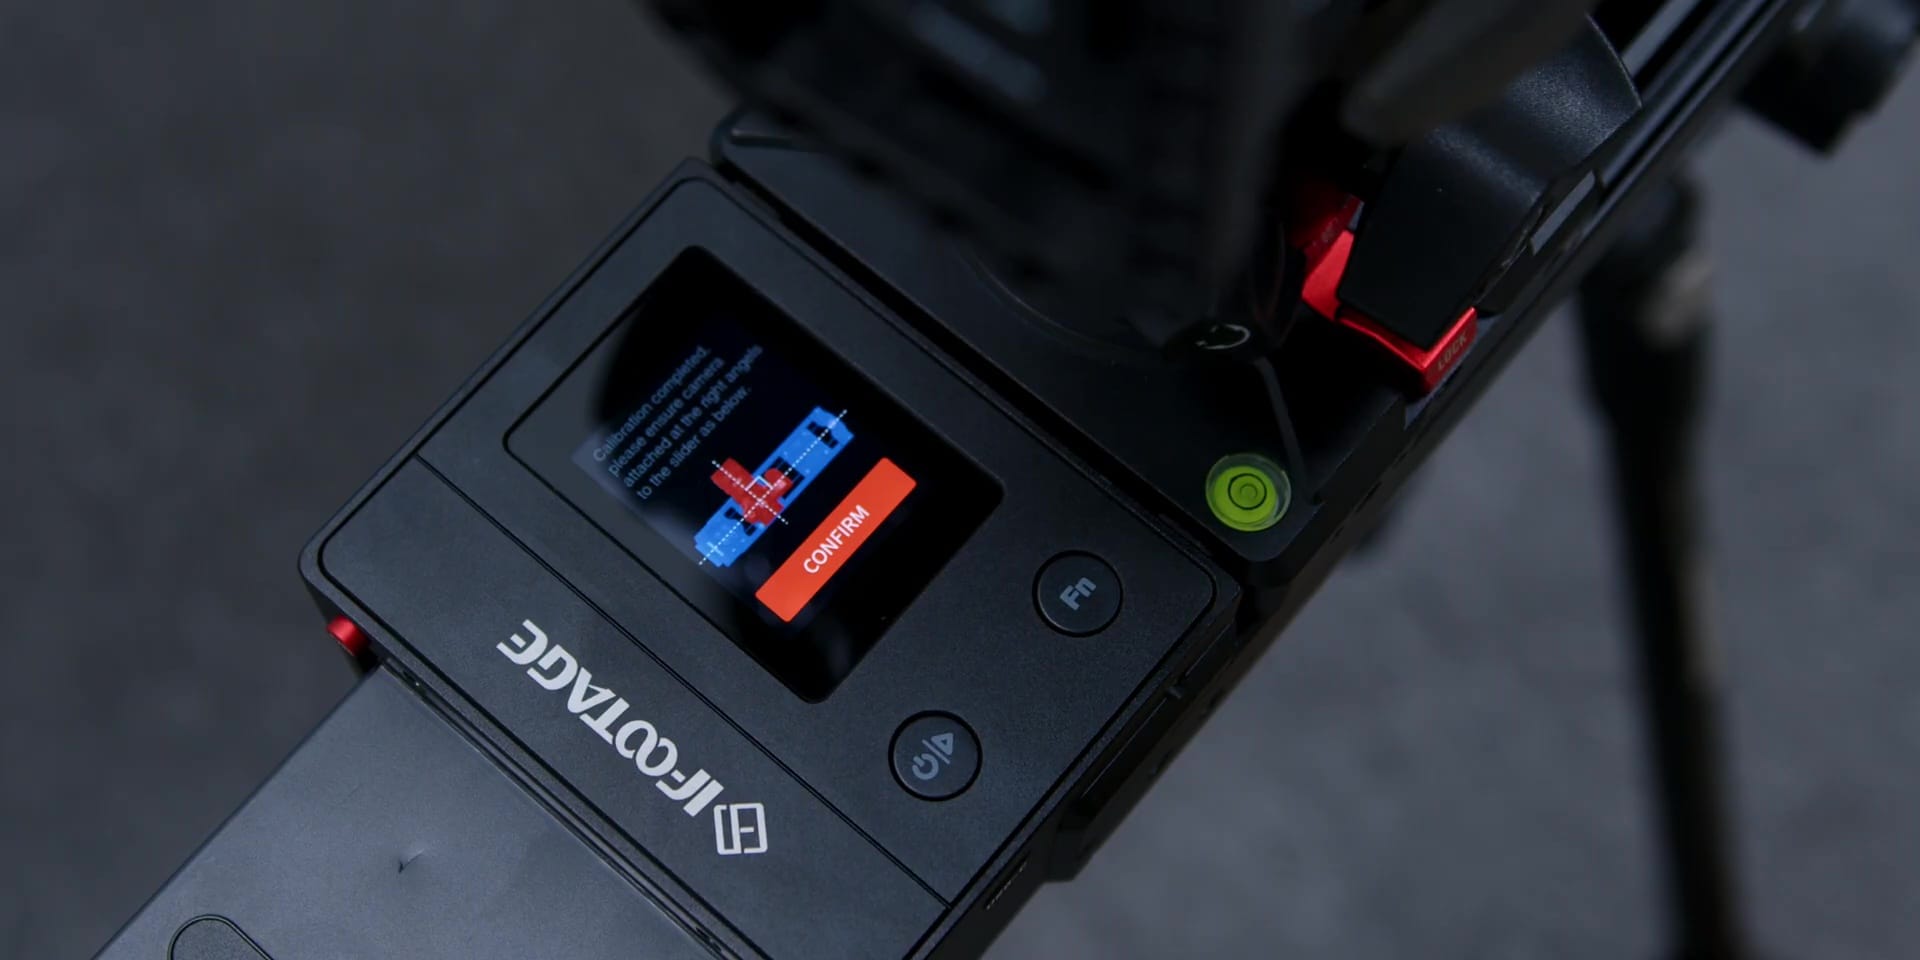
And once it’s done, the screen will show an indication of adjusting the head of your camera according to the screen, and once you have done that you are all set.
Now while there are other features that can be used like the Time-Lapse, Stop Motion, that is something which I haven’t used personally, so I will show you my extremely quick go-to features which I use the most on the Shark Slider Nano.
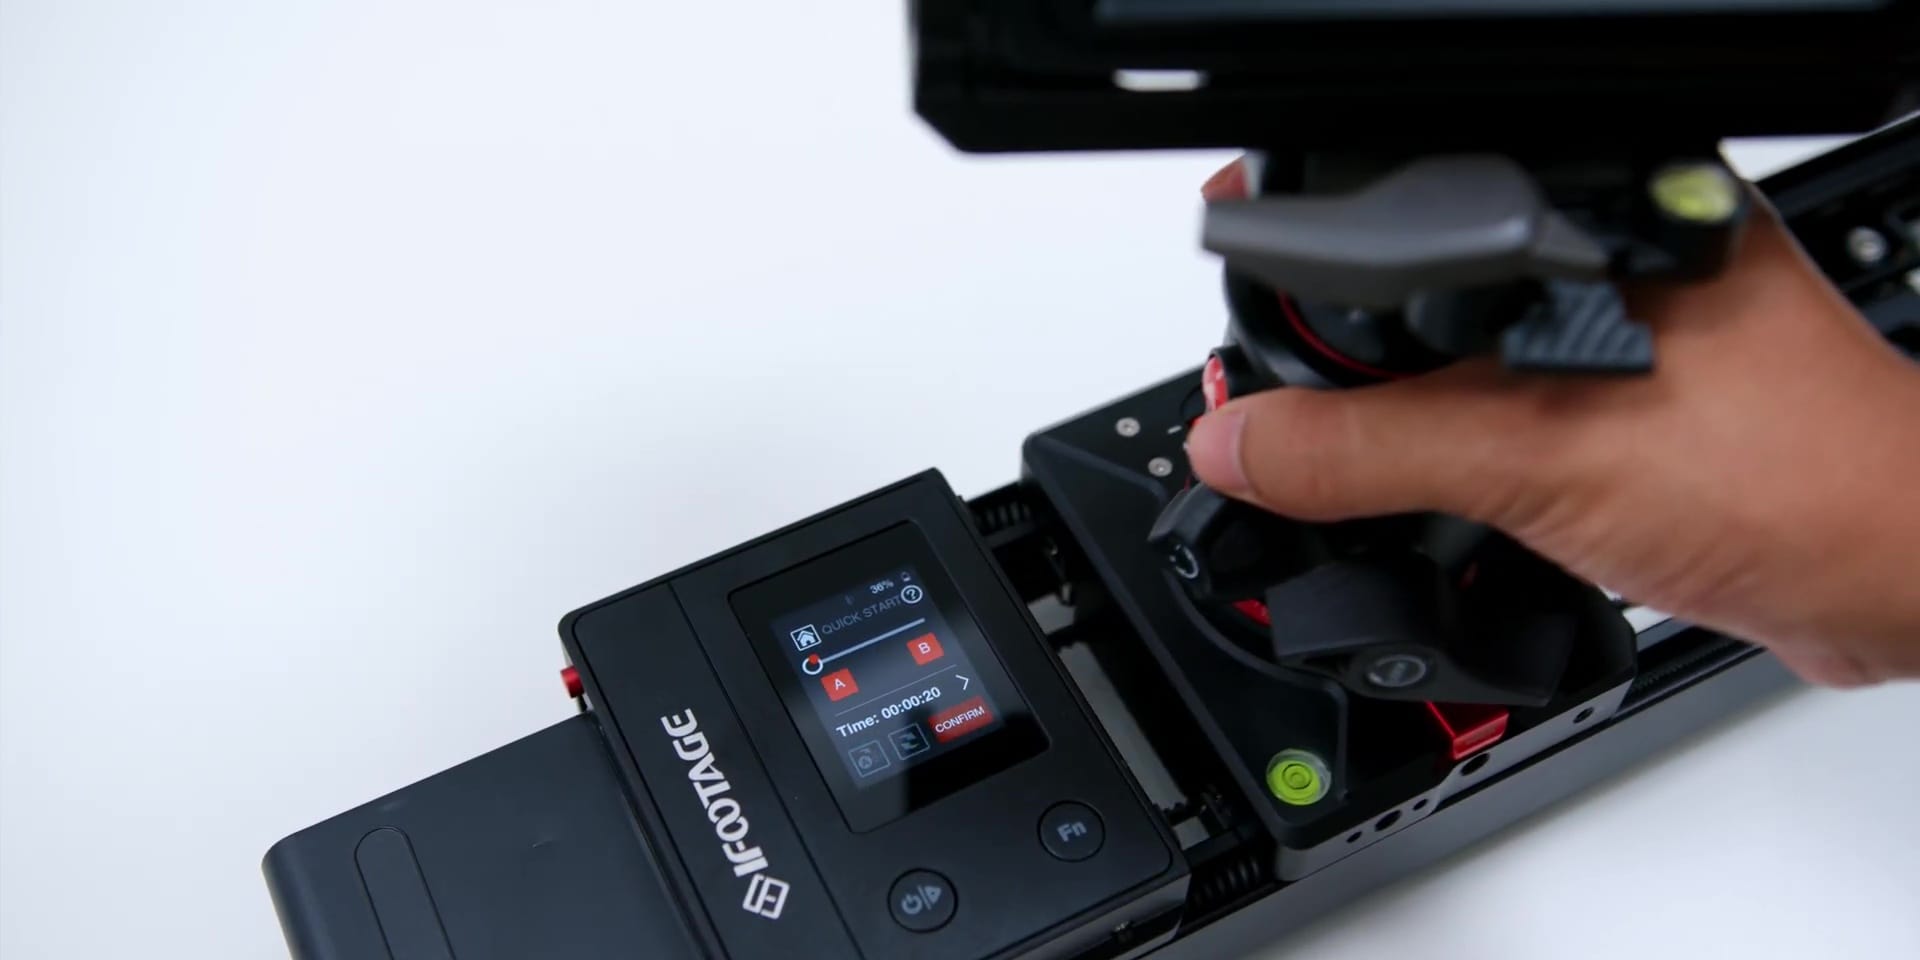
- To start the keyframing movement, just select the Quick Start option
- Then either the points of A and B will start blinking, or you’ll need to press and hold the power button and the function button at the same time. then you’ll see both points of A and B will start blinking

- Start off by manually adjusting the first point for your camera, and yes, you can add some pan adjustments here too
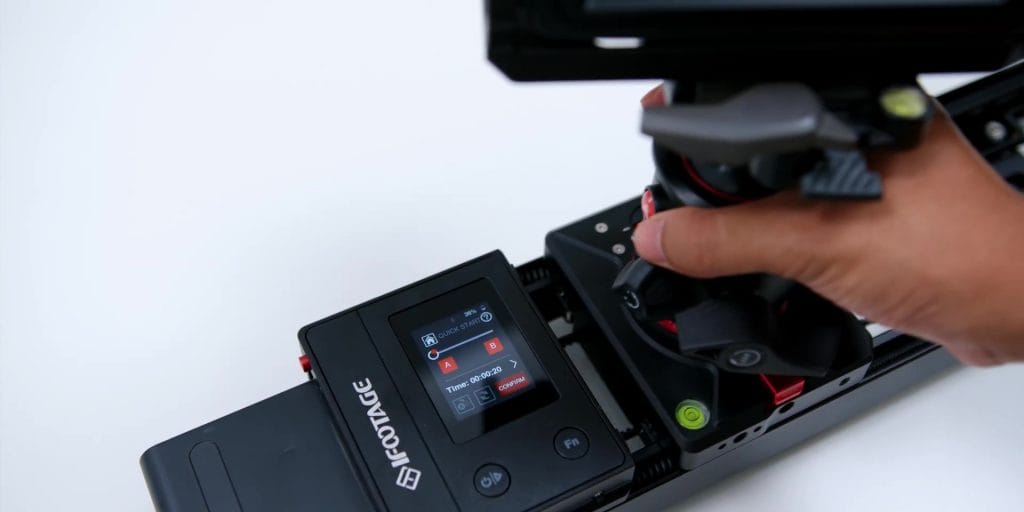
- And then once you get your first point, press the function button or the A indicator box on the screen
- Then bring the camera to your next B point, where once again, I will pan the angle and press the function button or the B indicator box

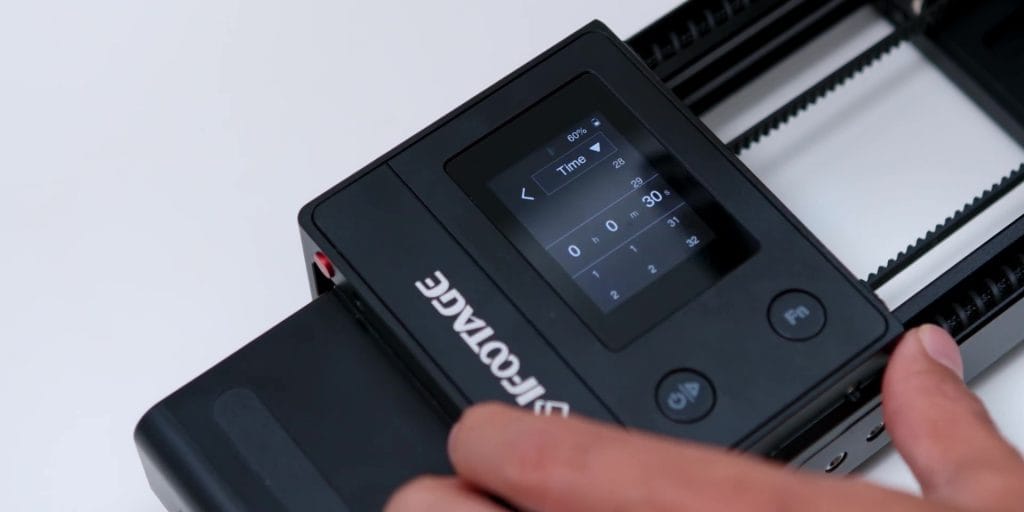
- Next, you will have the option to change the duration of the whole motion, which I set at 30 seconds, hit confirmed, and also choose if you would like to loop the action, or reverse motion, select standby, and you are done!

Super simple right?
Now speaking of the loop actions, although in my videos I don’t do any A-Roll looping where usually my camera is just still at one place, but you can typically use this looping movement for interviews, other than for yourself or if you are doing it for a future potential client since the movement of the slider is very silent at close to about 38 dB.
Motion Quality
Next, let’s talk about the footage quality. I have to be honest to say that about 90% of the time, the footage looked really nice and smooth, where the other 10% is where sometimes it does become a little shaky on the pan motion.
Especially if you don’t use an active stabilized lens or a stabilized camera like my Blackmagic 6k camera, BUT the good news is that the regular stabilization plugin on Final Cut Pro X does an amazing job over here.
So my advice is to try to go with a lighter setup at all times, and while I did see some reviews online that mentioned that there were some issues with stabilized cameras where there was a weird jerk at the end.
But after the latest update, I didn’t have such issues so be sure to keep updating the firmware through the iFootage Moco App.
Conclusion
So yes guys, there you have it, my little secret of getting those nice and smooth B-Roll shots, now if I had only one wish is that there is a part of me that wishes that it can take a bit more weight on the Tripod Mode.
For me to get even longer distance shots, when I am using my heavier Blackmagic 6k set up together with my Cine Lens but then again, that will also mean that the overall build and size will be bigger, so I have to say that I am still very happy with this.
So if you are a content creator, this would be a really compelling option, especially if you have a lighter setup, where it’s absolutely perfect to use for smartphones as well.
And if you are planning to get yourself one, I will leave a link down below for you to check it out, where it is priced at 599 USD, and it gets sold out very quickly so make sure to head over there as soon as possible!
Get the iFootage Shark Slider Nano at the link below:-